
Necessity is the mother of invention, so the saying goes.
I am a new Girls Scout troop leader this year. Our first meeting was last Thursday, and I realized: I need to carry A LOT of STUFF. Between the paperwork, activity supplies, hand sanitizer, my wallet/phone/planner: I needed multiple bags. Disclosure: I really hate carrying multiple bags. I also want to carry a small first aid kit (because cuts and scrapes happen all the time), and cleaning wipes to clean up after the girls (we should always leave a space cleaner than we found it).
This lead me to one of 3 paths, rip through my large collection of bags to find one big enough, buy a new bag big enough, make a new huge bag. Well, knowing me, I went right to option 3. Friday morning found me in the fabric section of Joann. I had toyed with the idea of a wool felt bag with leather handles (but all their wool felt didn’t look sturdy enough). I considered a double canvas bag (outside and lining). Then I was looking at the quilting cottons. They were on sale! And I’m a sucker for bright colors and a good bargain.
At home I had over a yard of 20″ wide Pellon 71F, an ultra firm fusible interfacing. It was not suitable for pencil cases (too stiff!), and just taking up space. I had my lightbulb moment. I mulled over some construction ideas in my head. I LIVE DANGEROUSLY, AND DON’T USE A PATTERN!!! That’s right, I made this bag without a pattern!
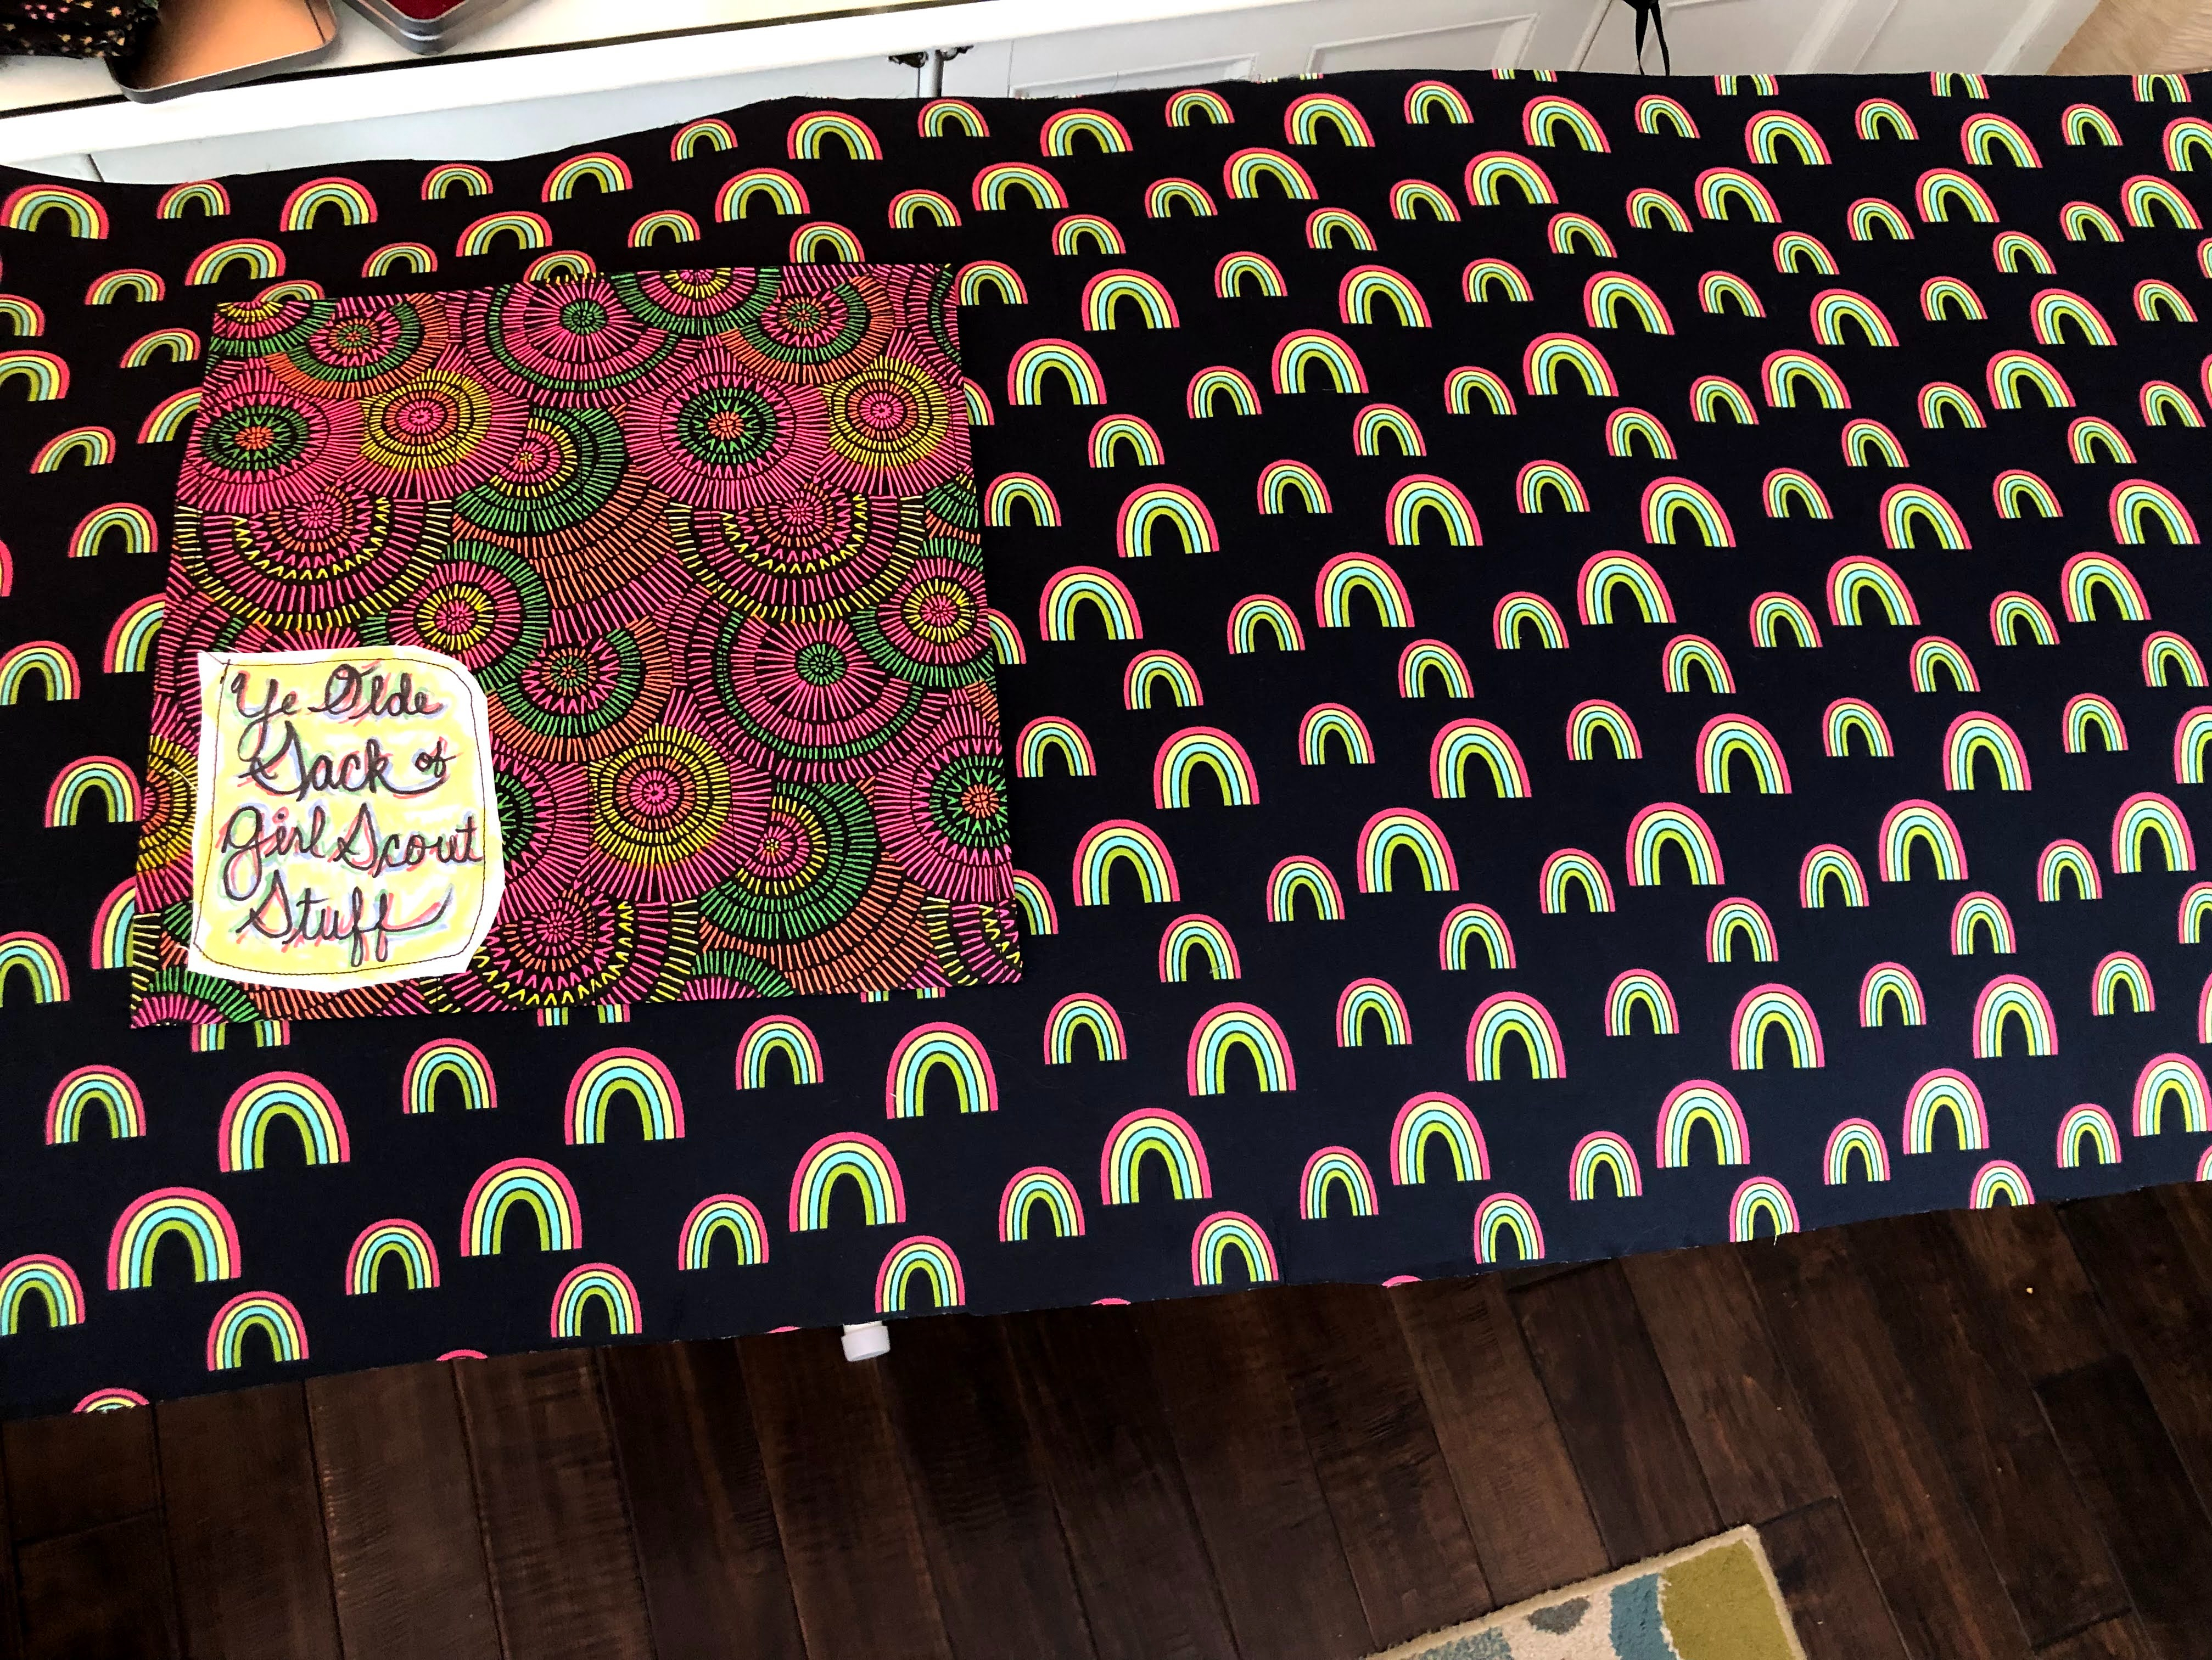
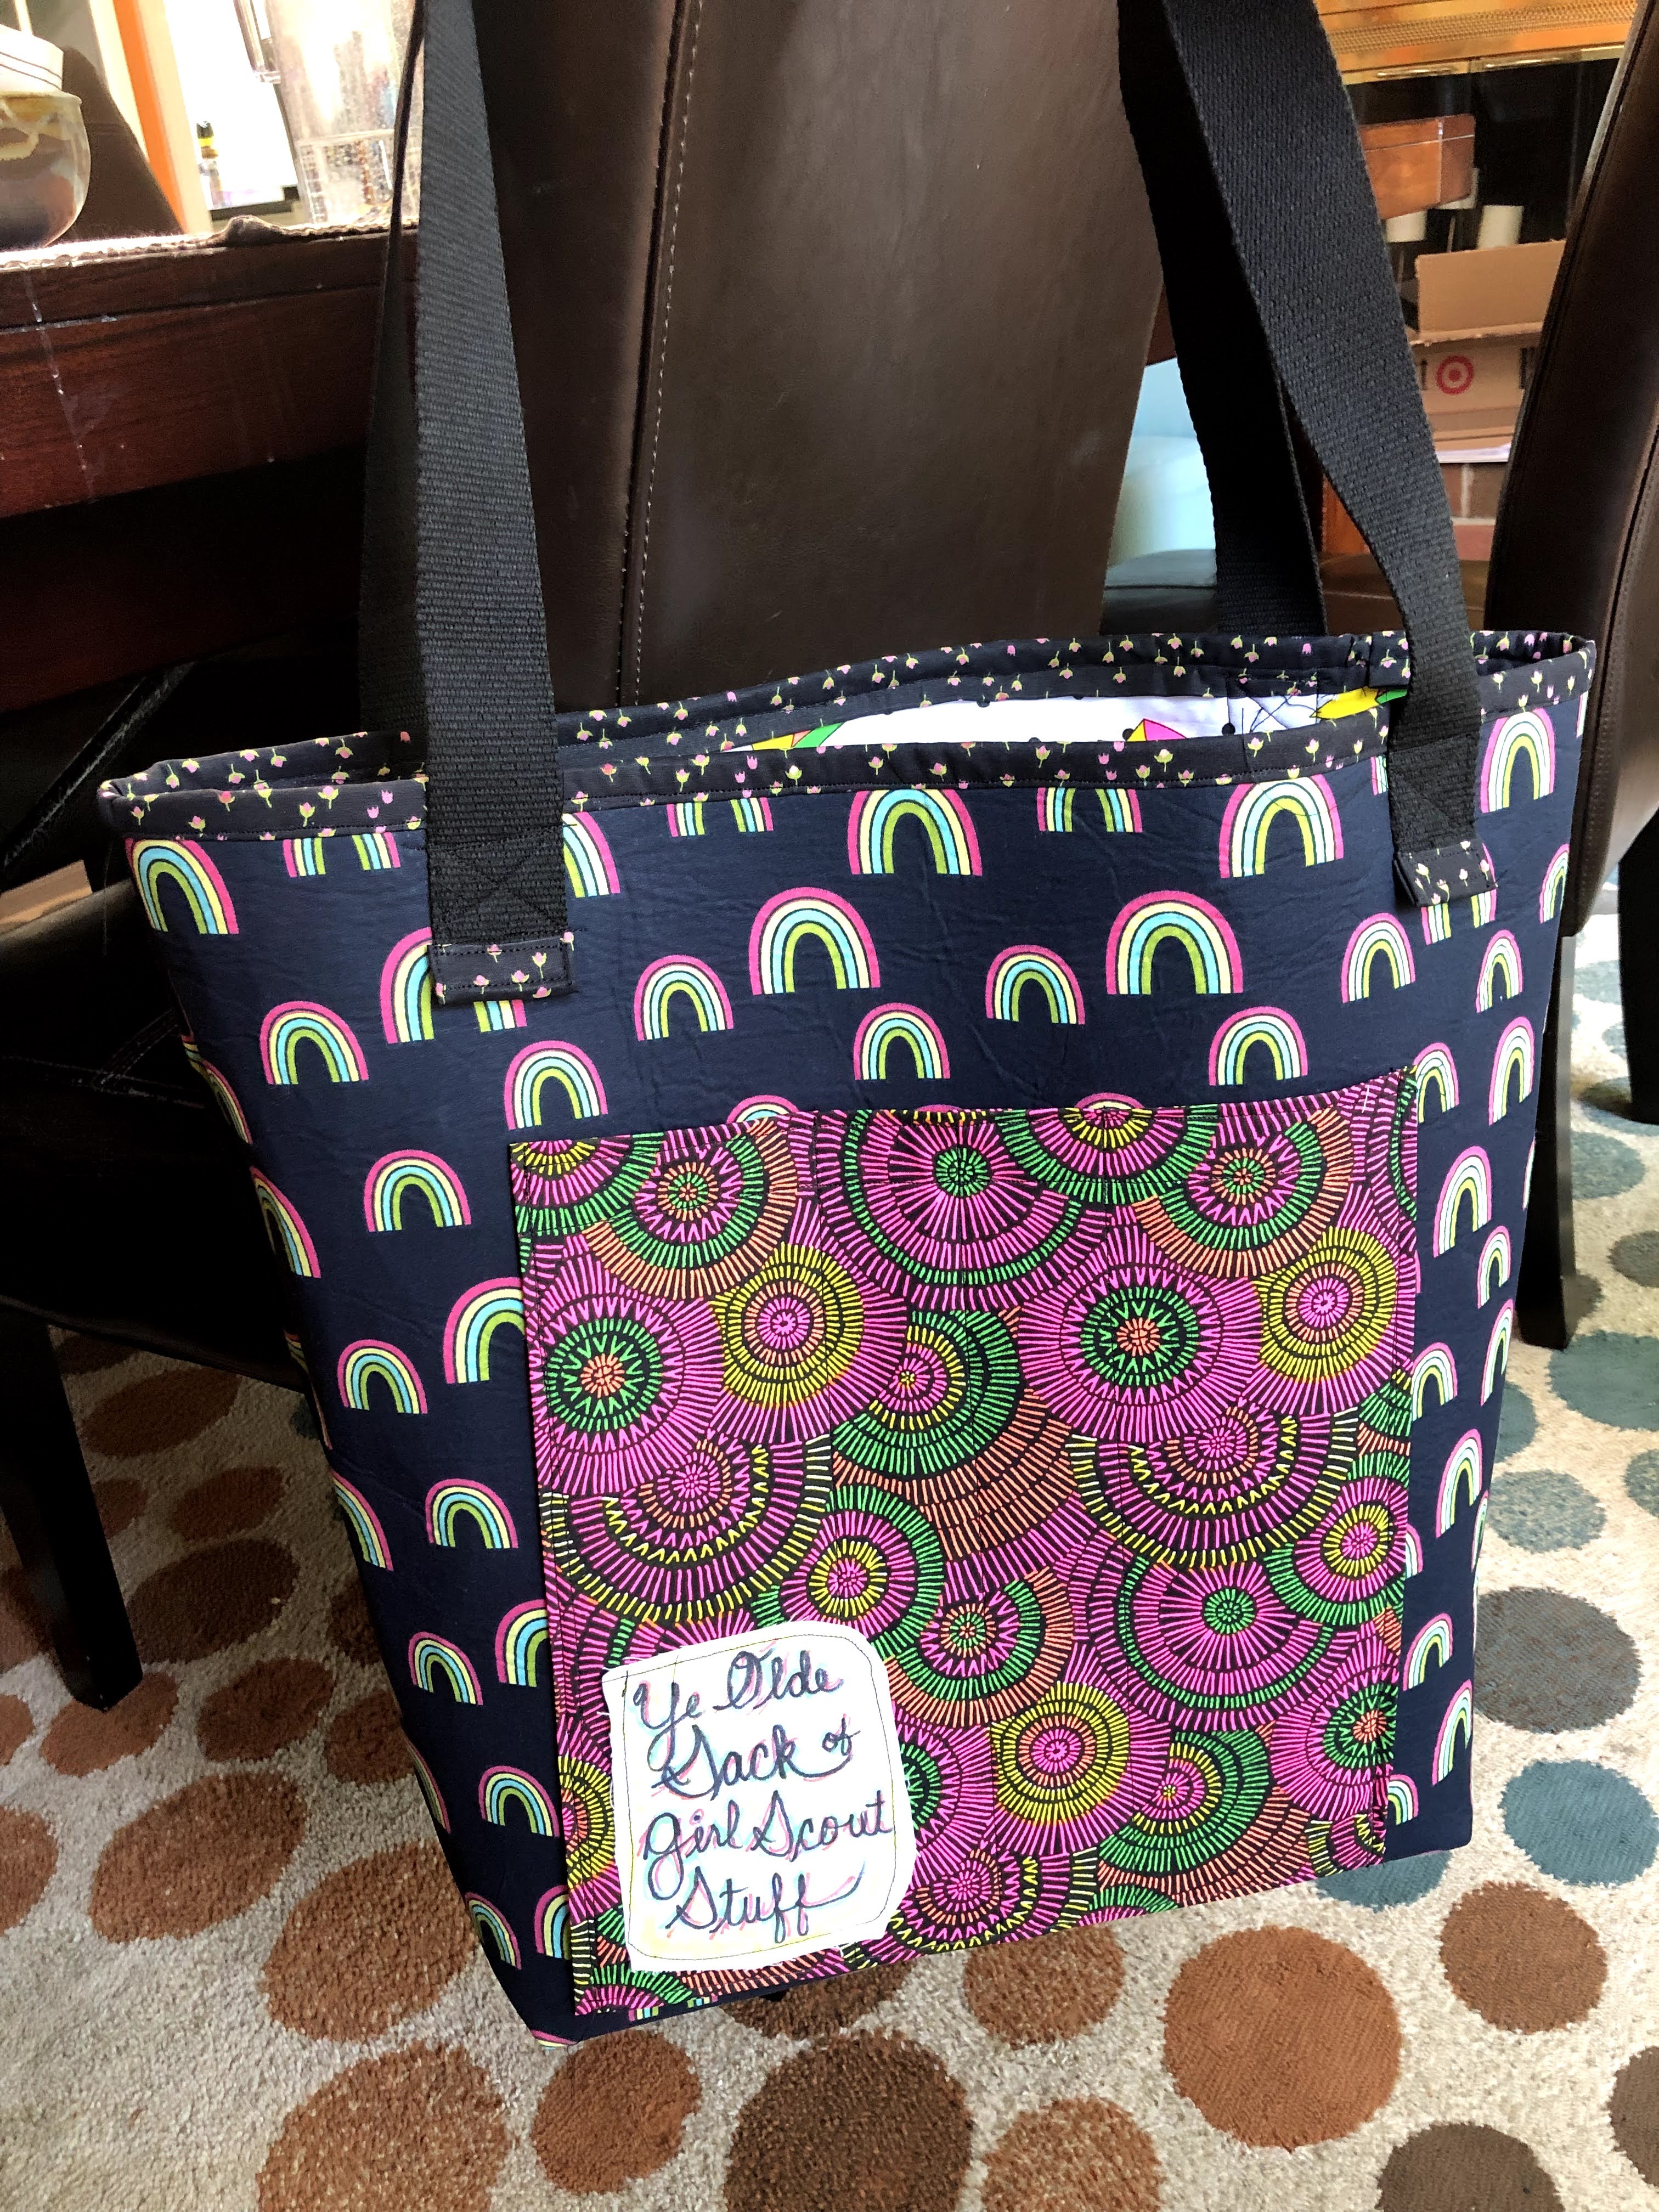
I picked up 4 coordinating fabrics from the quilting department, on sale at $3.99 a yard! Rarely do I ever pick up fabrics from the same collection, but I was feeling it that day. Unbeknownst to me, the rainbows are actually on a navy background, NOT black. There, you know the dirty secret of this bag. I also grabbed a 2 yard package of webbing for the strap, I was NOT interested in making them.
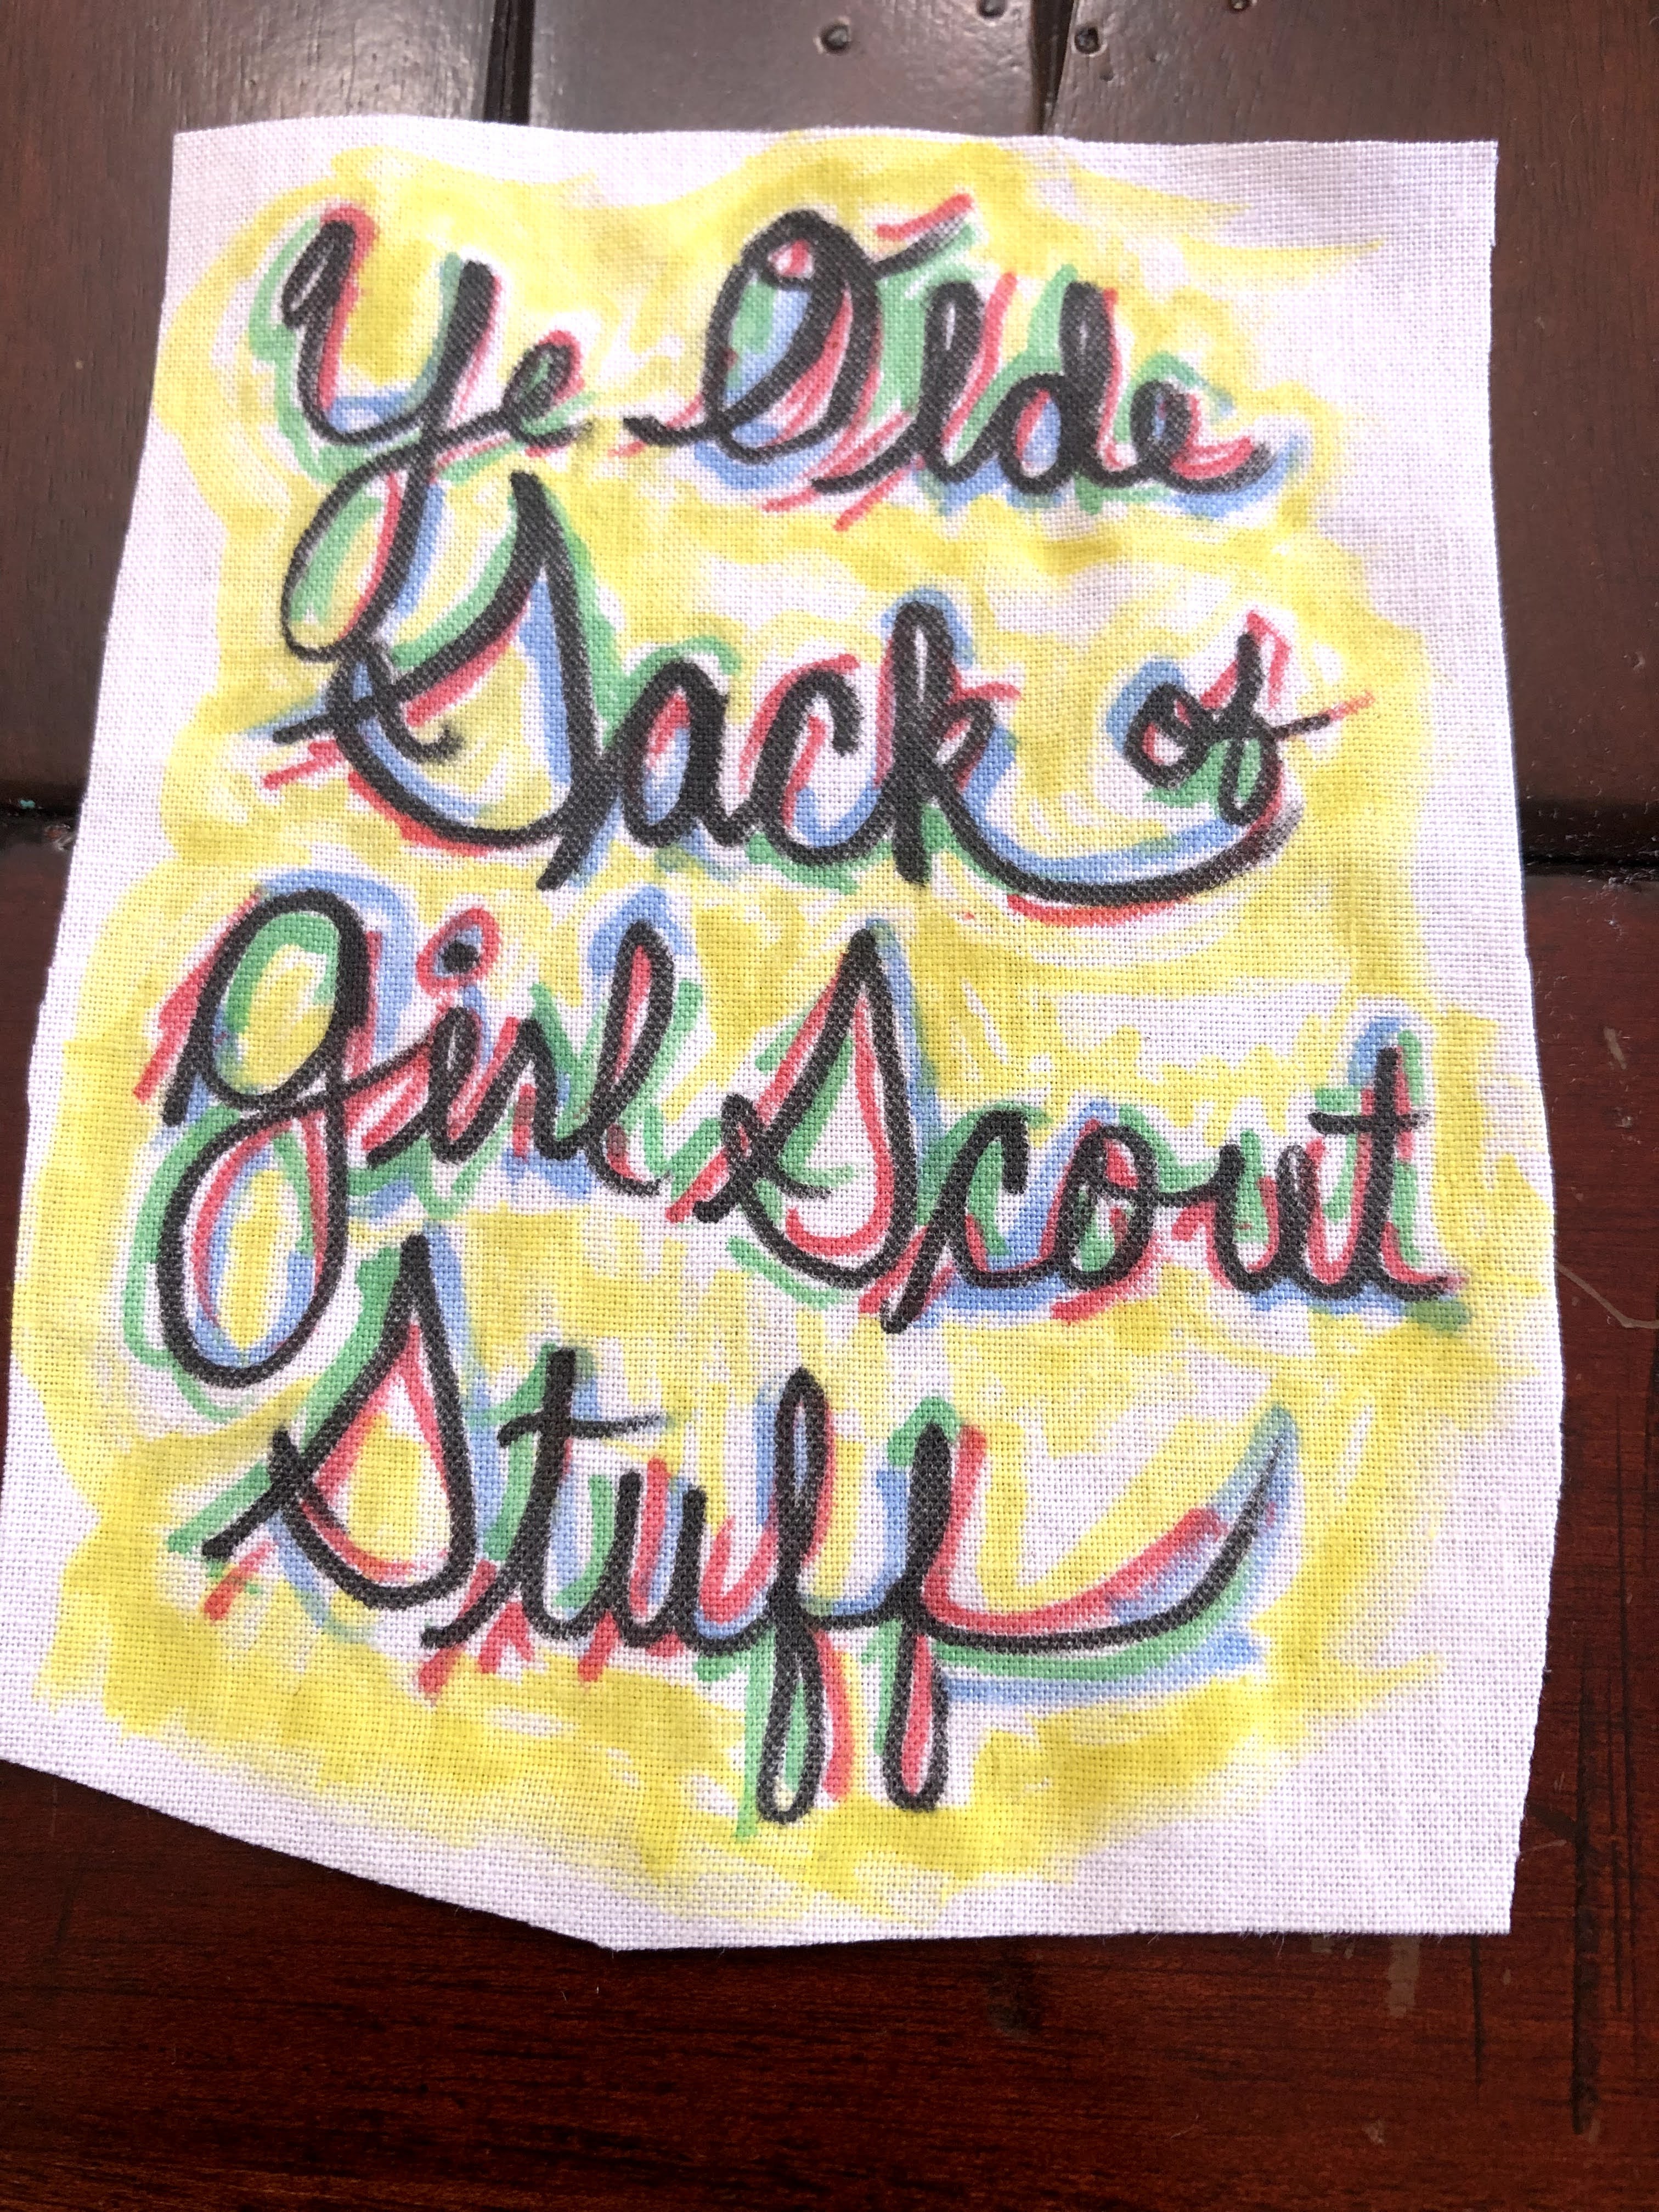
Friday I washed all the fabrics. Saturday I started the project by making the above patch. I was inspired by some little zip bags that say things like: “Ye Olde Bag of Witchy Sh!t”. I figured while this is appropriate for my actual life, it is NOT appropriate for Girl Scouts! I left the edges unfinished, because I want them to fray and look “punk rock”. Is a rainbow bag full of craft supplies and good intentions to make kids good citizens punk rock? You bet your bippy it is. I had intended on stopping here, and finishing the bag while the kids were at school this week. As we see, that didn’t happen.
So here we are, no pattern. A bunch of fabric. A sewing machine. A middle aged lady who still thinks she’s punk rock and her street cred hasn’t expired.
I started by affixing the outer fabric to the interfacing. I laid the interfacing fusible side up on my ironing board, and laid the yard across the interfacing. Aligning the cut line of the fabric to the long edge of my interface. I cut the excess interfacing so I didn’t accidentally fuse my iron to it. Then I pressed the whole thing in sections. My tea-towel damp pressing cloth and the “regulation” sized ironing board made this take awhile. I trimmed the excess fabric from the bottom edge.
Then, I made the outside pocket. I cut a piece of sewn (non-fusible) interface that I though was the size of the pocket I wanted (eyeballed). I used non-fusible because that’s what I had on hand. I cut the pocket fabric double the width + an inch of the interface (I wrapped the fabric around the interface, saw where it overlapped sufficiently and clipped). The pocket fabric was centered the interface on the pocket fabric, with an inch on the top to fold over and finish. I folded the sides inward, overlapping slightly. Then I ironed the folds to hold, and sewed along the top, sides, and three lines down the center. I trimmed the bottom of the piece to the length I needed (setting aside the trimmed piece. Nary a precise measurement.
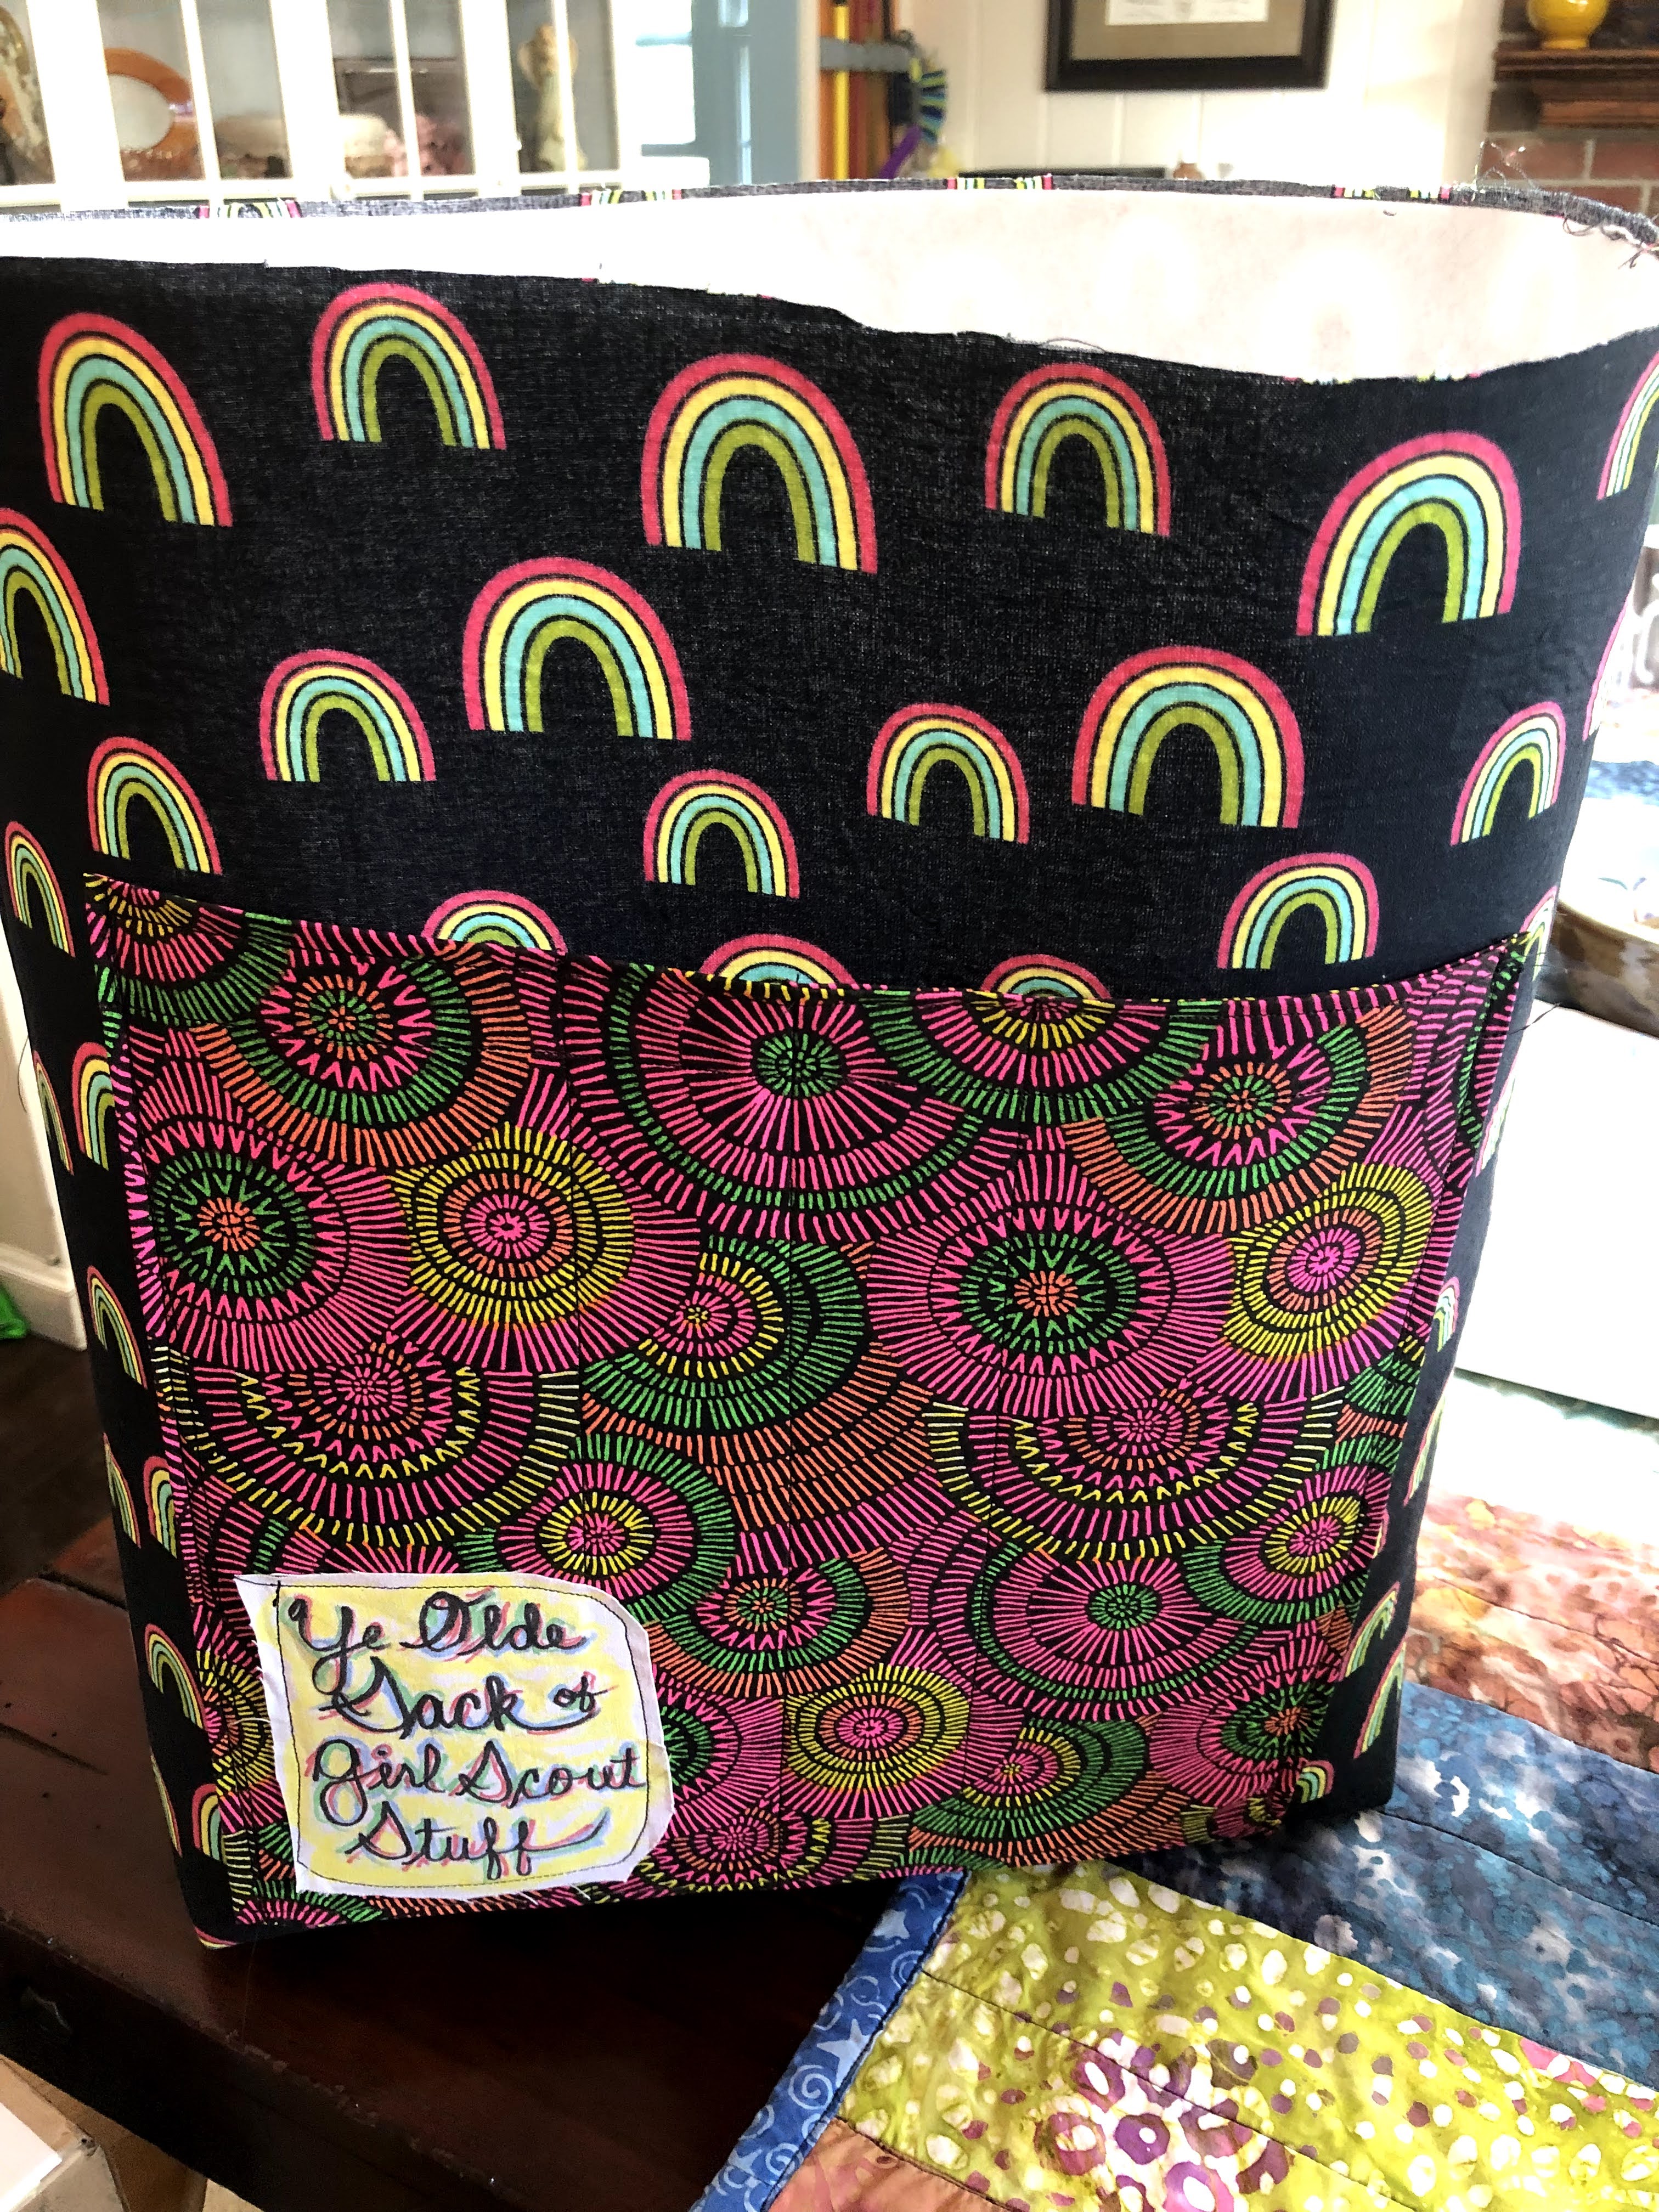
I placed my handmade patch and sewed it down. FYI: the patch is Kona Cotton in white, the “design” is Ohuhu Fabric Markers. My daughter got these for one of the virtual projects the girls did last year in Girl Scouts. Using resources wisely for the win!
I then guessed where to place the pocket, pinned the pocket, right sides facing. Sewed up the bottom, folded at the seam and ironed. I then stitched the bottom (for structure and aesthetics), followed by both the side seams. Which brings me to the above picture.

I sewed up the side, making a tube. I “squished” the tube into a flat, approximating where I wanted to pocket to sit (roughly centered on the wide side). Next I closed the bottom of the bag. I used a pad of post-it notes as a template to cut out for boxing the bottom. Don’t worry, I placed the notes INSIDE the seams- they are even. Then after I clipped the boxes, I lined up my cuts and boxed up the bag.
Turning the bag right-side-out was tough, since the bag is SO rigid!
I then made an inside pocket and added it to my lining fabric. Guesstimating all the way. Lining: tube made to size, trimmed excess at the long seam, trimmed to length, boxed bottom. I fit the lining into the bag, with the boxed seams meeting.
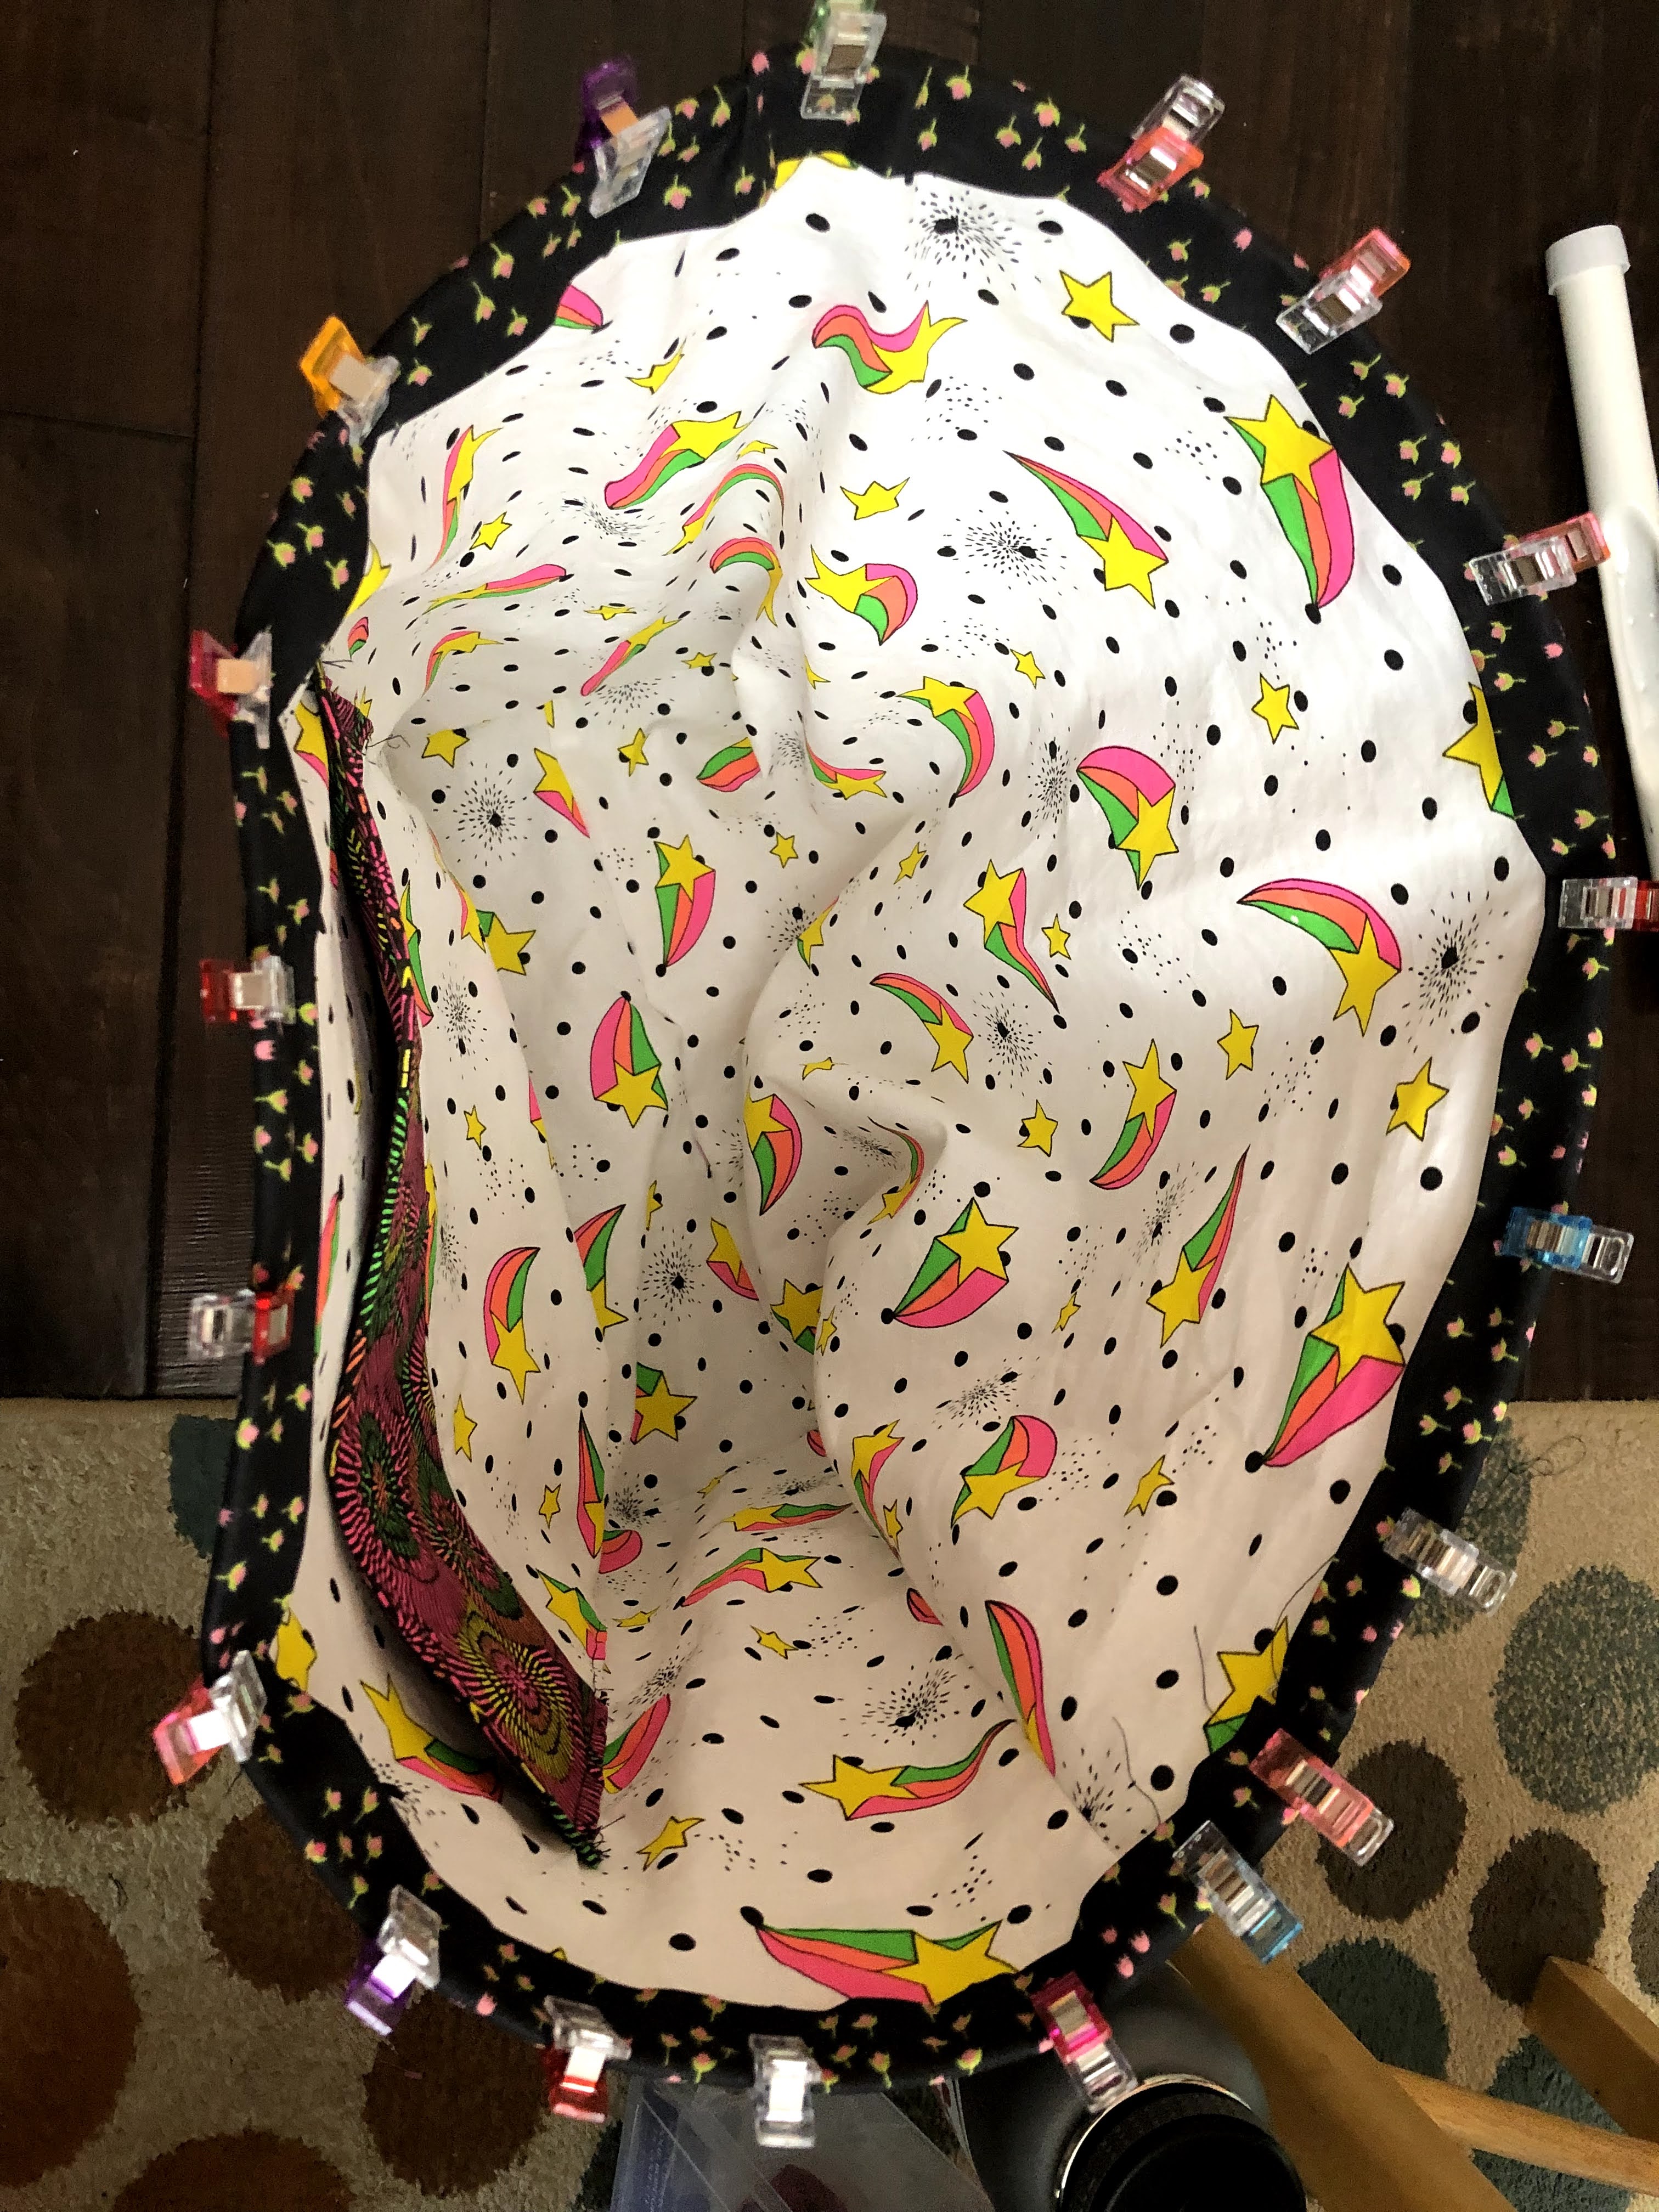
I sewed the outside to the lining, and then cut and folded and IRONED a width of fabric to trim around the edge. This fabric is NOT cut on the bias, but is used in the same application. I wanted to preserve the directional pattern. I clipped the fabrics together, sewed around, folded the fabric OVER and sewed it down again. The inside fold is a bit long. I am still considering another round with the sewing machine to keep it flatter. Time will tell.
I cut my polyester webbing in half (1 yard) and used fabric to cover the cut edges. After considerable care, I marked and placed the handles. No, I didn’t use a ruler here. I totally measured with my hands- my finger widths became an impromptu ruler. I wish I was kidding.


And there it is. How I made this huge tote bag. I’m thrilled by it. I love the slightly off-kilter pockets. The whimsical perfectly imperfect nature. It is sturdy and the straps are SUPER secure! I know this will last me all the years I am involved with Girl Scouts, and beyond (I’ll just change the patch).
I need to go over some of the outer interfacing parts, moving the fabric around creates some puckers around the creases, and I want it to lay better.
This year I’ve started to use interface more in my sewing projects. I’ve always avoided it, because there are SO MANY different types and I’m never sure which one I should use. Of course, I could do insane things, like USE PATTERNS more often… but then what would be the fun in that. Live dangerously. Make it up as you go along.

17 responses to “Shoddy Seamstress Adventures: Giant Tote Bag”
I love your fun and whimsical approach. And honestly? It really isn’t shoddy at all. More like couture – flat fabric, pinned into place, then sewn as you go to fit exactly what you want/need. Hooray for a finish on it AND being functional AND exceptionally cheery!
LikeLiked by 1 person
I love the idea of my free-form-sewing approach as couture!! It makes me feel fancy.
OOAK: not just for hand-dyed yarns!
LikeLike
What a great bag. All those colors! You did well. Once GS are done you can change that patch to the witchy one. LOL.
LikeLiked by 1 person
LOL, what a great idea! I love being as cheeky as I can get away with. I’m not very “good” at respecting authority.
LikeLike
What a fun looking bag, thanks for sharing how you made it. I have loads of measuring tapes yet regularly use my fingers to measure.
LikeLiked by 1 person
Sometimes “close enough” is *JUST* right!!
LikeLiked by 1 person
I absolutely adore the rainbow fabric. I wish I knew how to sew. Fabulous job!
LikeLiked by 1 person
Thank you! When I saw it, I just KNEW that was the fabric I wanted to build my bag around. Its whimsical but not childish.
Live dangerously: learn to sew!! My sewing machine practically does all the work for me. My skills as a sewist have really improved with all the practice I’ve been giving myself.
LikeLiked by 1 person
I’ll definitely get my machine out and teach myself. I’ve had it for 3 years and have not done anything 😂
LikeLiked by 1 person
I love this! For a long time I only sewed basic drawstring project bags or PJ pants. Mostly just straight lines. A secret: IRON all your folds and hems. It makes a huge difference.
LikeLiked by 1 person
I was thinking a drawstring but to be honest I REALLY want a cute zipper bag to put socks in. May as well learn what I really want 😂. I think I’m gonna find me a rainbow fabric too
LikeLiked by 1 person
I got my fabric from my local Joann.
LikeLiked by 1 person
That is one fabulous bag – I would buy it in a heartbeat!
LikeLiked by 1 person
That is an amazing compliment! Thank you! The more I look at it, the more I love it.
LikeLike
I love this bag so much! It also looks like it would be perfect for large sweater or blanket projects 😀
LikeLiked by 1 person
Its so bright and happy and is going to make misplacing my bag impossible. Since it is SOOO awesome, I’m going to make a little patch with my name and Troop Number for it.
As I was making it, I was thinking the SAME thing, but with a fusible fleece interface (easier to work with too). Look at our great minds thinking alike!!
LikeLike
[…] made a little accessory pouch to put into my giant Girl Scout tote. This way I can easily find a pen/pencil/mini-stapler. I made the little patch less busy than the […]
LikeLike