OK. Really 11 months. But a year sounds more dramatic.

We are active members at our local YMCA, it’s how we know Evan. He runs youth programming for middle and high school students, summer camps, running the community Vegetable Market in partnership with Hungry Harvest, managing the volunteers for said market, and A BUNCH OF OTHER STUFF. He is also my 4 year old son’s favorite person at the Y. Last winter, my son told Evan that I was going to make him a scarf. Instead of laughing it off I said, “What color would you like, Evan”?
That week I found a nice dark green, and it was on sale. I THOUGHT two balls would be adequate (more on this later). I had recently worked a Fishermans’ Rib pattern, and thought it would make a nice scarf. I just couldn’t bring myself to START that scarf. The potential tedium was a bit off putting. So the yarn (and needles) sat together in a ziplock bag with my pending projects and class samples until DECEMBER. Then inspiration struck.
I was looking though one of my my cable pattern/panel books when I found it.
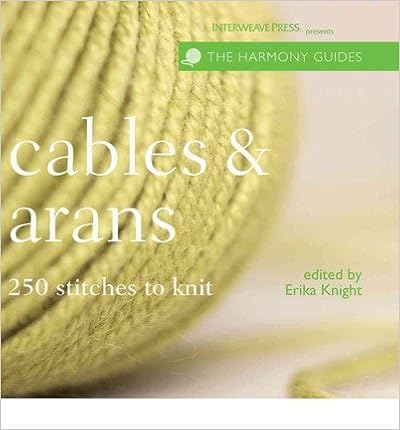
There it was. The the Large Woven Cable. The cable looks complicated. But out of 12 rows of pattern repeat there are TWO rows with easy-to-work cabling. It is one of the easiest cables I’ve worked! I had my cable, but what to do with the rest of it? I wanted the project to be easy to work, but thick and squishy, so I decided to flank my cable with 10 stitches of garter stitch on either side. No curling, so much squish! And I wanted a neat, polished edge, so slip stitch edge it was! I had seen some scarves with a short section of ribbing (1″ or so) at the bottom recently. I like how neat ribbing makes a finished edge look; but what would it look like if I made the ribbing deep?

After the first 6 rows of the pattern stitch, I wasn’t sold. After multiple pattern repeats, my spouse asked if it was a sleeve when I showed him my progress. I was beginning to second guess my decision to deep rib the bottom. But still, I carried on. What’s the worst that could happen? It would look silly, and I would rip it out and try something different with the ends. But from the onset, I REALLY liked the cable and garter stitch combination I was working. At the 10 repeat mark, I was beginning to wonder if I had enough yarn. Which I THINK may be discontinued. Even if it was still available, there was NO WAY I was going to be able to match the dye lot. I carried on.

After finishing, I measured the final length. 68″. My vision had the scarf being 74″inches in length, the approximate height of Evan. I had started the ribbing after 31 pattern repeats. I didn’t want to run out of yarn. Of course I could have weighed my yarn to have a better idea regarding how much yarn I had left. In the end, there might have been enough yarn to finish the final repeat (instead of ending on row 4). I was suspect that the scarf was going to be long enough, but SUCCESS! It is a fine length for my (very tall) friend! Who seems to genuinely like his new scarf.

You can make your own “Evan Scarf”! You will need at least 400 yards of a worsted weight yarn, size 6 and 8 needles, a cable needle, and the FREE pattern from Ravelry.
Happy Knitting!
