
It is currently Saturday morning. Which in and of itself, is a neutral statement. However, I started writing this post on Wednesday, a planned power outage interrupted me, and I have not made the space to finish this post until now.
This is one of my best sewing projects ever. EVER.
I’ve been wanting an ottoman to put my feet up on. For a while. I’ve also had GRAND machinations of crocheting one. I’ve even started working on a couple. We (myself AND the spouse) have also been playing a fun game: which pillow is the right pillow for me to sleep on. We have MANY losers. I’ve been stashing them for this moment: the Ottoman. My fiber stash has gotten somewhat bigger lately. I don’t know how it happens. I go to Joann’s and somehow MORE FABRIC comes home with me. I have ALL the ideas, but finite time. Alas, the curse of sleep and housework and responsibility.
But back to me cool sewing project.
I didn’t want anything too fussy, shape-wise. I wanted to make some simple cuts that I didn’t need to make pattern pieces for. I scoured Pinterest for a while and found a tutorial that was helpful in my no-real-pattern-sewing-project. The Happy Housie is where I got my dimensions and the general gist of which HOW.
I looked through my fabric DEEP DEEP stash. The almost 13 year old stash fabrics. The a fabrics I said, “I’m going to sew pants to wear in public out of this” when I purchased it stash. I’ve never made pants I could wear in public, and I still have the fabric.
So it goes.
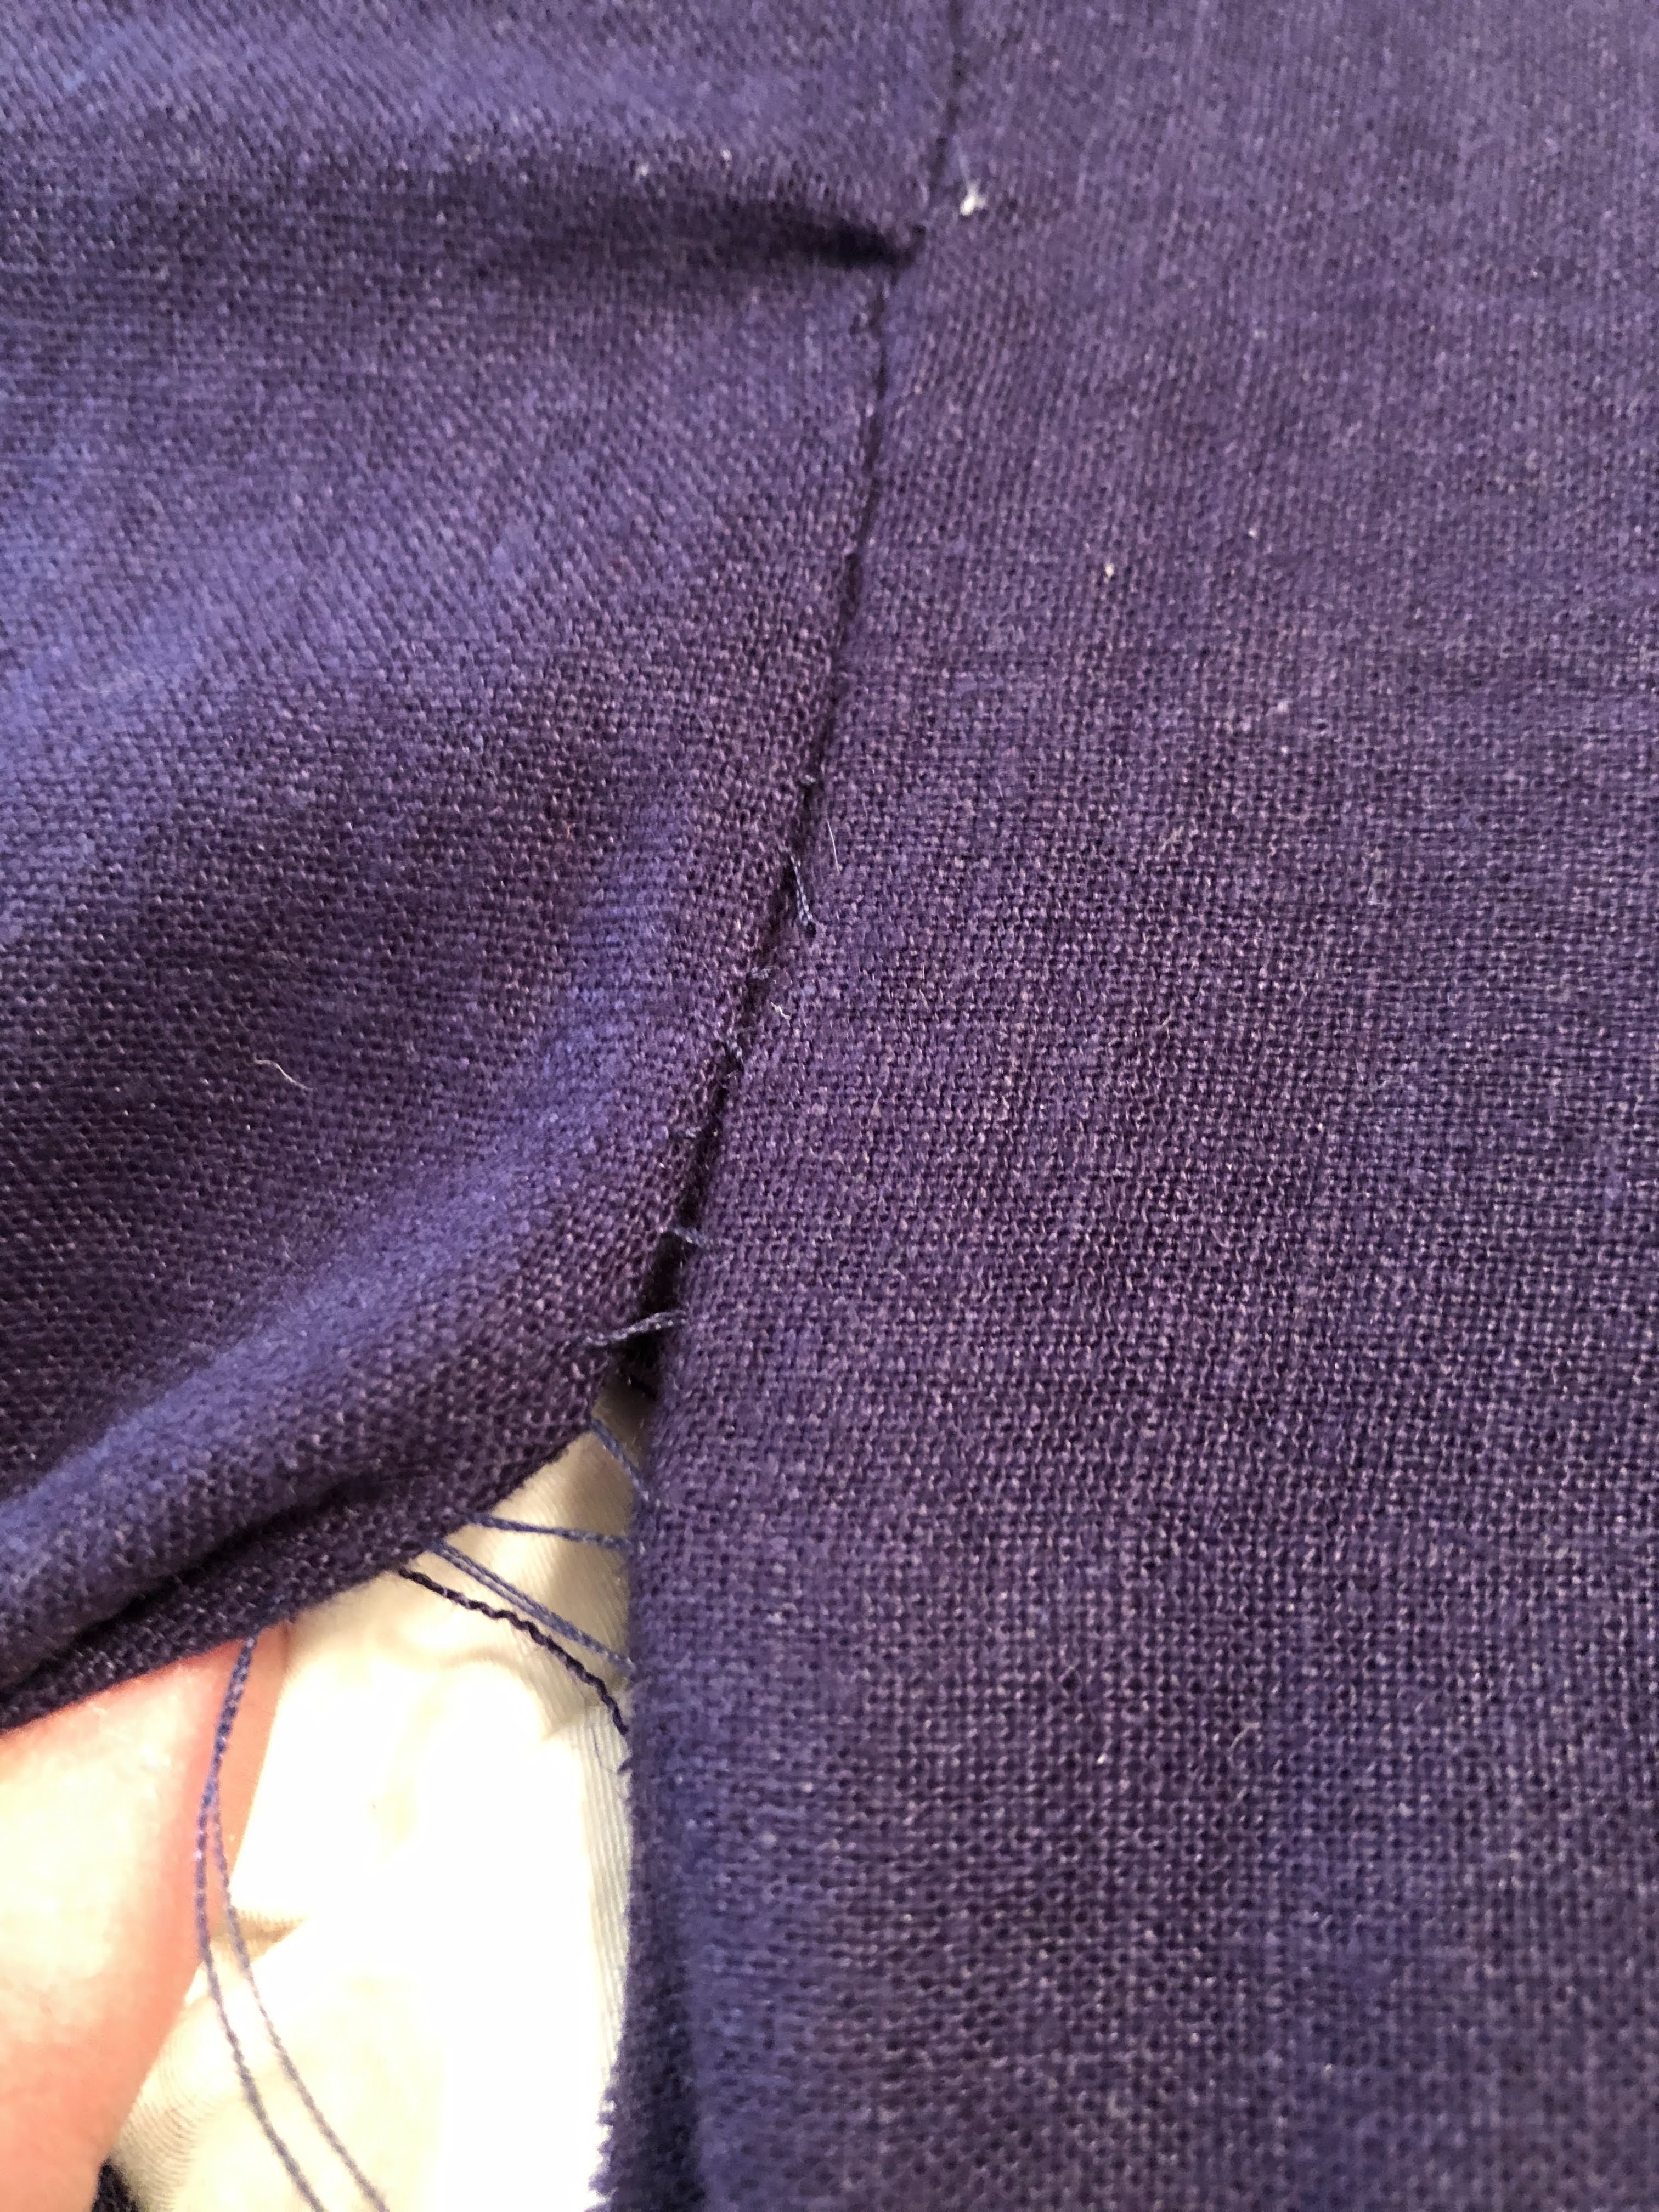
I selected this cotton “linen-like” weave for my project. I think I had 2 and a half yards? I pre-washed and pre-shrunk the fabric back when I got it, so no worries about that holding me up now. The color is navy, although the pictures make it look purple-ish.


I cut 6 18×18″ squares, and sewed them into a lower-case “t” shape. I selected a zig-zag stitch to give the seams added strength. It used A LOT of thread. 2 bobbins worth. I then sewed up the sides making a floppy cube, leaving one side open to add my filling.
I did sew one of my sections backwards, and the zig-zag is IMPOSSIBLE to seam rip, so I had to cut that and flip it and re-sew it. Even with that set-back, the cutting AND sewing only took about 40 minutes.
Next, I gathered up all the materials to fill it. 6 (or 7?) bed pillows, one woven throw blanket, and a down-alternative duvet insert. The bed pillows were all different materials. Foam, shredded foam and polyfil, down, down and polyfil, gel thickened polyfil, cheap pretty flat polyfil. Tracking down all the filling materials and actually getting it into the pouf took another 40 minutes or so.
If I ever make another one, I’ll use the polystyrene beads and fiberfil method I saw on the Pretty Handy Girl site. It will DEFINATELY be lighter in weight! I’m also out of random bed pillows and duvet inserts.

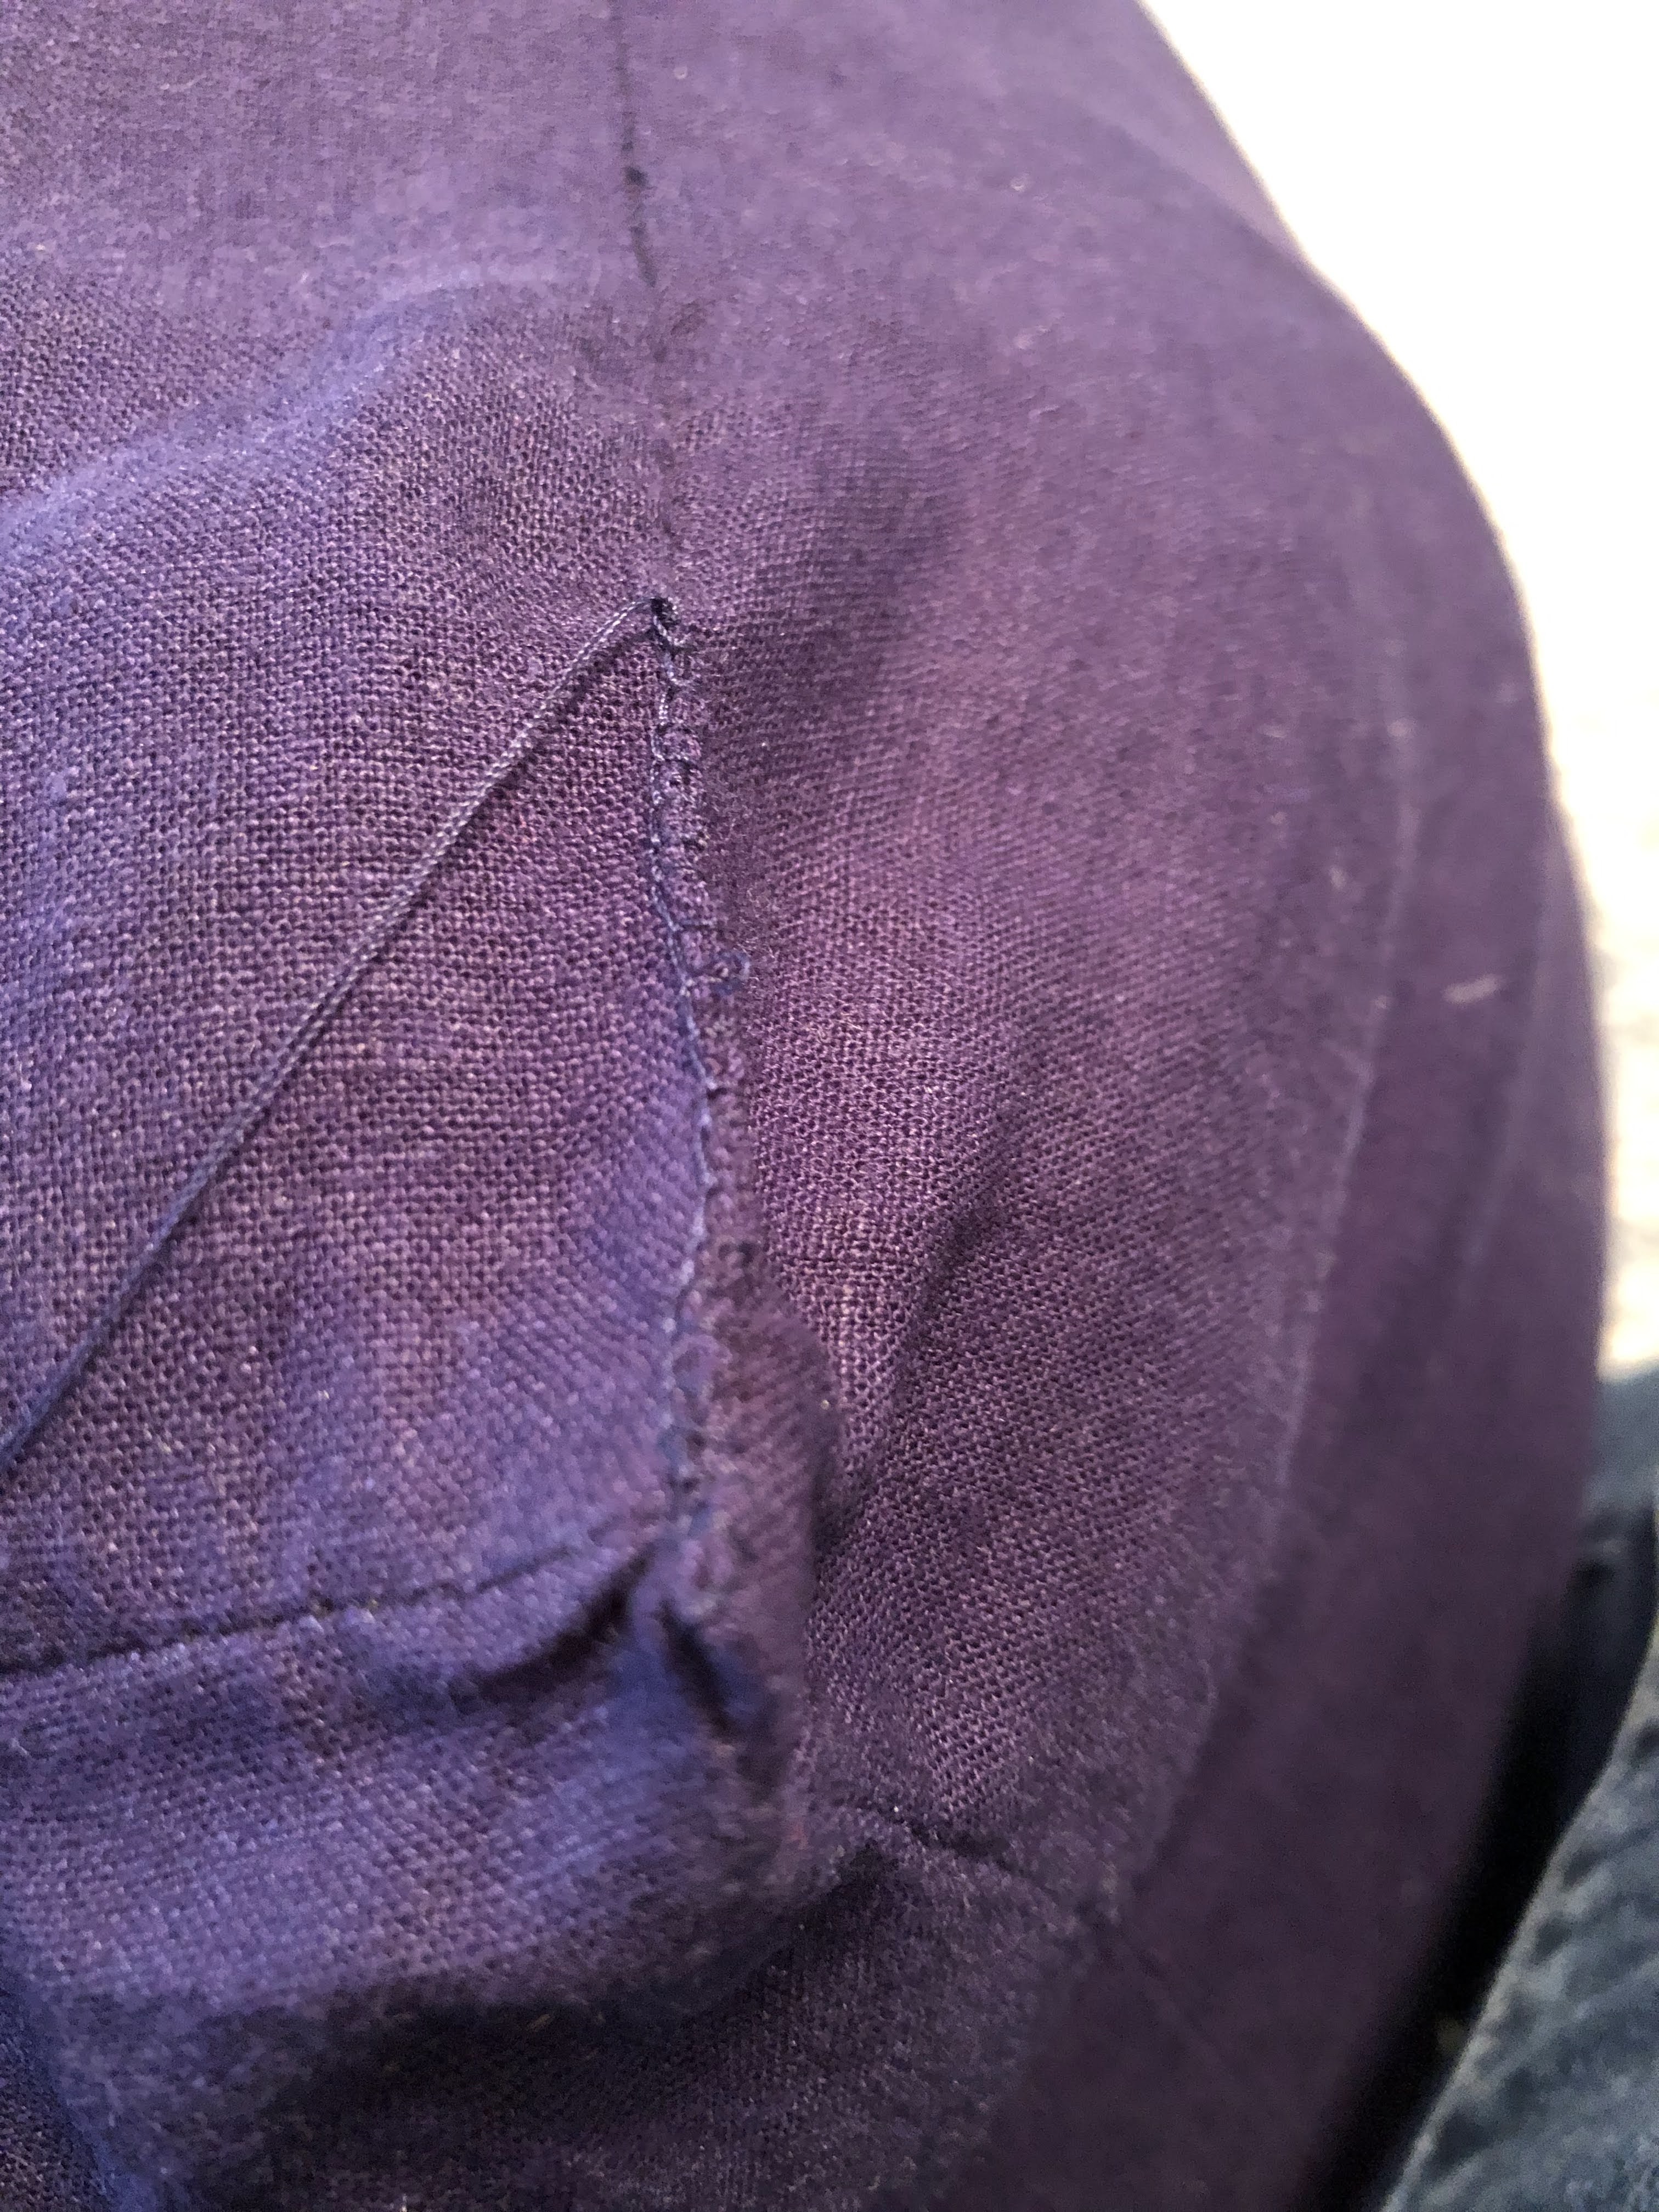
This is where my not great hand sewing skills made an appearance. I did the closure that is supposed to look continuous to your machine sewn seams (I don’t remember what its called). But 18 (ok, slightly less because of seam allowances) inches of that AND a VERY, VERY stuffed piece make it difficult. And I did not feel it was particularly strong. So I used a blanket stitch too, the one where you wrap your thread for seam strength and/or appearance. In retrospect, I should have reversed my sewing steps, visible blanket stitch for strength, invisible closure stitch to make it look professional.
It took me over an hour and a half to hand sew this shut. Seriously. By the end, I was ready for it to be over. The tutorial with the bead filling had a zipper. But I thought a zipper, ON a SEAM that would be getting a lot of stress from the overstuffing was a dangerous idea. Using different stuffing materials or off-setting the zipper from the seam could work, in the future. I would also glue a 1/2 foam to all the insides to make it look smoother.
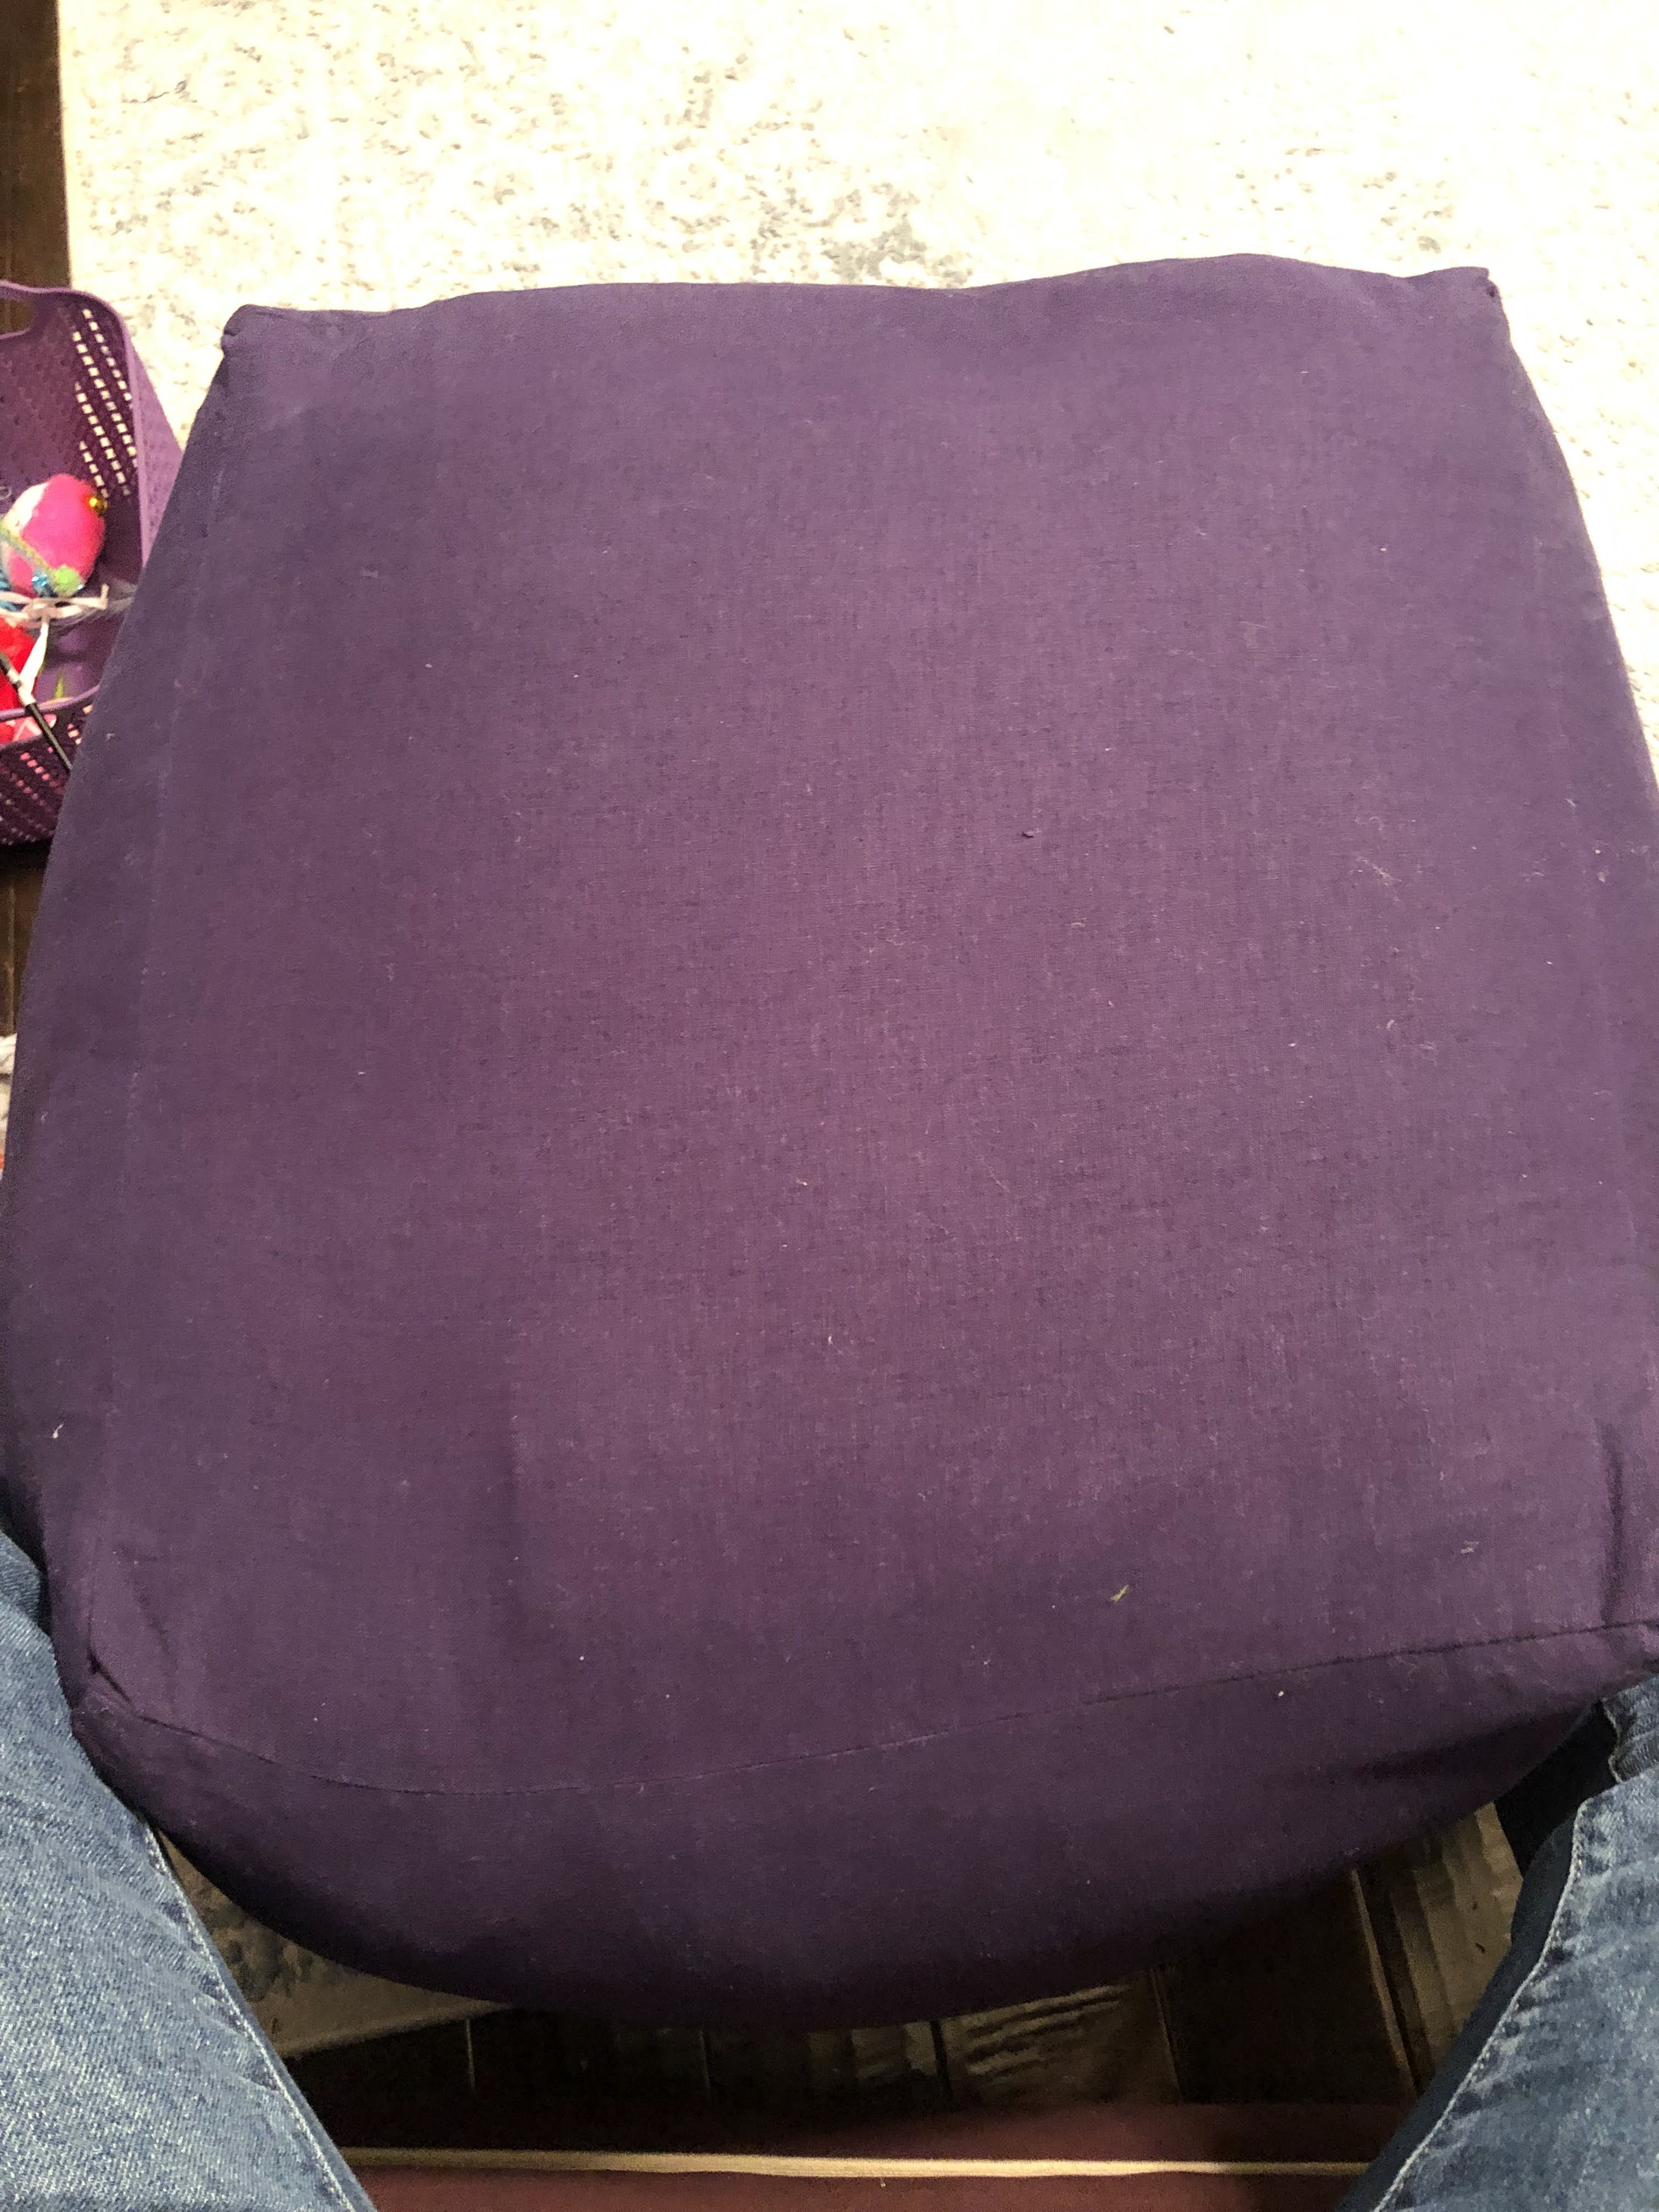

It has a very…. uh, casual shape. A bit lumpy. The corners not formal and crisp. Honestly, it fits right into my space. It is too heavy for my kids to move, so it will stay where I put it. I got myself an embroidery stitch book for Christmas, I might embroider onto the top and sides to break up the vast fields of blue.
This is a very useful addition to my living room. The project was done in a DAY, freed up closet space by upcycling old bedding, AND it cost me zero dollars. I mean, yes, all the materials were purchased AT SOME POINT, but the purchases were made SO LONG AGO that it doesn’t count. I guess the more accurate statement is that the project (minus the thread) cost me zero out of pocket dollars in 2021!! I’ll call this a fast, fun, free project!!

4 responses to “Shoddy Seamstress Adventures: Pouf.”
What a great use for unused pillows and bedding. Very clever.
LikeLiked by 1 person
Looks great! And comfy!
LikeLiked by 1 person
NICE! And a great way to use you things lurking in stash – enjoy it!
LikeLiked by 1 person
That is a great project! And the price of supplies is definitely right! Love your socks. 🙂
LikeLiked by 1 person