
Have you been trying to figure out what to do with all your short (3-5 yard) leftover fingering weight yarn bits? Look no further! This 2-Row Crochet Granny Triangle only needs a few yards PER triangle! You can make your bunting any length and use as many (or as few) colors as you want.
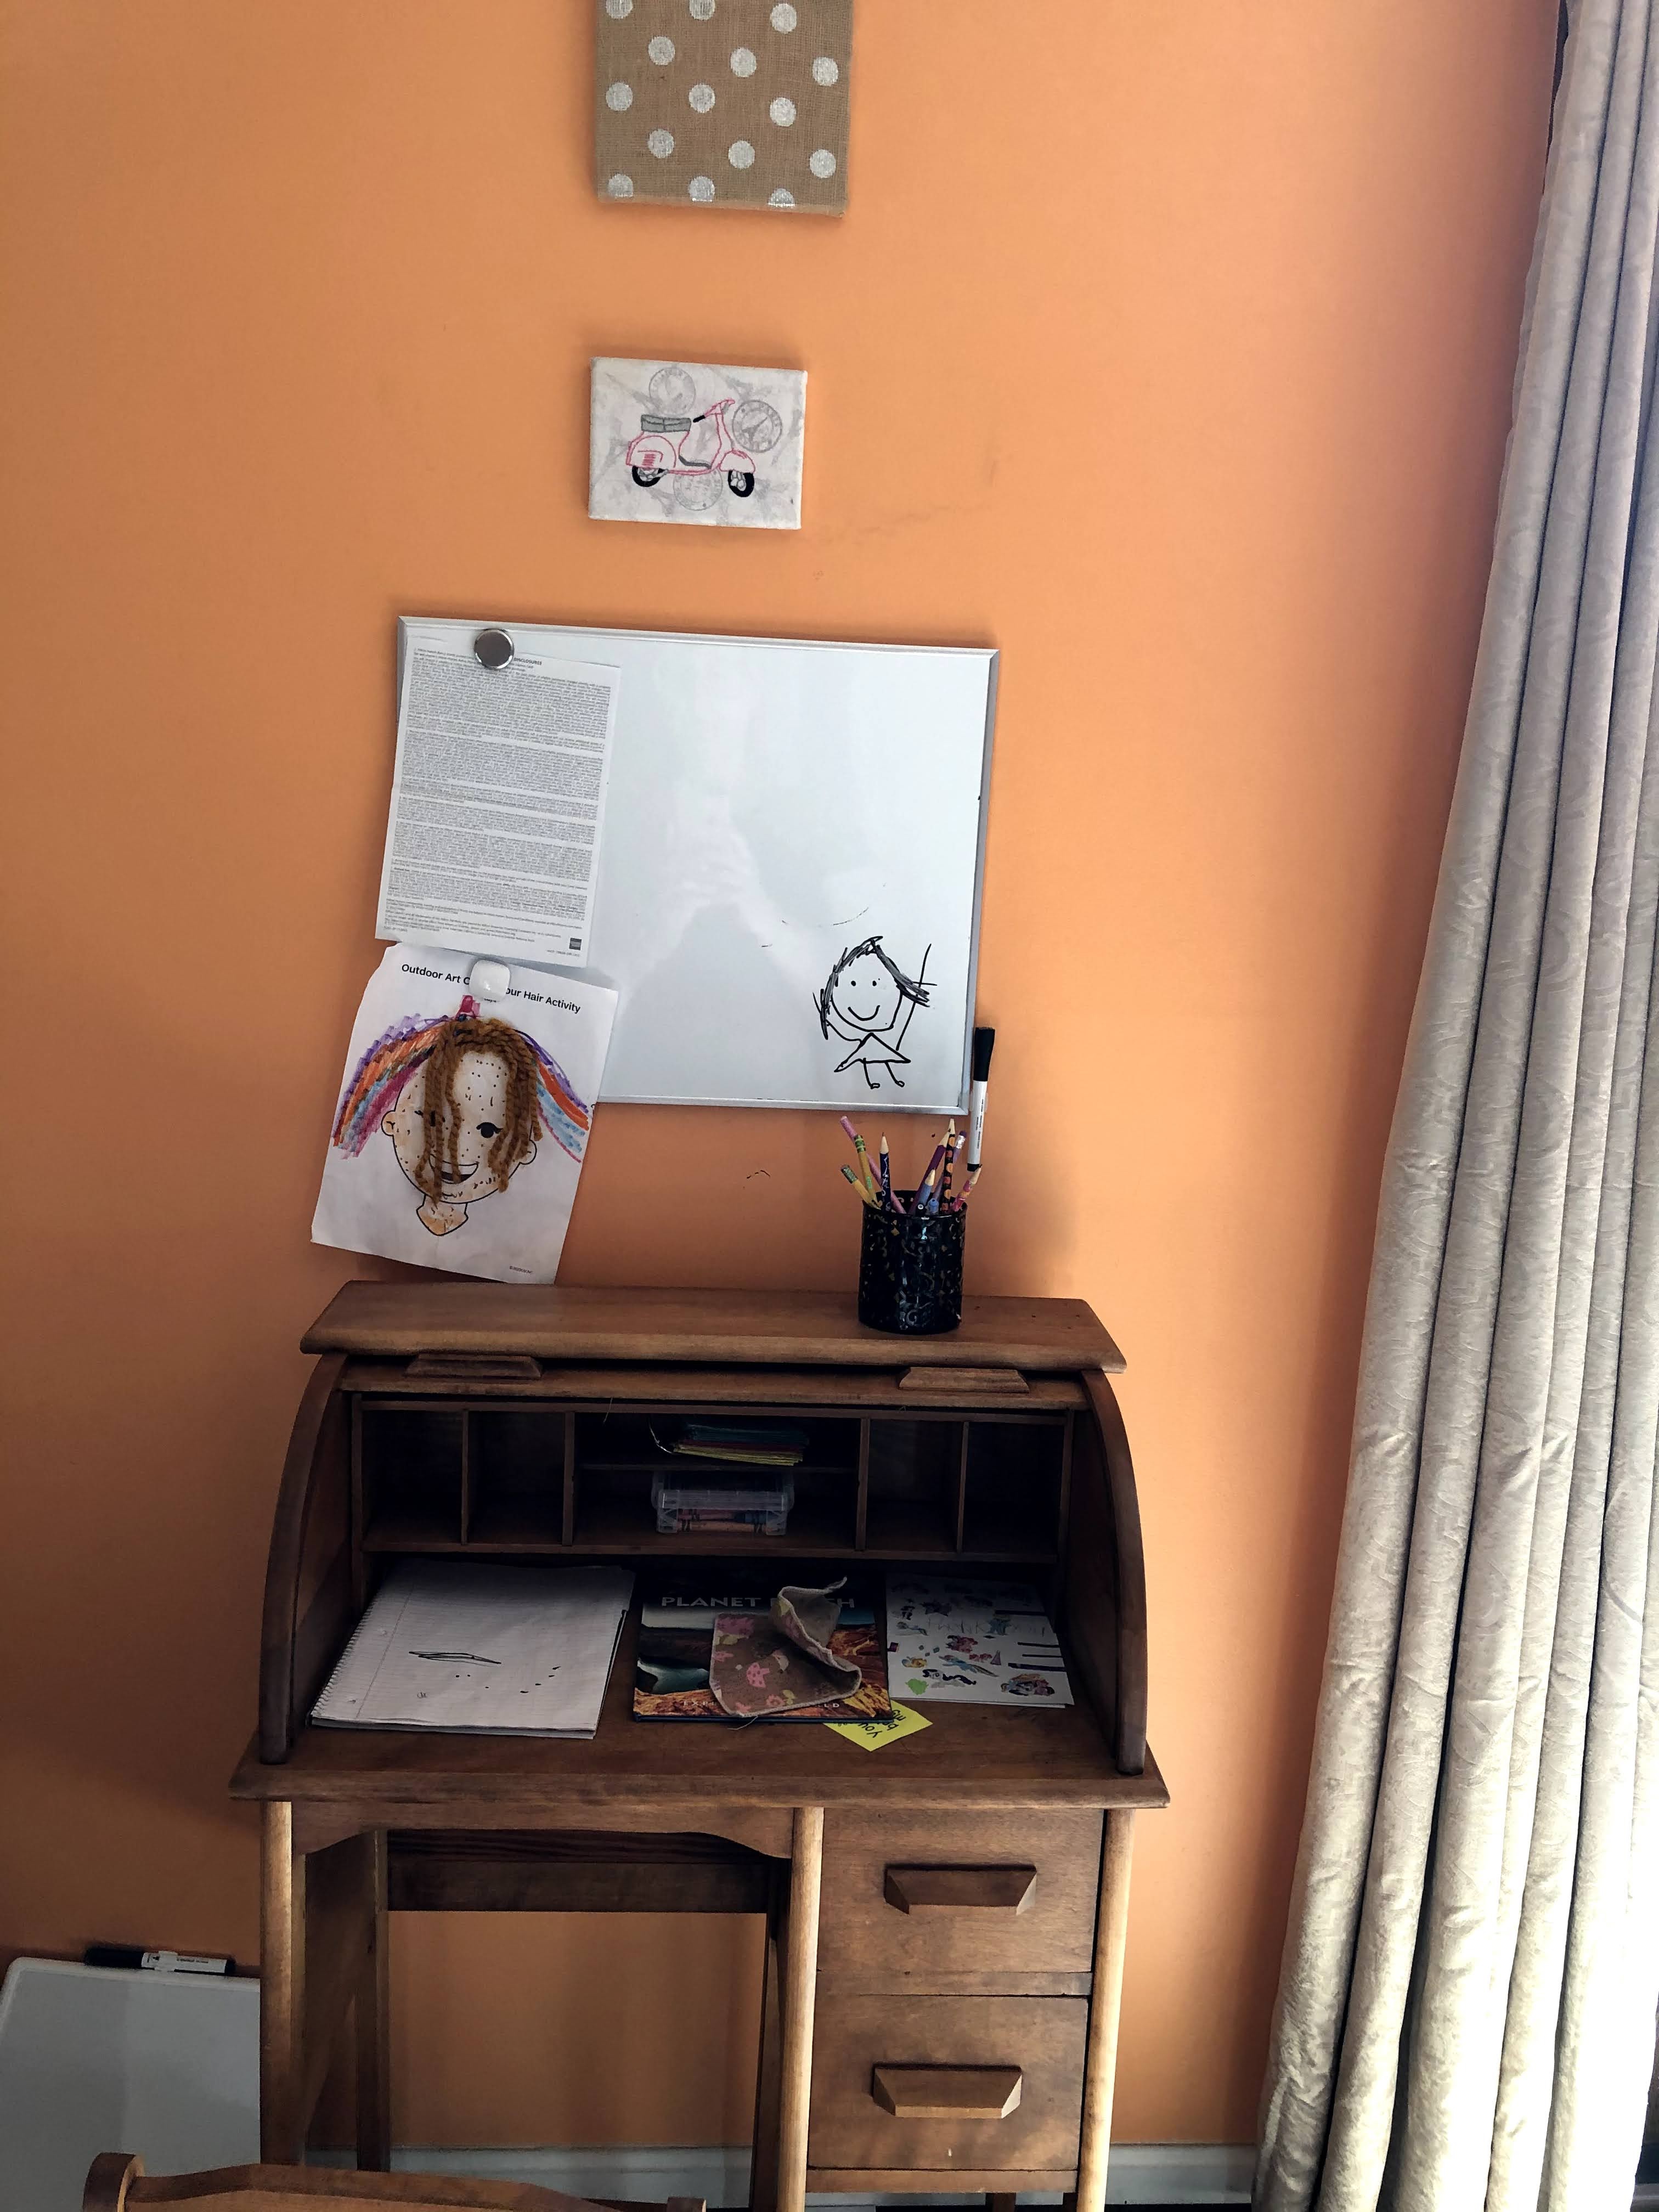
Inspiration: My daughter’s school is going virtual for the 1st semester of the 20/21 school year. Her desk space, a small area in our dining room, wasn’t looking very inviting. After the addition of a whiteboard, I needed something to cover the old nail holes that were previously covered. One of the items was a polka-dot burlap covered frame that had been an impulse purchase. Hey, clearance pricing can be VERY compelling. It had been sitting in my craft supply purgatory waiting for… something.
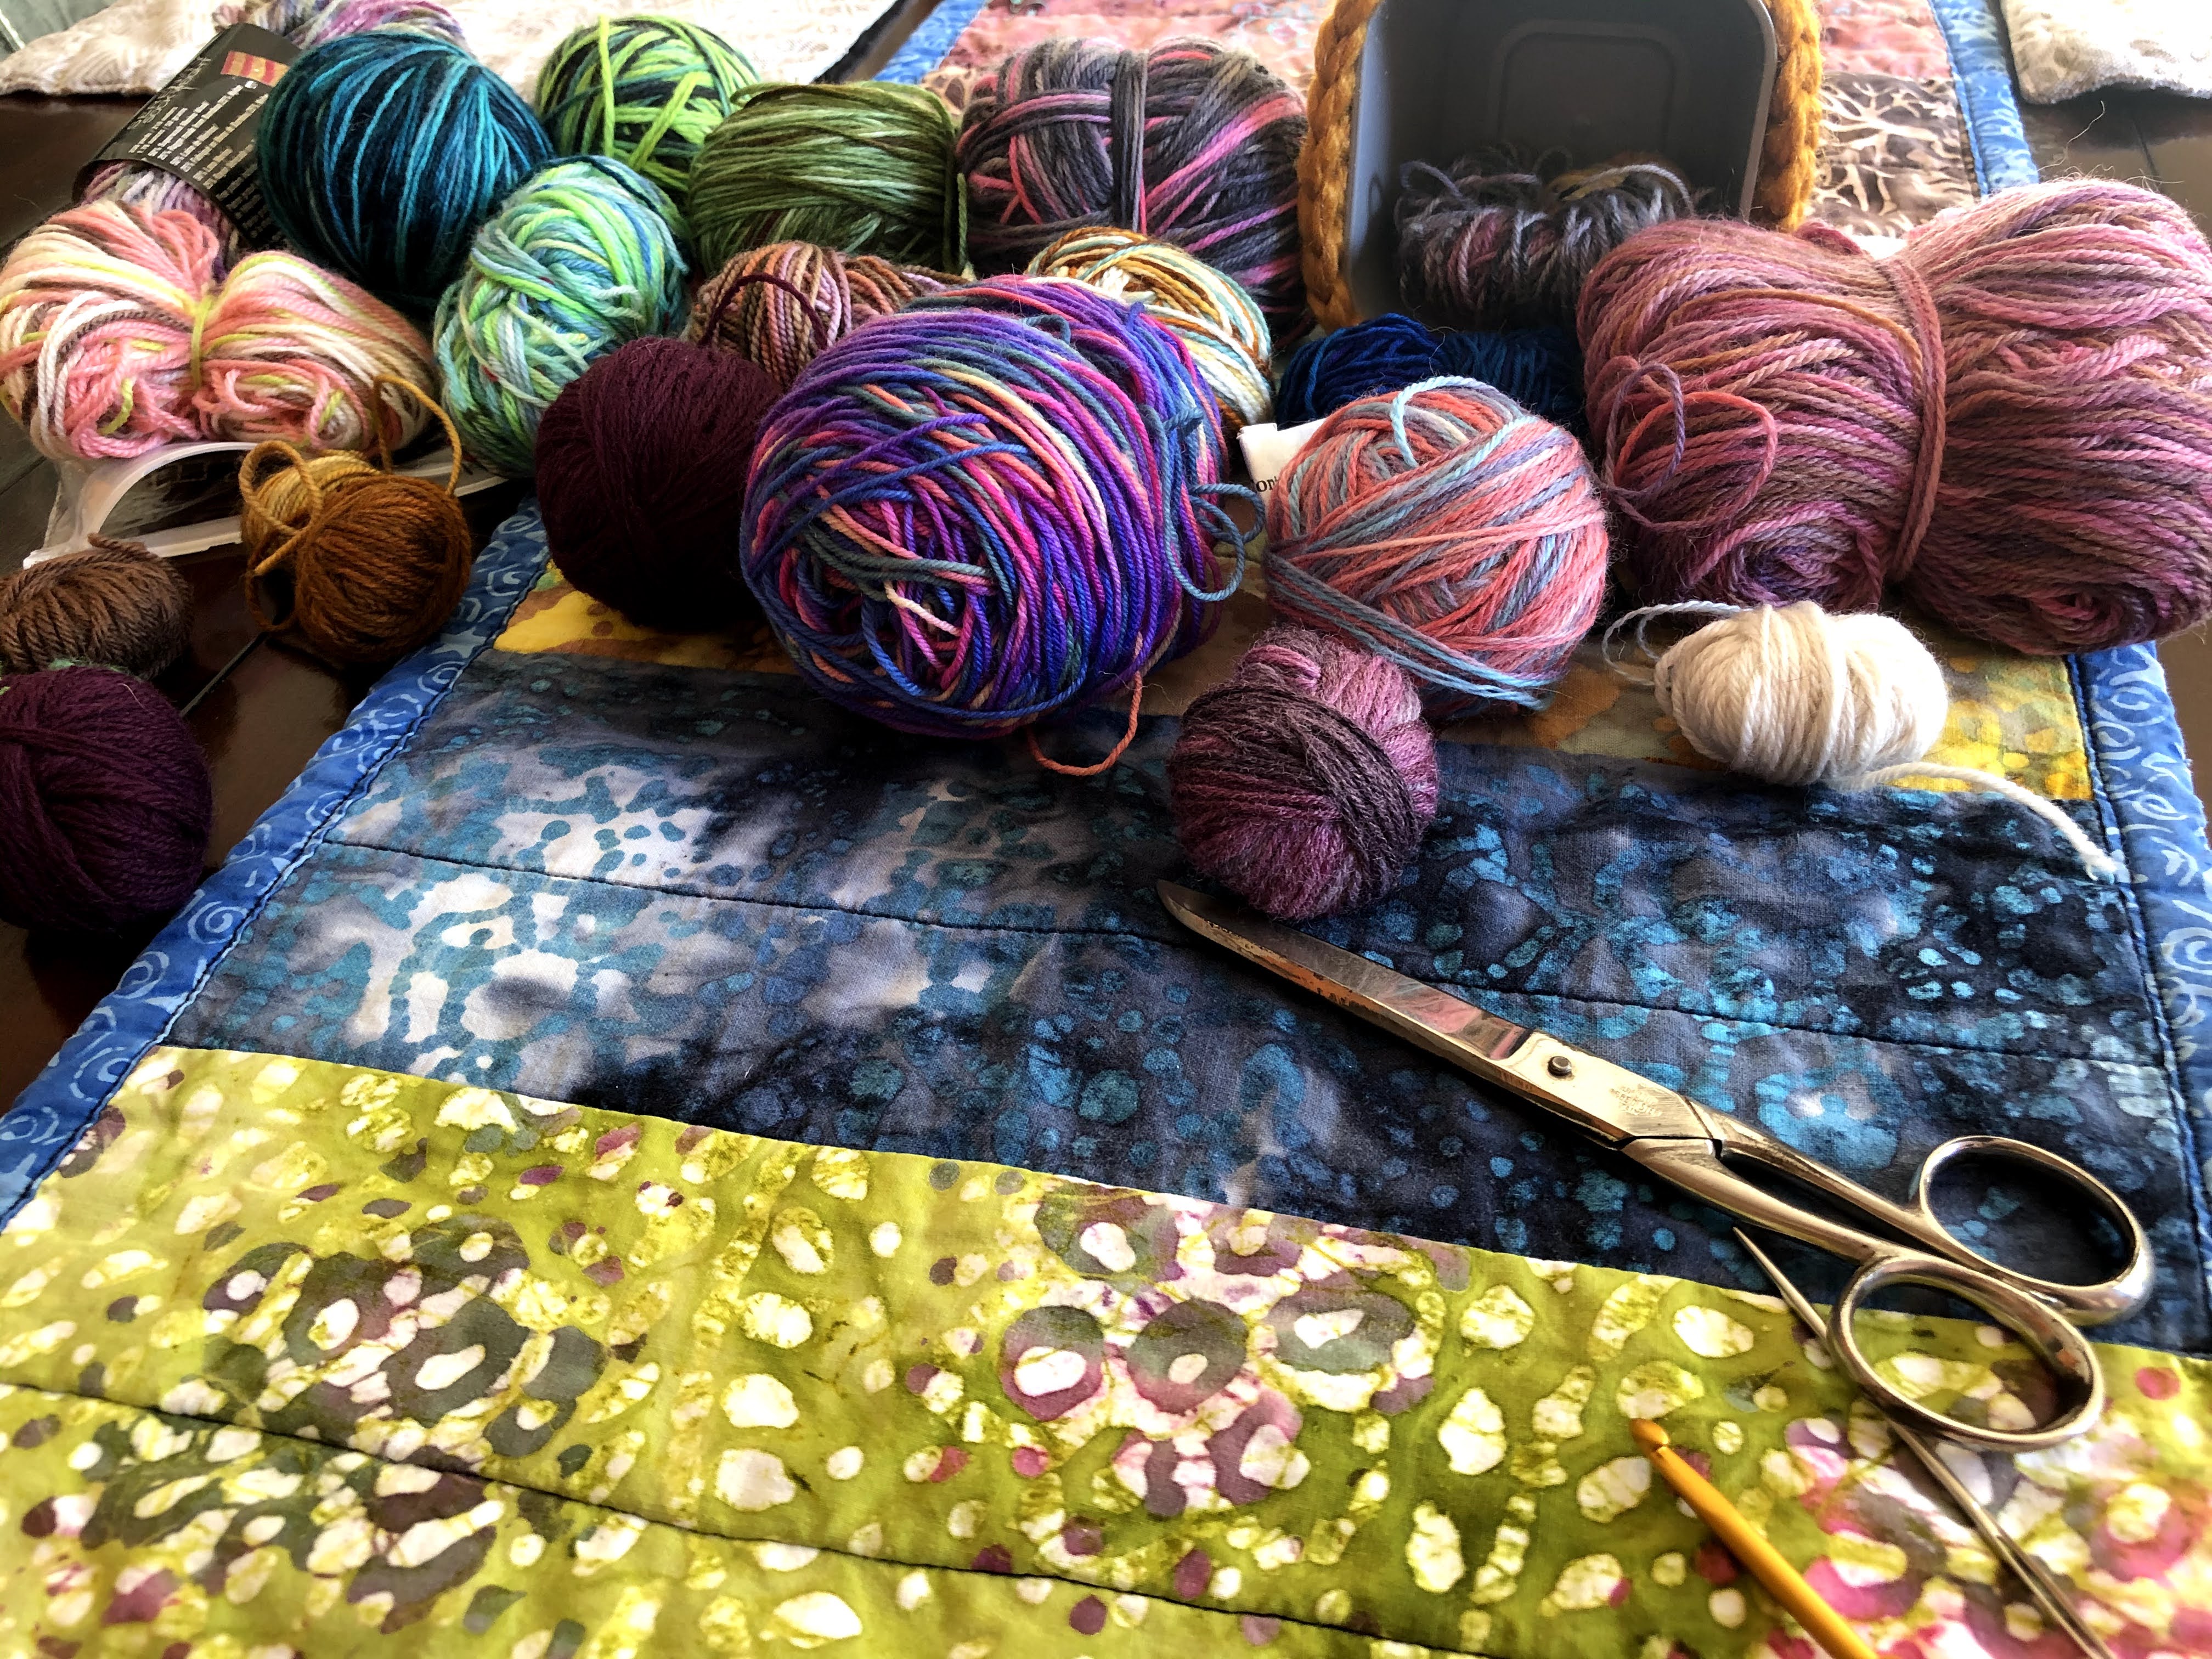
Getting everything set-up. 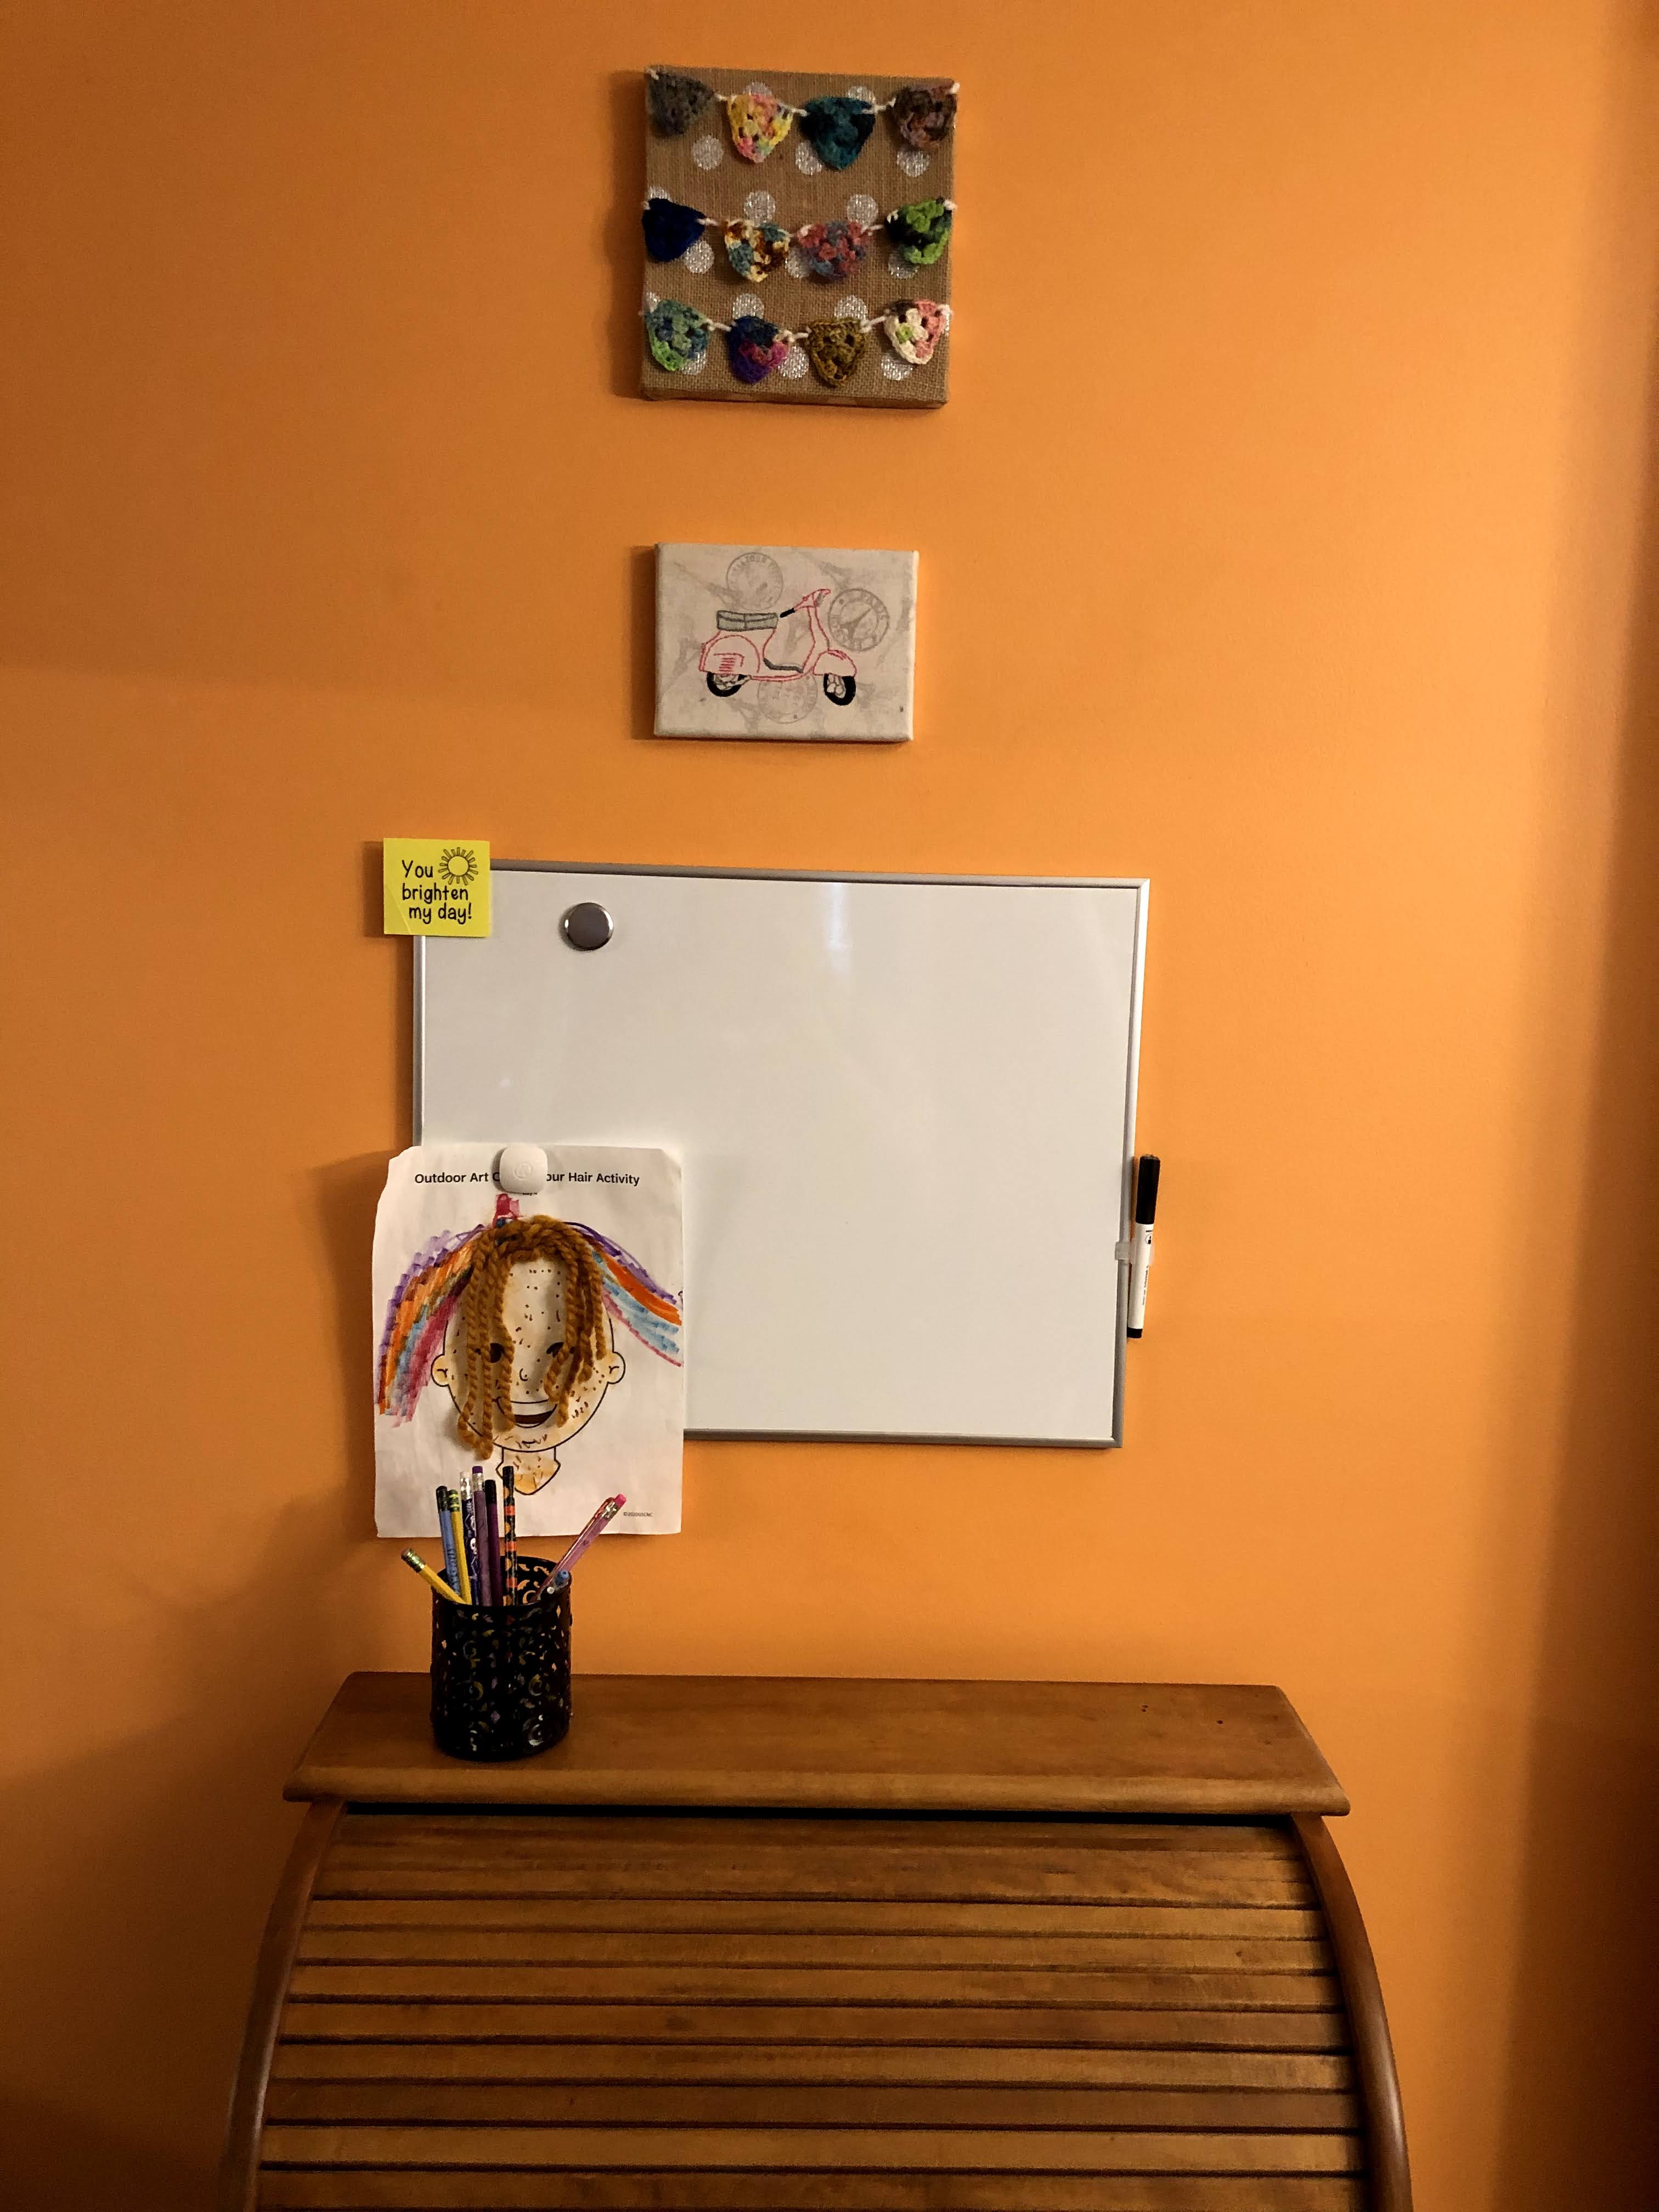
Decorations Mounted!
I know its not “insta-perfect” and my dining room has the worst light for photographs. Those things don’t matter, because my 6 year old is THRILLED about her “new” school space. Total cost: $10. Rounding up to the nearest dollar the price of the white board. Everything else was repurposed.
2-Row Granny Triangle Bunting
Materials:
Yarn:
Per Triangle: 3-4 meters of fingering weight yarn
Length to attach the triangles to. To determine length needed: The desired total length of the bunting plus 2″ per triangle to attach. You could also use ribbon.
Hook: G/4mm
Other Notions: Yarn Needle for weaving in ends and scissors. Optional: Mounting Frame and staple gun
Finished size of each triangle before blocking: 1.75″ (4 cm) wide by 1.75″ (4cm) high
Abbreviations:
Ch: Chain
DC: Double Crochet
Pattern Instructions:
2-Row Granny Triangle
Begin by setting up your magic circle/ring/loop.
Row 1: Ch 3 into the loop. 2 DC into the loop, chain 3, *3 DC into the loop, Ch 3* twice. Slip stitch into the top of the initial Ch 3 to complete the round. Pull the loop taut to close. Do not turn.
Row 2 Prep Note: Rotate the piece slightly to the left, you will be making your first cluster of stitches into the space created by the final Ch 3 space from row 1.
Row 2: Ch 3 into the Ch 3 space in the row below, work 2 DC into the same space, Ch 2, Into the NEXT Ch 3 space *3 DC, Ch 1, 3 DC, Ch 2*, repeat into the next Ch 3 space. Work 3DC into the space you worked your CH3, 2 DC into, CH3, slip stitch into the top of the beginning of row Ch 3.
Fasten-Off. Weave in ends. Block, Starch, Iron, as desired.
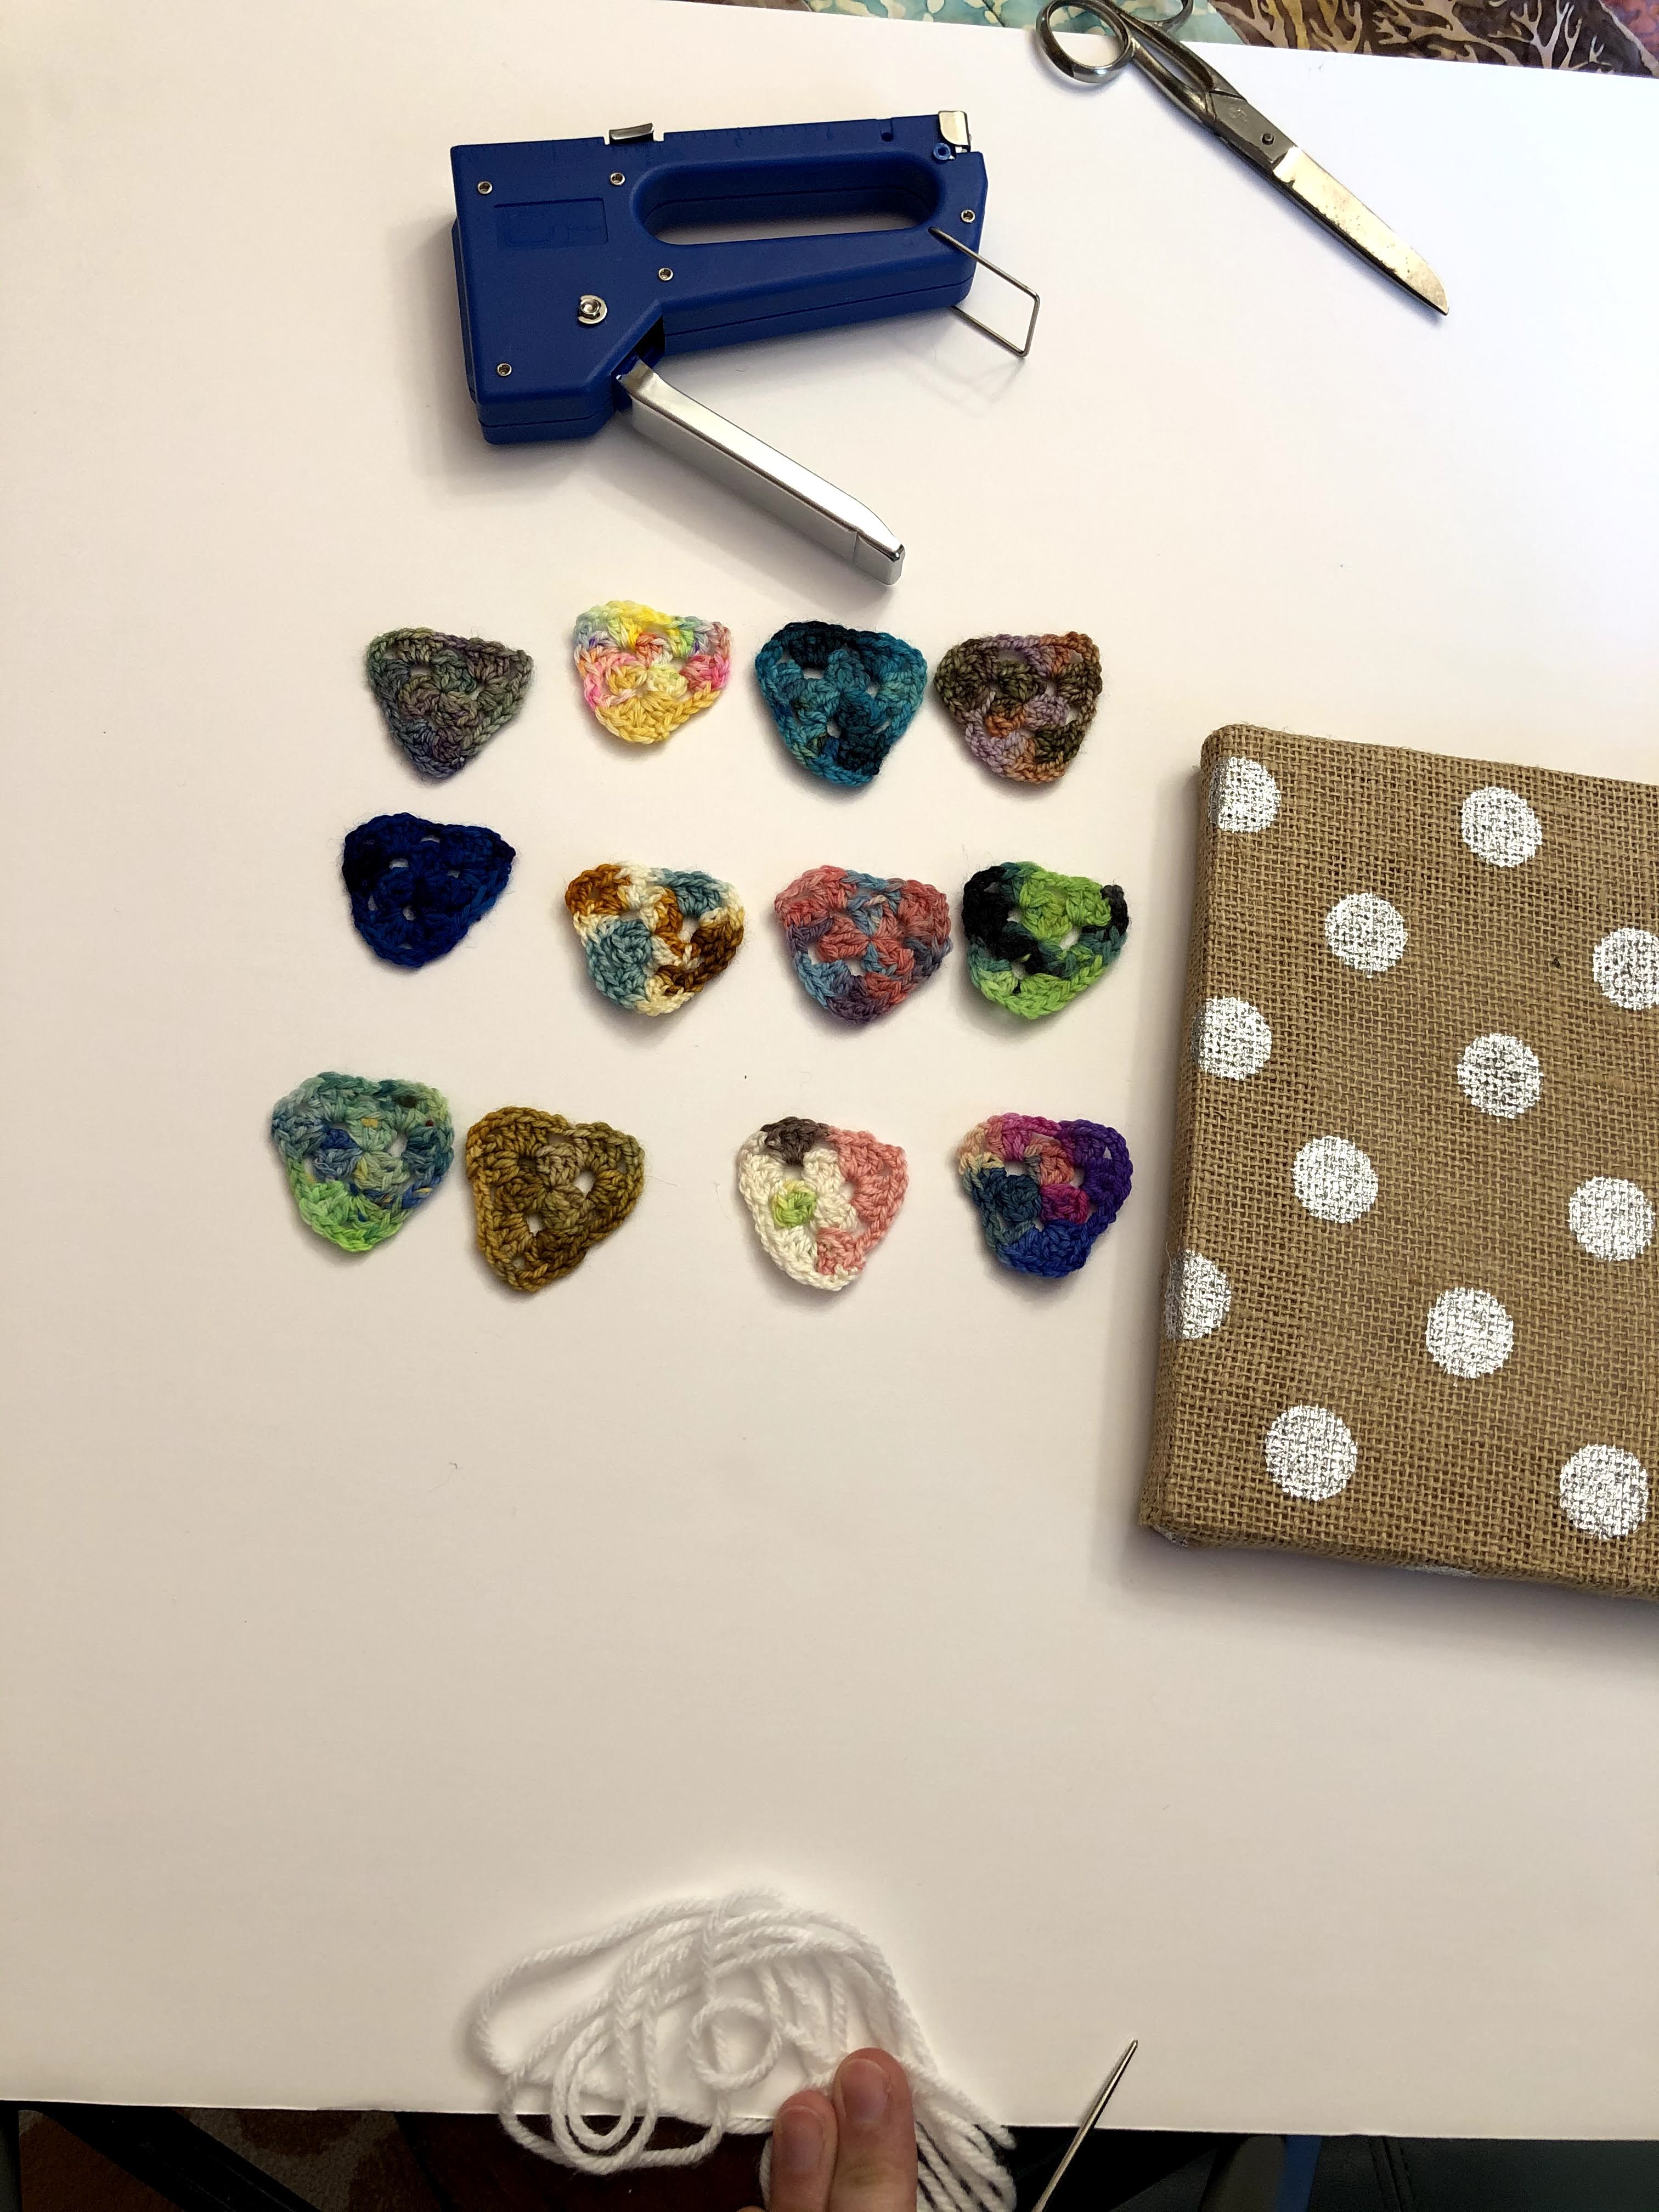
Prepare all triangles in preparation for bunting assemblage.
Assembling the Bunting
You will need:
-Your prepared triangles
-Crochet Hook for attaching triangles to yarn/ribbon
-Length of yarn or ribbon to attach your triangles to. The length of your yarn or ribbon should be the desired finished length, plus 2″ PER triangle. Ex: if you want your finished bunting to be 24″ long with 10 triangles, you will need a length of yarn approximately 44″ long. This length may seem long, but remember, you can always trim DOWN the length, but adding length is not a seamless.
Leave a tail before you attach your first triangle. I suggest 5″ (13 cm).
Working from left to right, For the first corner, insert the hook from back to front, pull through a loop, yarn over, pull the yarn over and the tail all the way through the loop. On the second corner, insert the hook from front to back, pull through a loop, yarn over, pull yarn over and the tail all the way through the loop.
Repeat until all triangles are attached, maintaining a consistent distance between each triangle. Trim any excess length.

Assembling the bunting to a frame:
For my project, I made 3 small buntings, finished length about 14″ each. I left ample tails on either side, which I trimmed after mounting.
Position buntings where you want them, and make marks on the backside of the project where you need to affix with staples. You may also use tape as a place marker, be sure to remove any visible tape after stapling.
I secured the yarn with staples to the wooden frame on the back, the side, and UNDER the first and last triangle of each row.
I suggest staples over glue because there is no dry time and staples over tape for better staying power.
An aside, this is the first time I’ve ever used this staple gun! I’ve had it for a decade, at least.
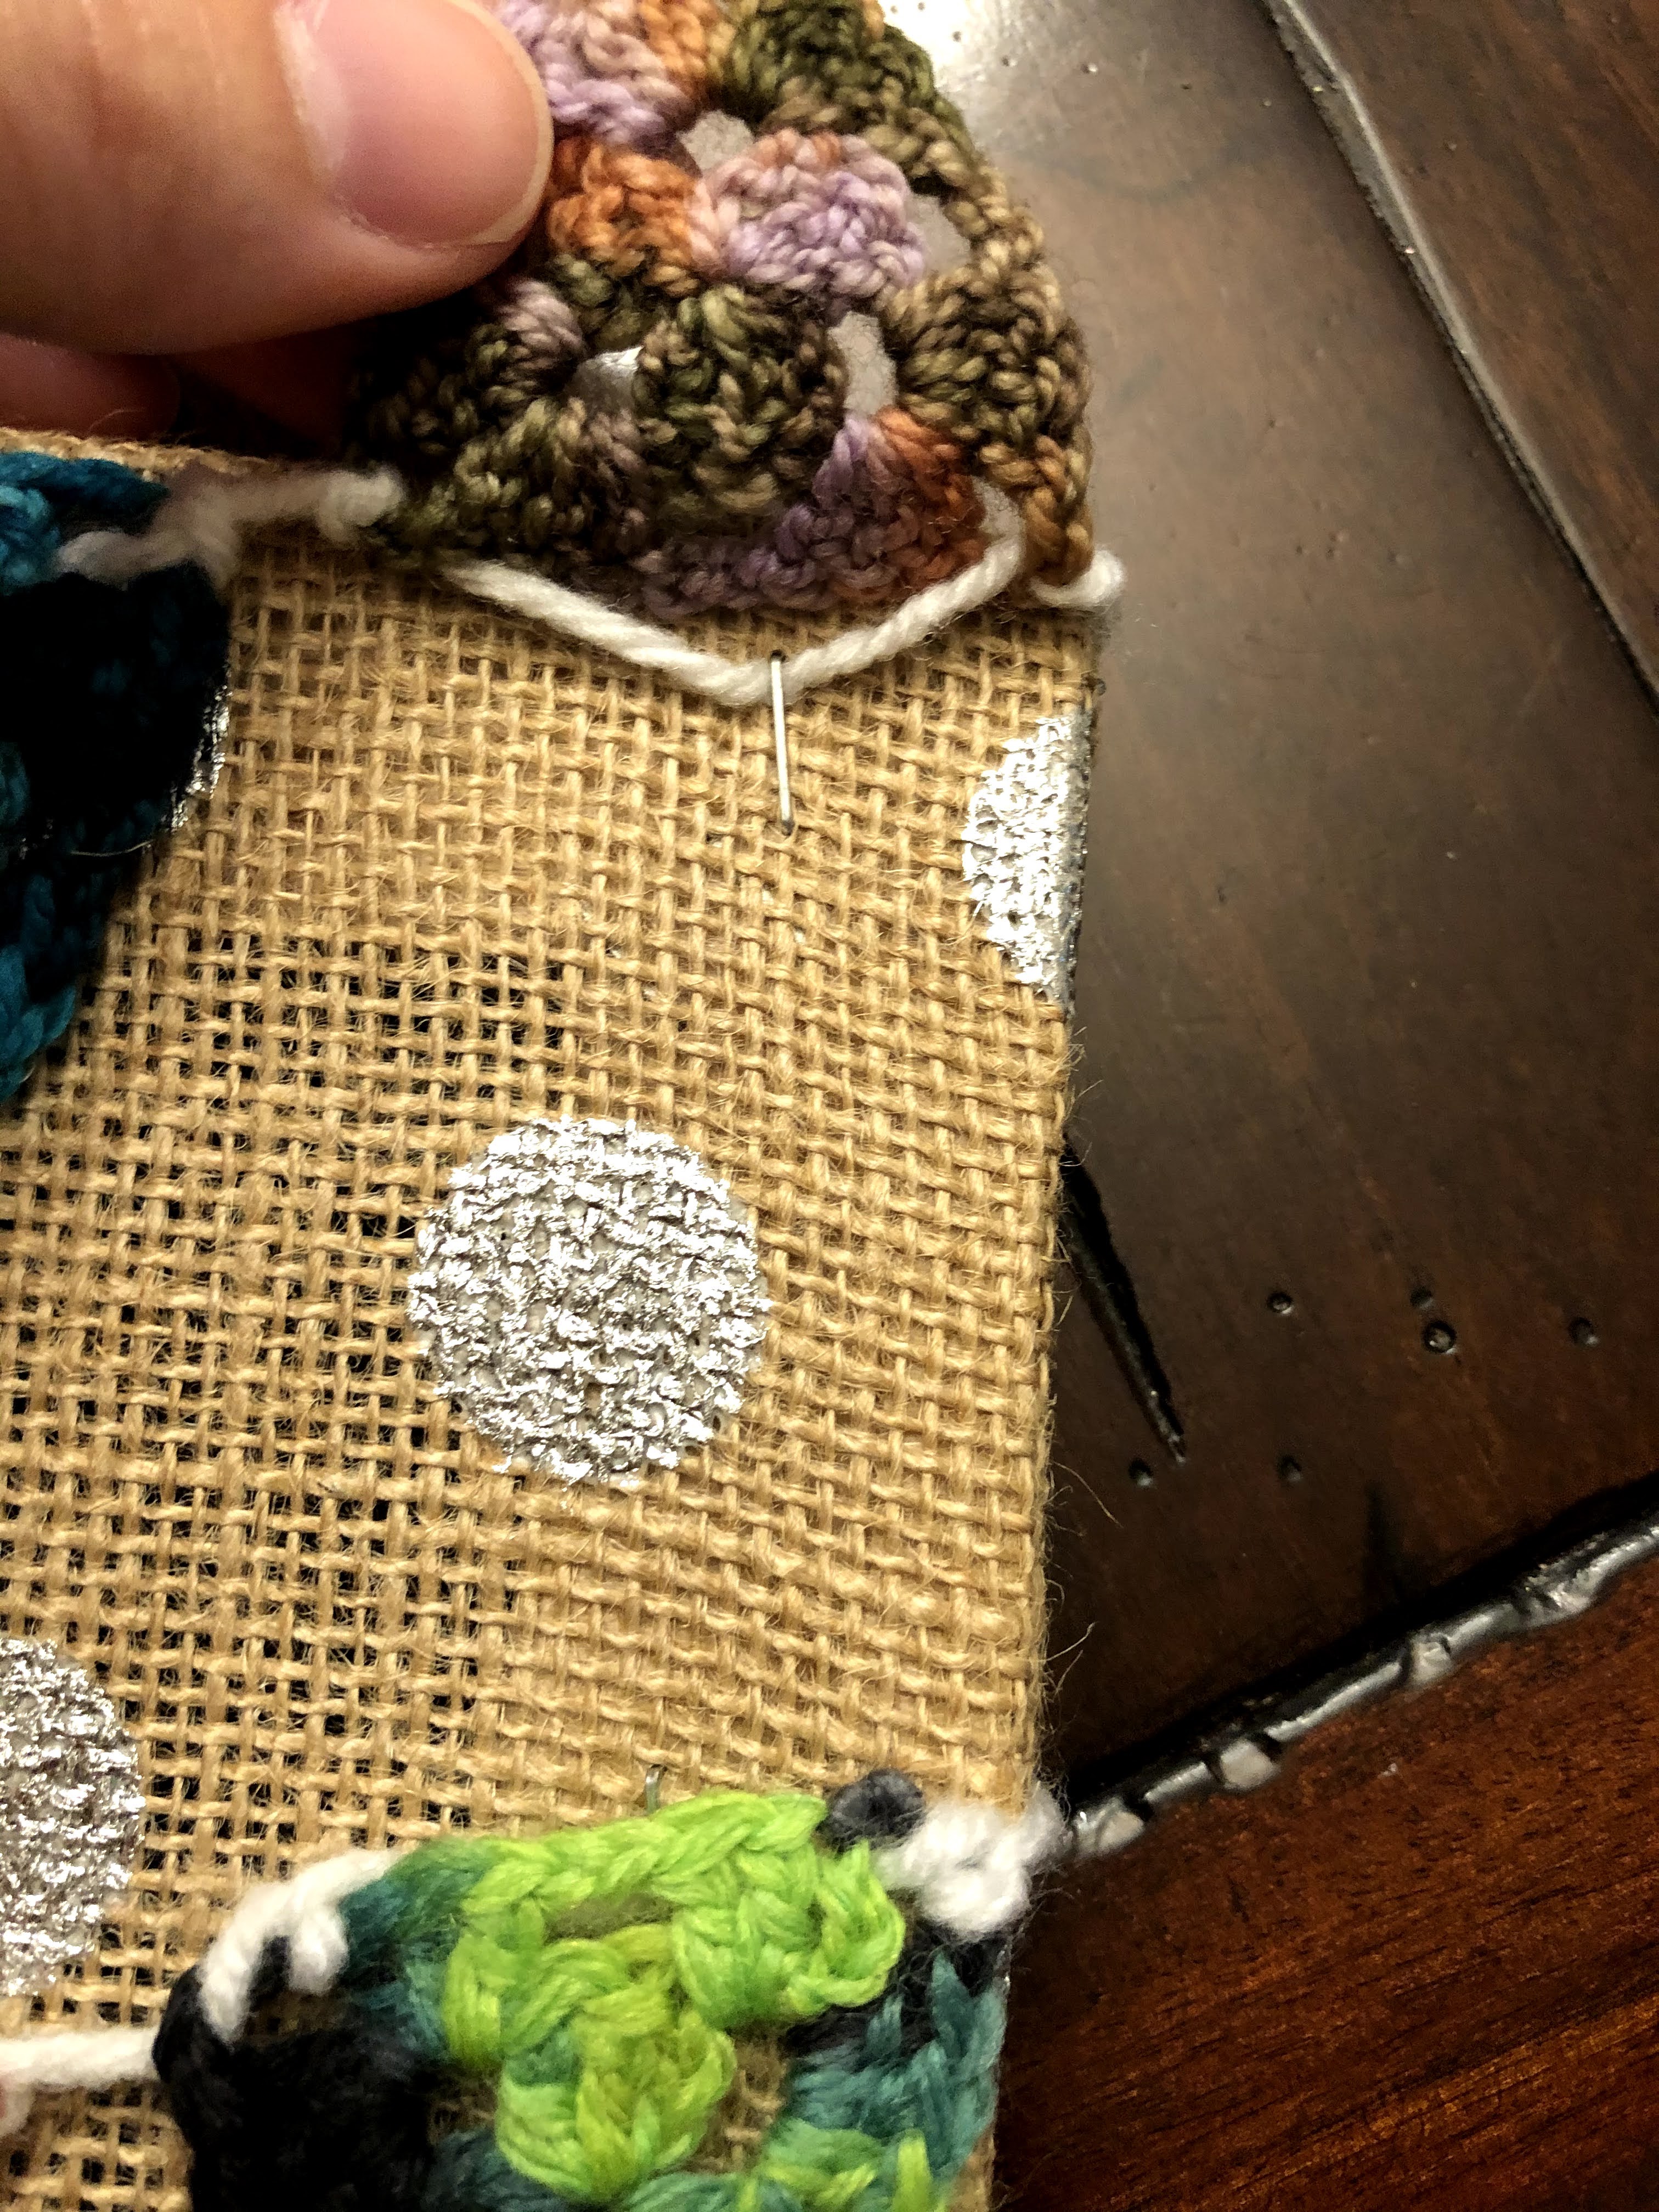
Under the triangle for position stability. 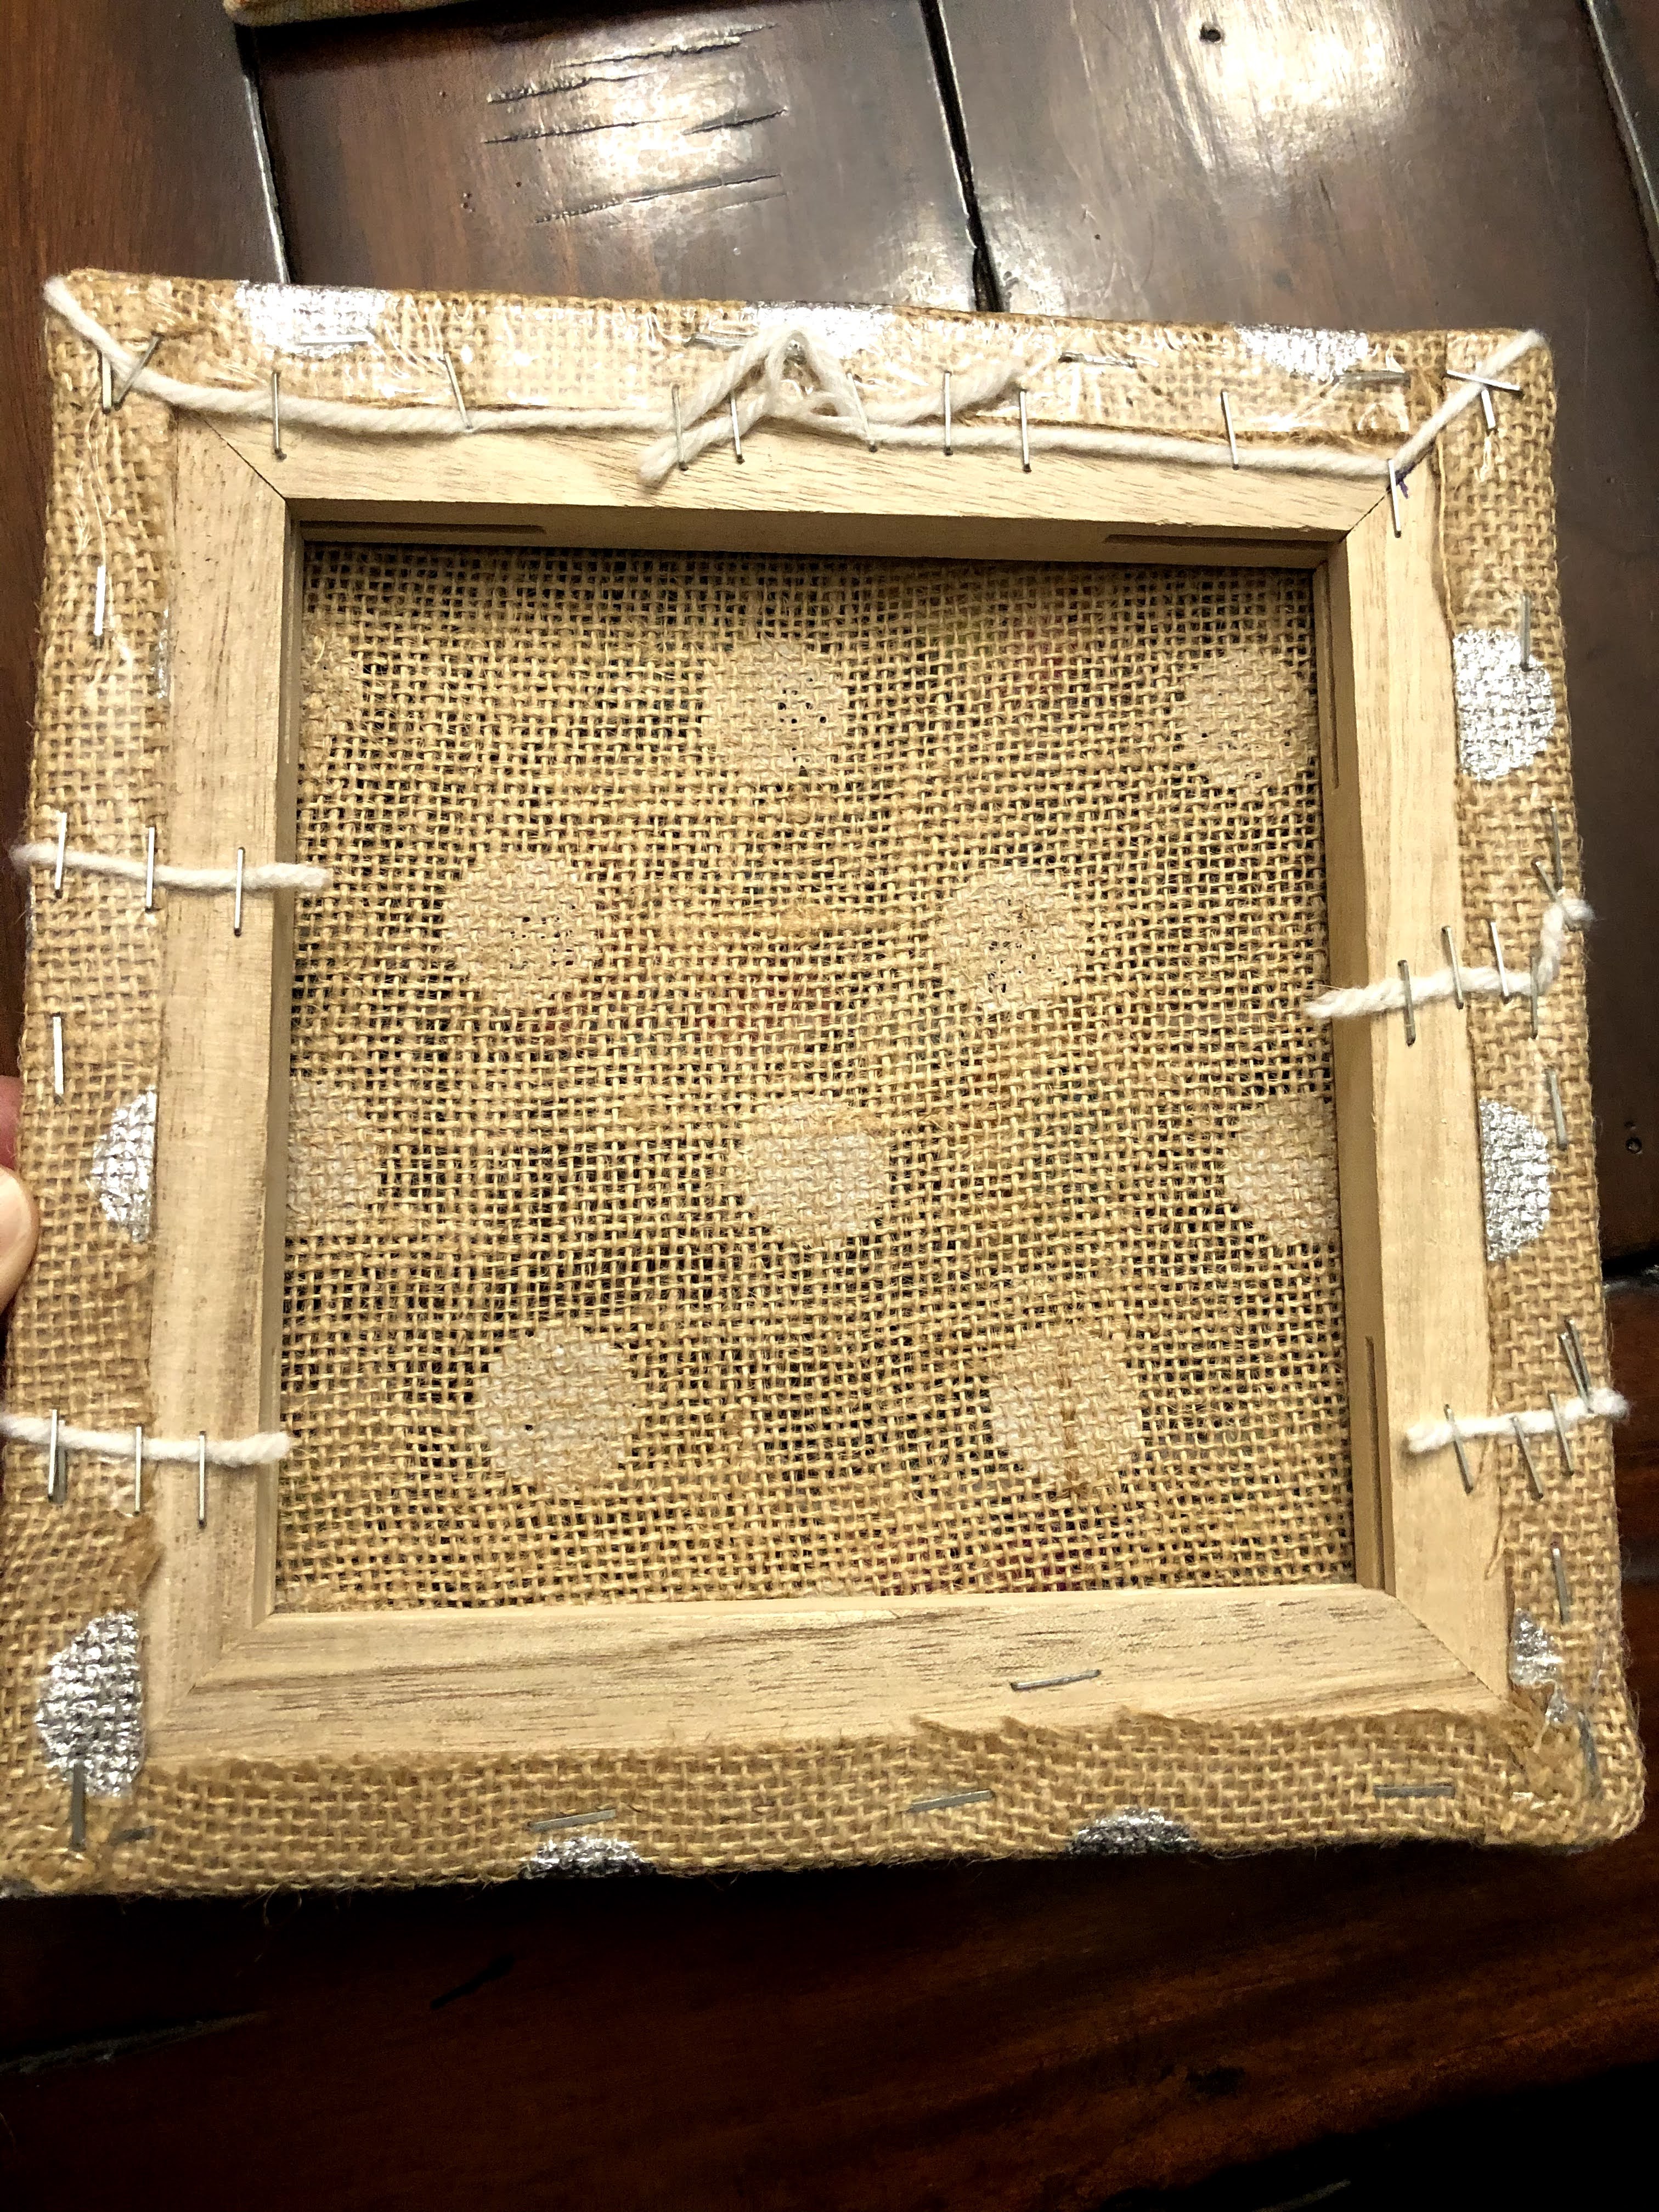
Don’t skimp on the staples!
I hope you enjoyed making your 2-row Granny Bunting! What will you do with yours?
