
As a knitter, crocheter, and spinner, I constantly find myself with odds and ends of yarn. I guess I could throw out all those little pieces, but my pragmatic side doesn’t want it to just go into a landfill.
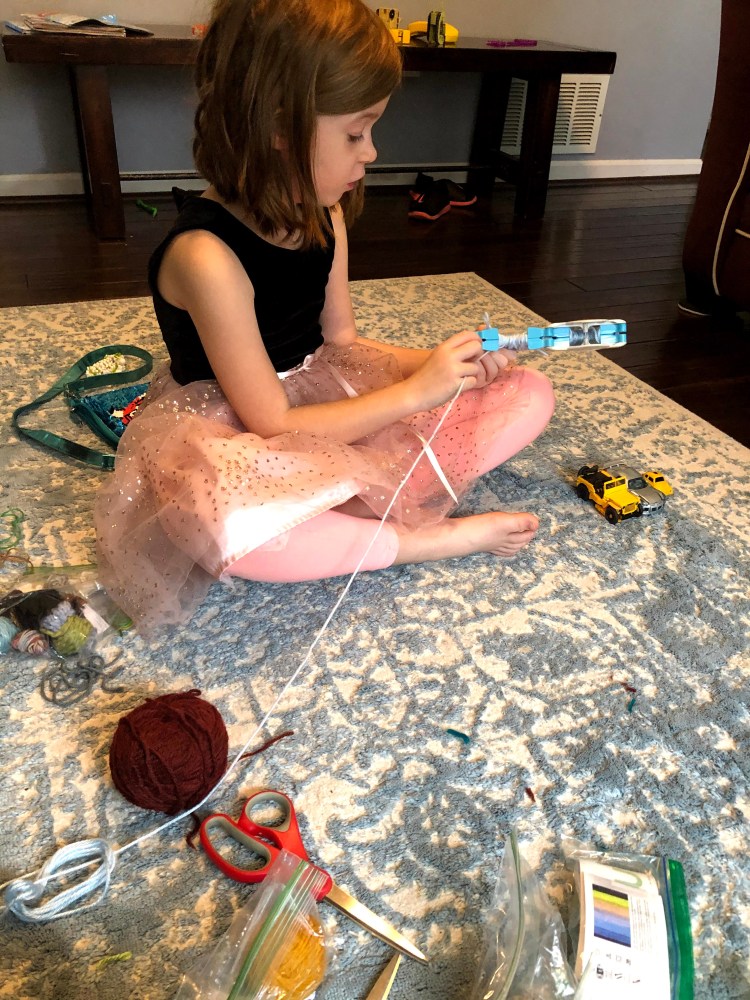
As a parent, I’m always looking for ideas to occupy the kids: without screens. My son made one pom-pom and was DONE. My daughter, she was HOOKED on making pom-poms after the second one! Last weekend, her and I constructed 39 pom-poms together. I had a few that I made on my own that were floating around in my scrap bin, bringing our total up to 45 pom-poms. I used A LOT of extra odds and ends, in the ballpark of 1000-1200 yards! Don’t worry, I still have PLENTY of scrap yarn to find homes for.
How we constructed our project:
Materials
Pom-pom makers: We used the med/ lrg Clover pom-pom makers from this set.
Yarn: I used a bunch of worsted weight leftovers. You will need 1000-1200 yards.
Scissors
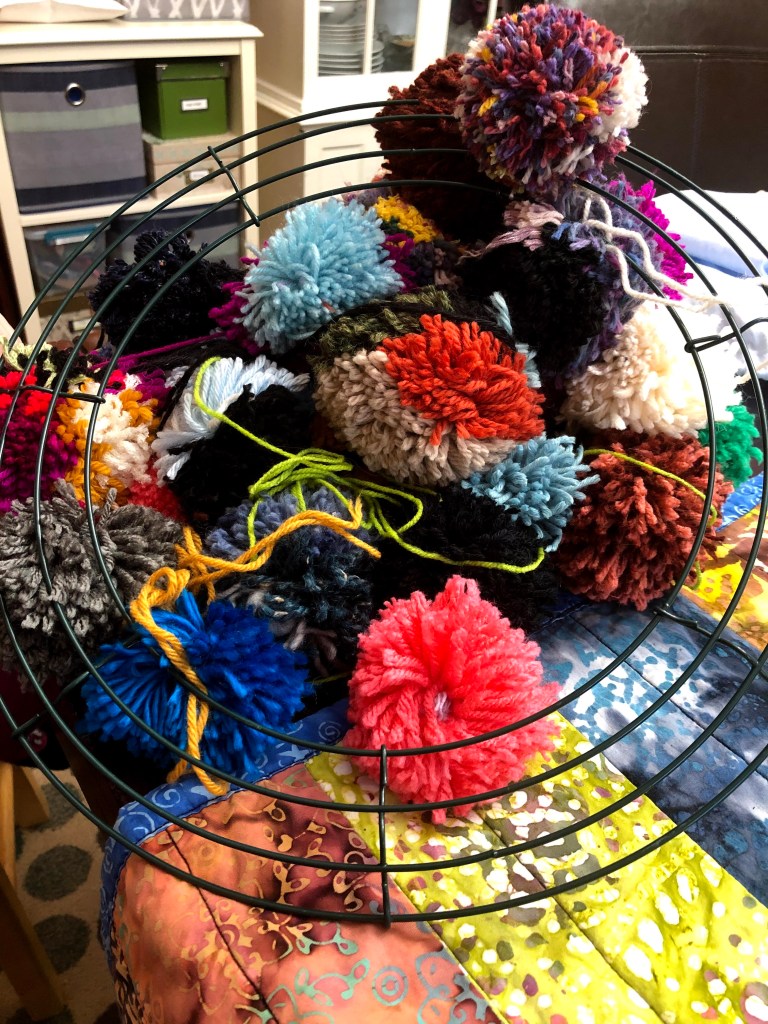
A 14″ Wire Wreath Frame: We ordered this one.
Floral wire
Battery-powered mini LED lights: We used these.
Fleece fabric (so the wires don’t scratch the wall or door or whatever)
Hot Glue
Optional: Large ribbon bow, other accessories.
Instructions
Start by making 40-50 pom-poms. Leave REALLY long tails when you tie them in finishing. I didn’t bother to trim the pom-poms when finished to make them symetrical.
To assemble:
Tie the pom-poms onto the wire frame. Be sure to pack them in tight.
Wrap tightly with floral wire to keep the pom-poms from moving around.
Hot glue the yarn knots, just in case.
Cut a circle of fleece fabric, hot glue onto the back on the wreath. Trim as necessary.
Cut a fabric rectangle that will accomodate the battery pack for your lights, besure to add an inch all the way around for “seam allowance”
Glue 3 sides of the pocket to the fleece backing. Leave the top side open for access.
Wrap the lights around the project evenly. I wrapped the lights on the outside of the fleece just in case my very inexpensive lights stop working.
I used a small bread tie to affix the end of my lights. You could also use the floral wire.
Construct a hanger out of floral wire, attach to the top of the frame.
Before the floral wire, very floppy 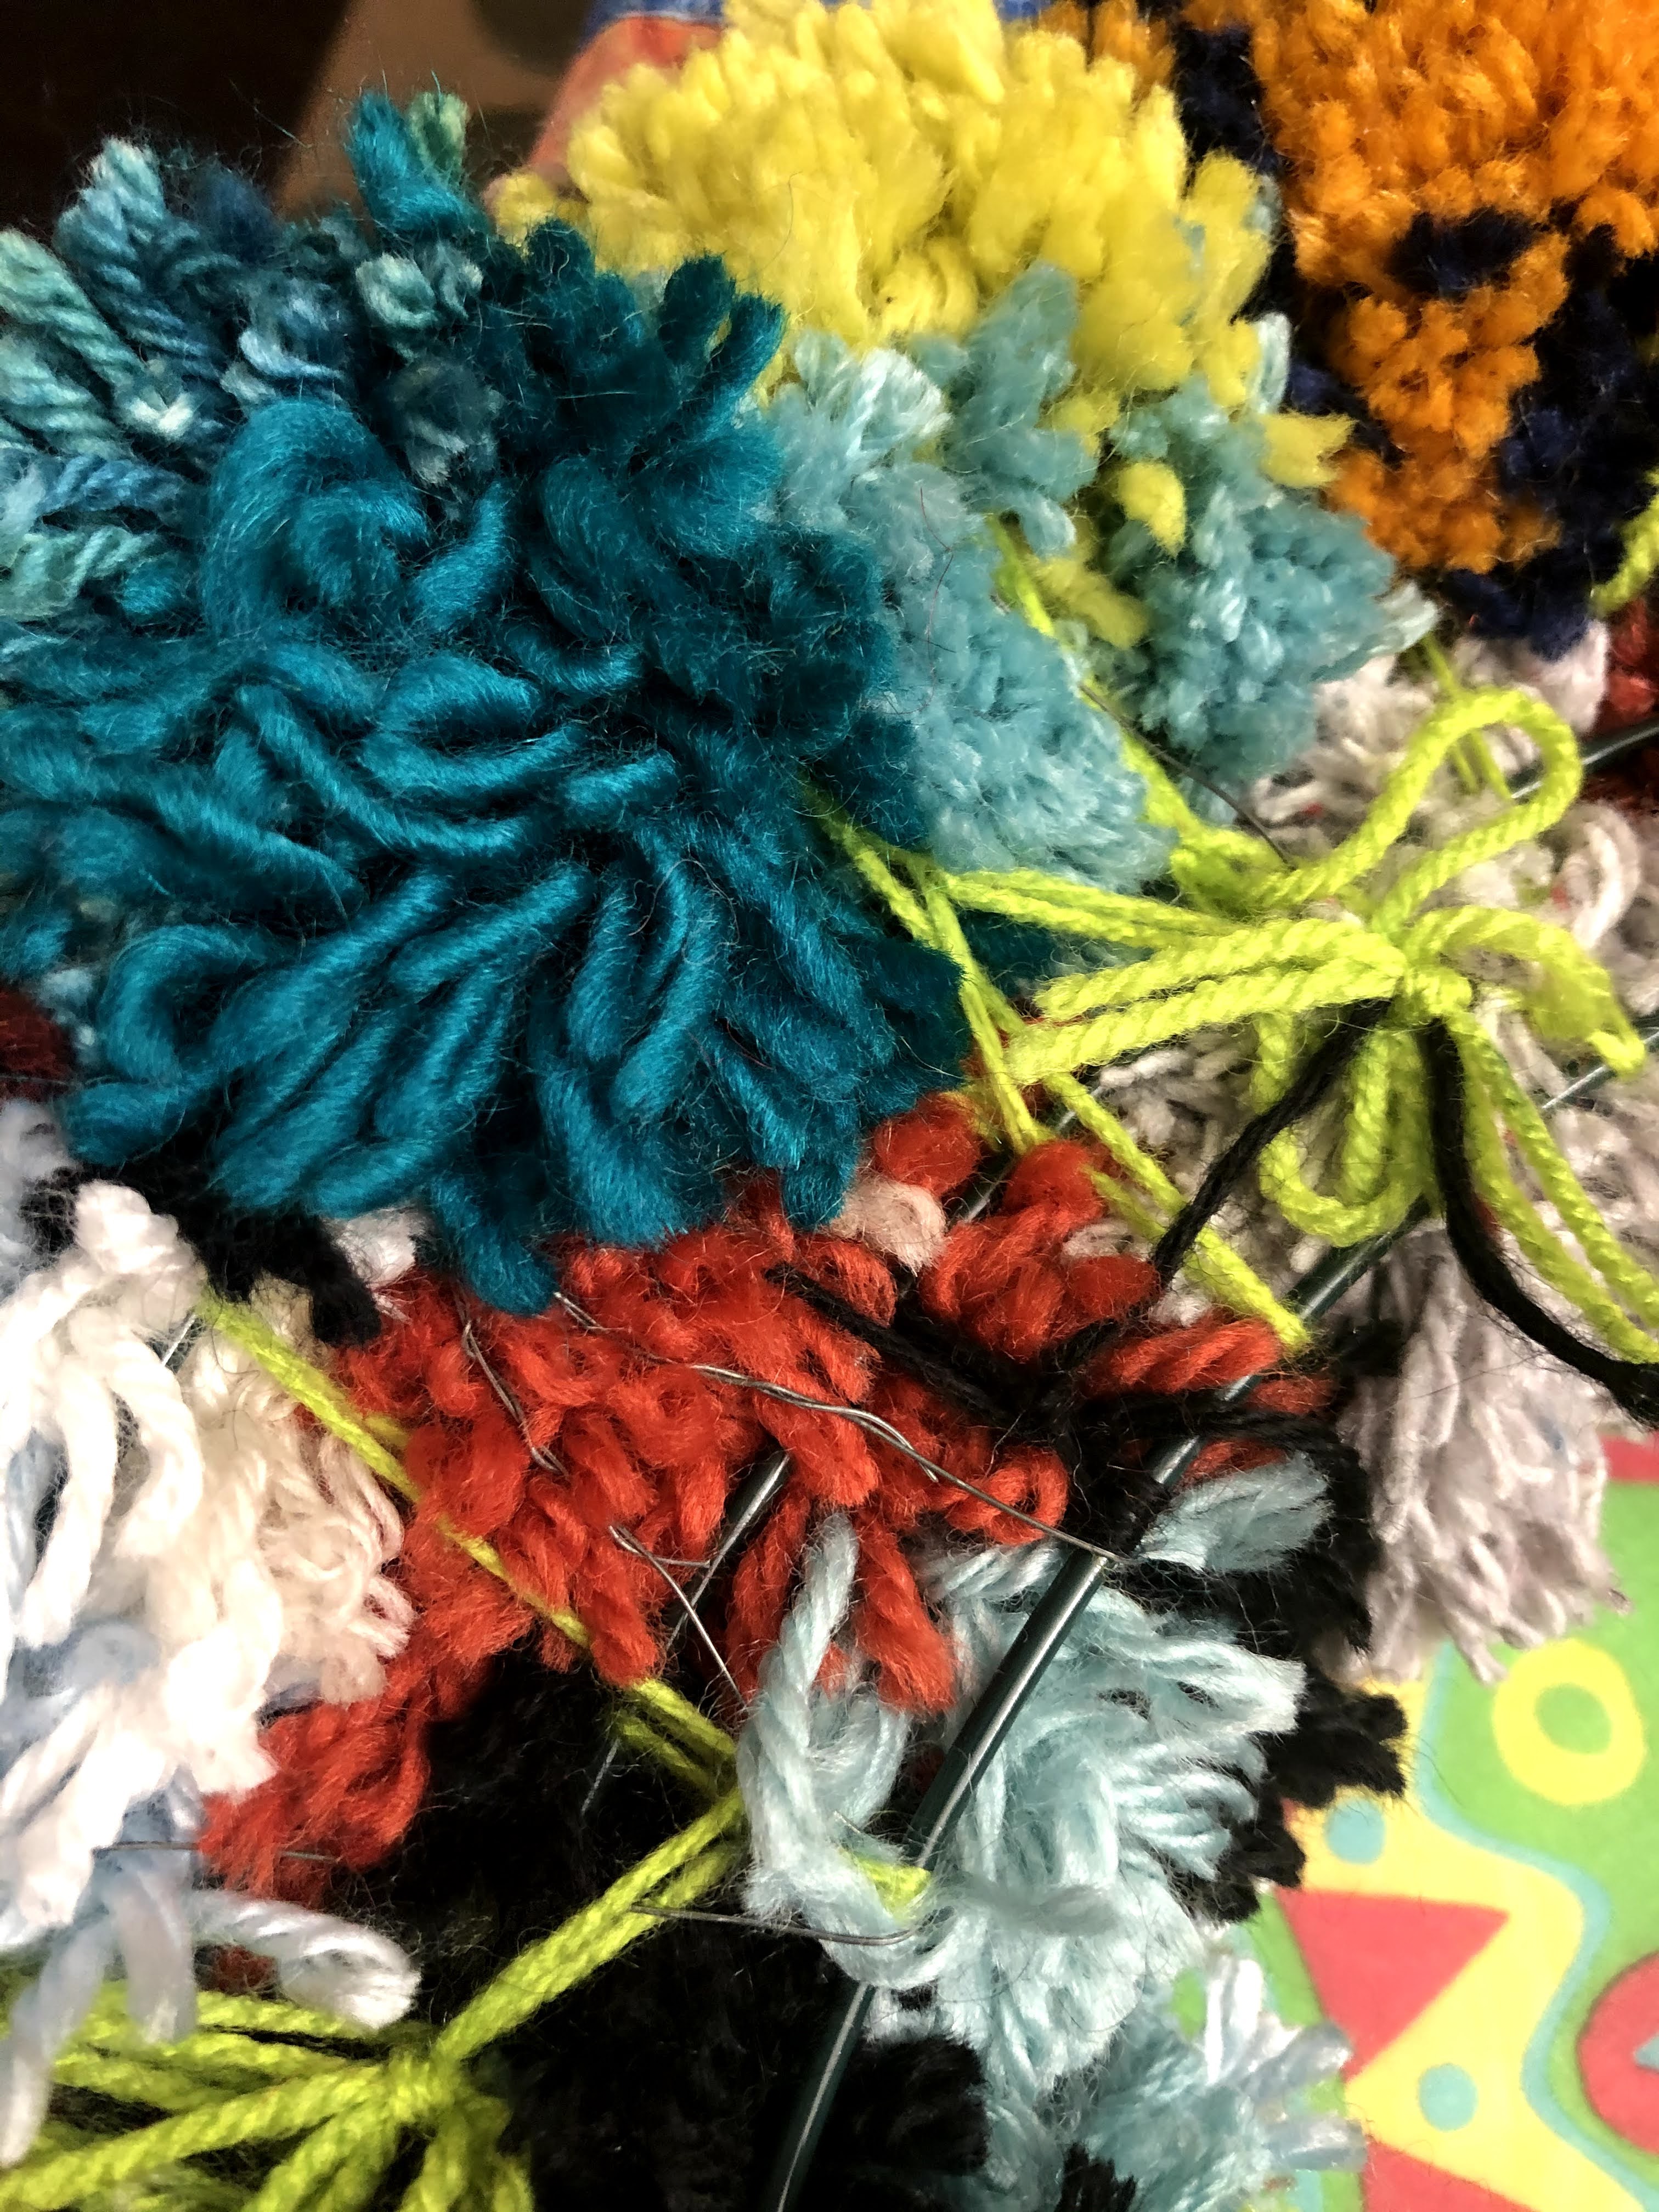
The back: it’s not pretty. 
My fleece: also not perfect. 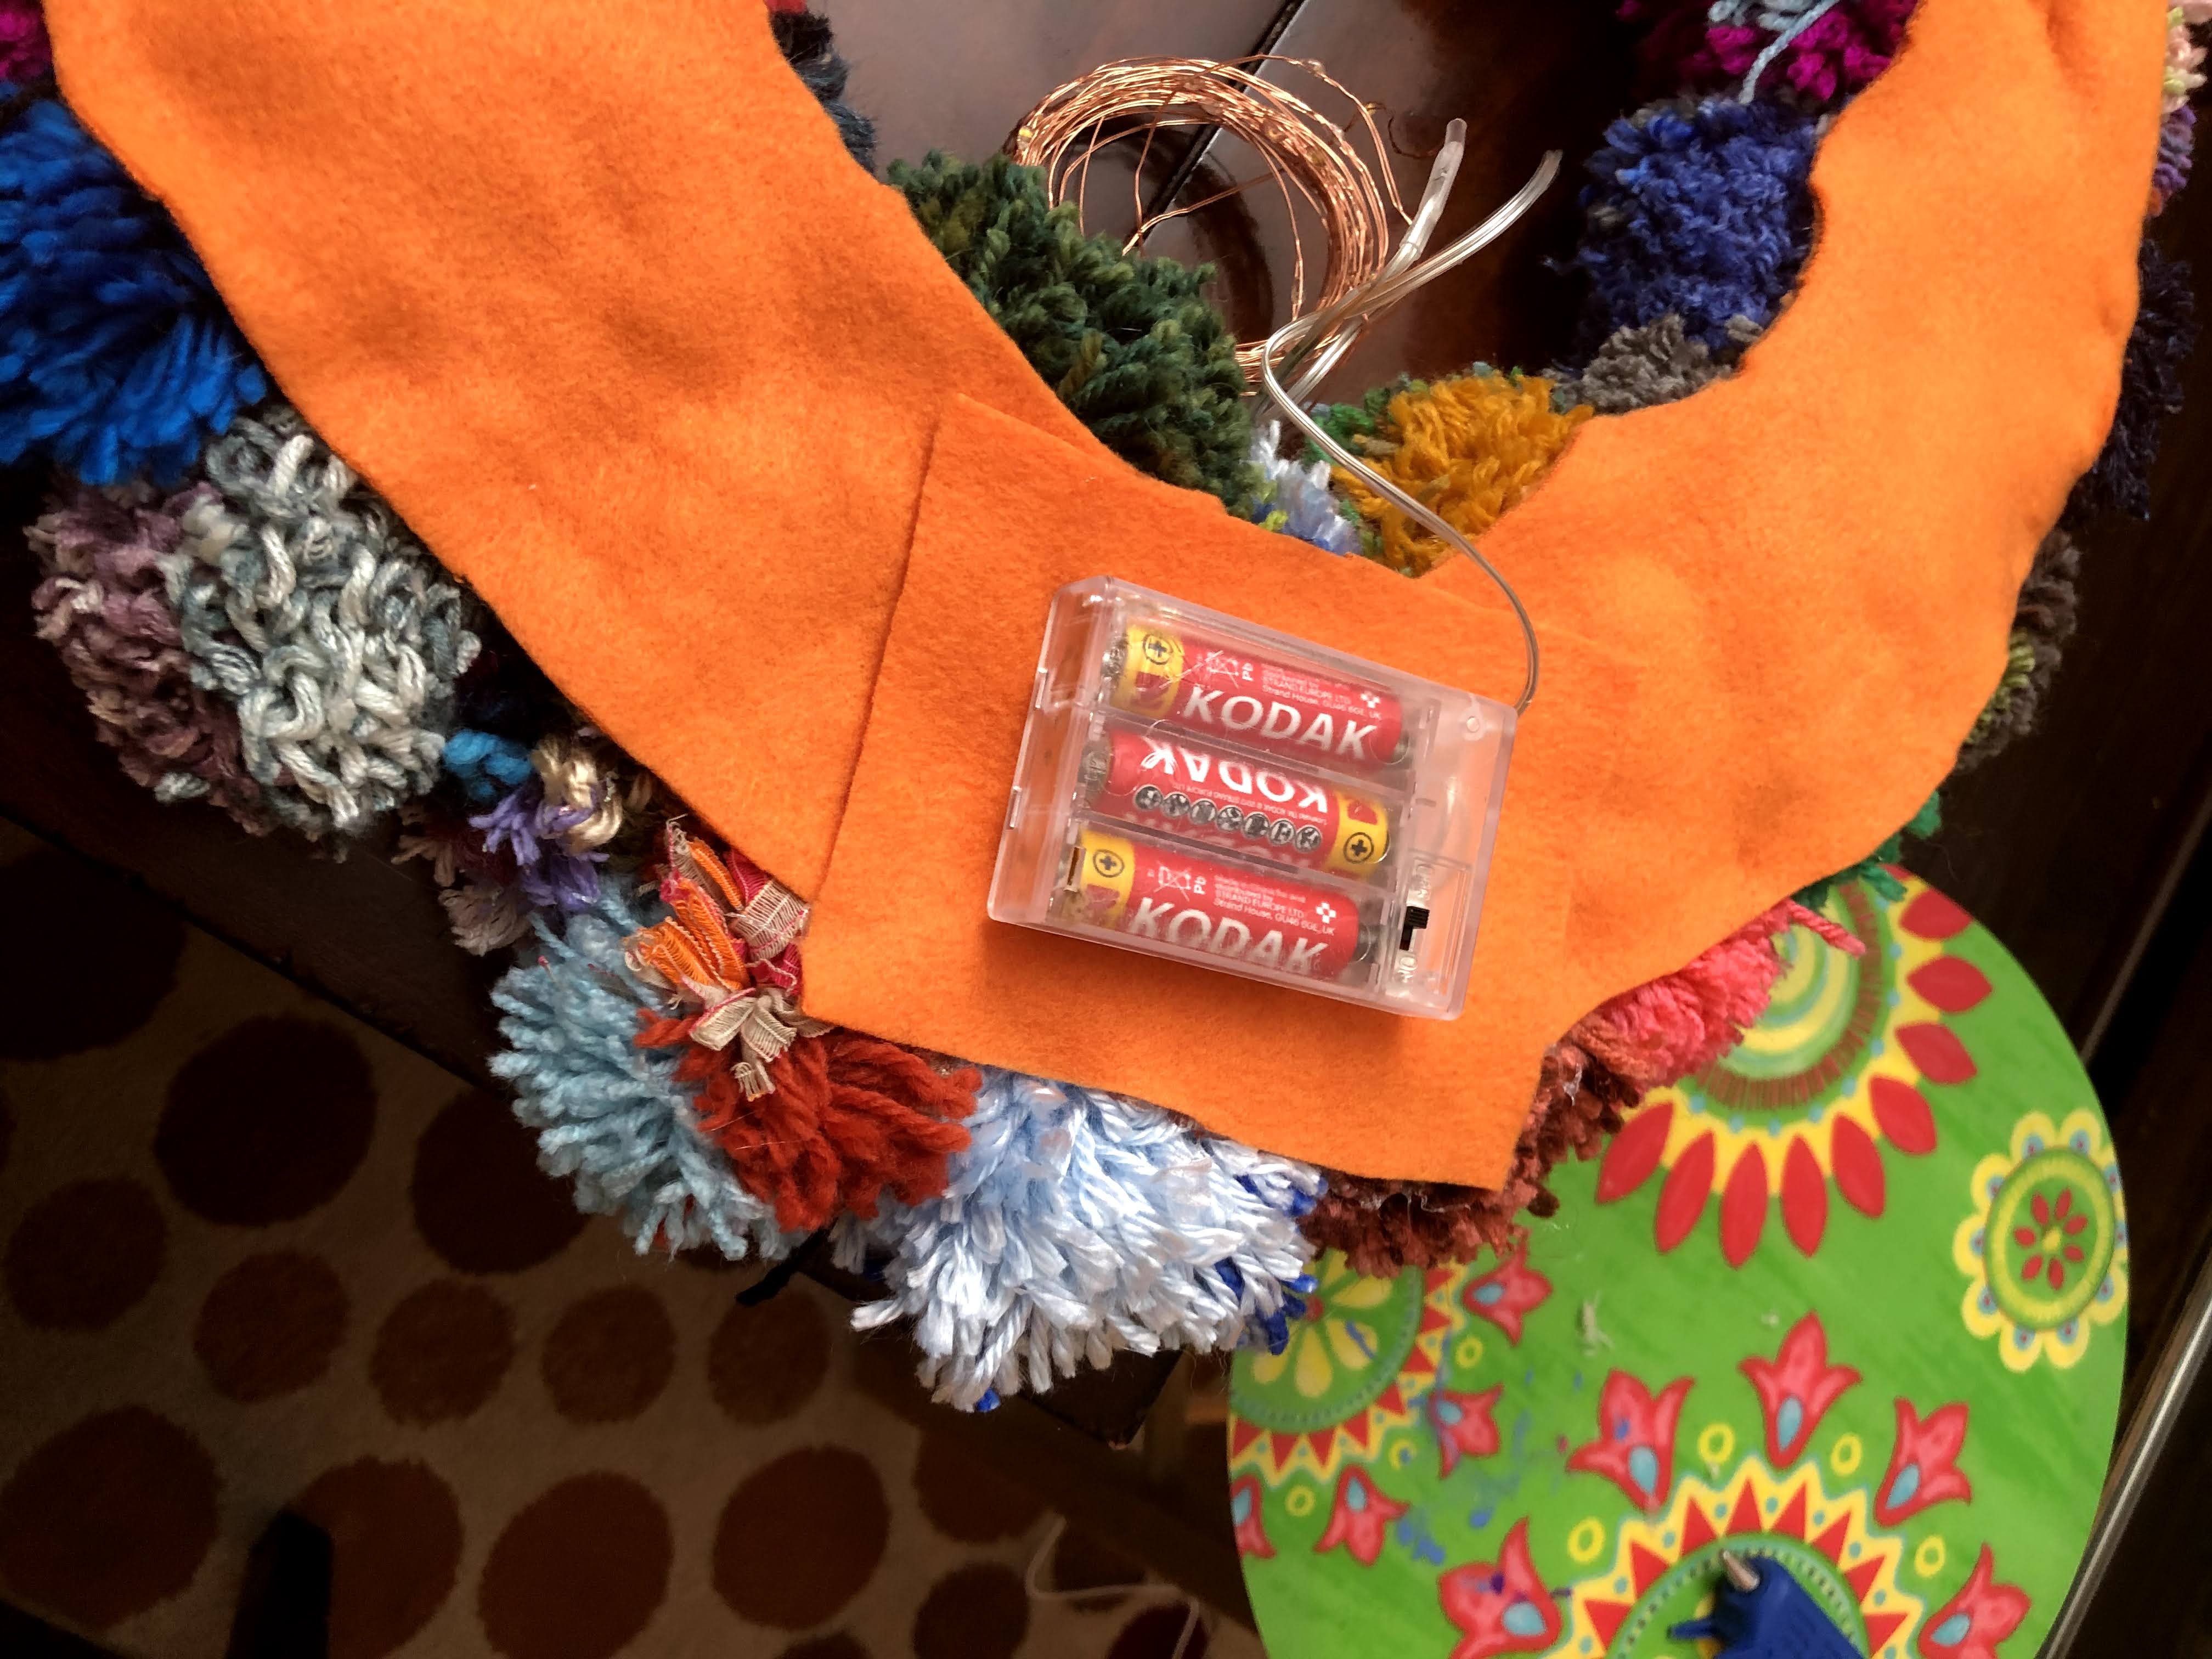
Battery pocket! 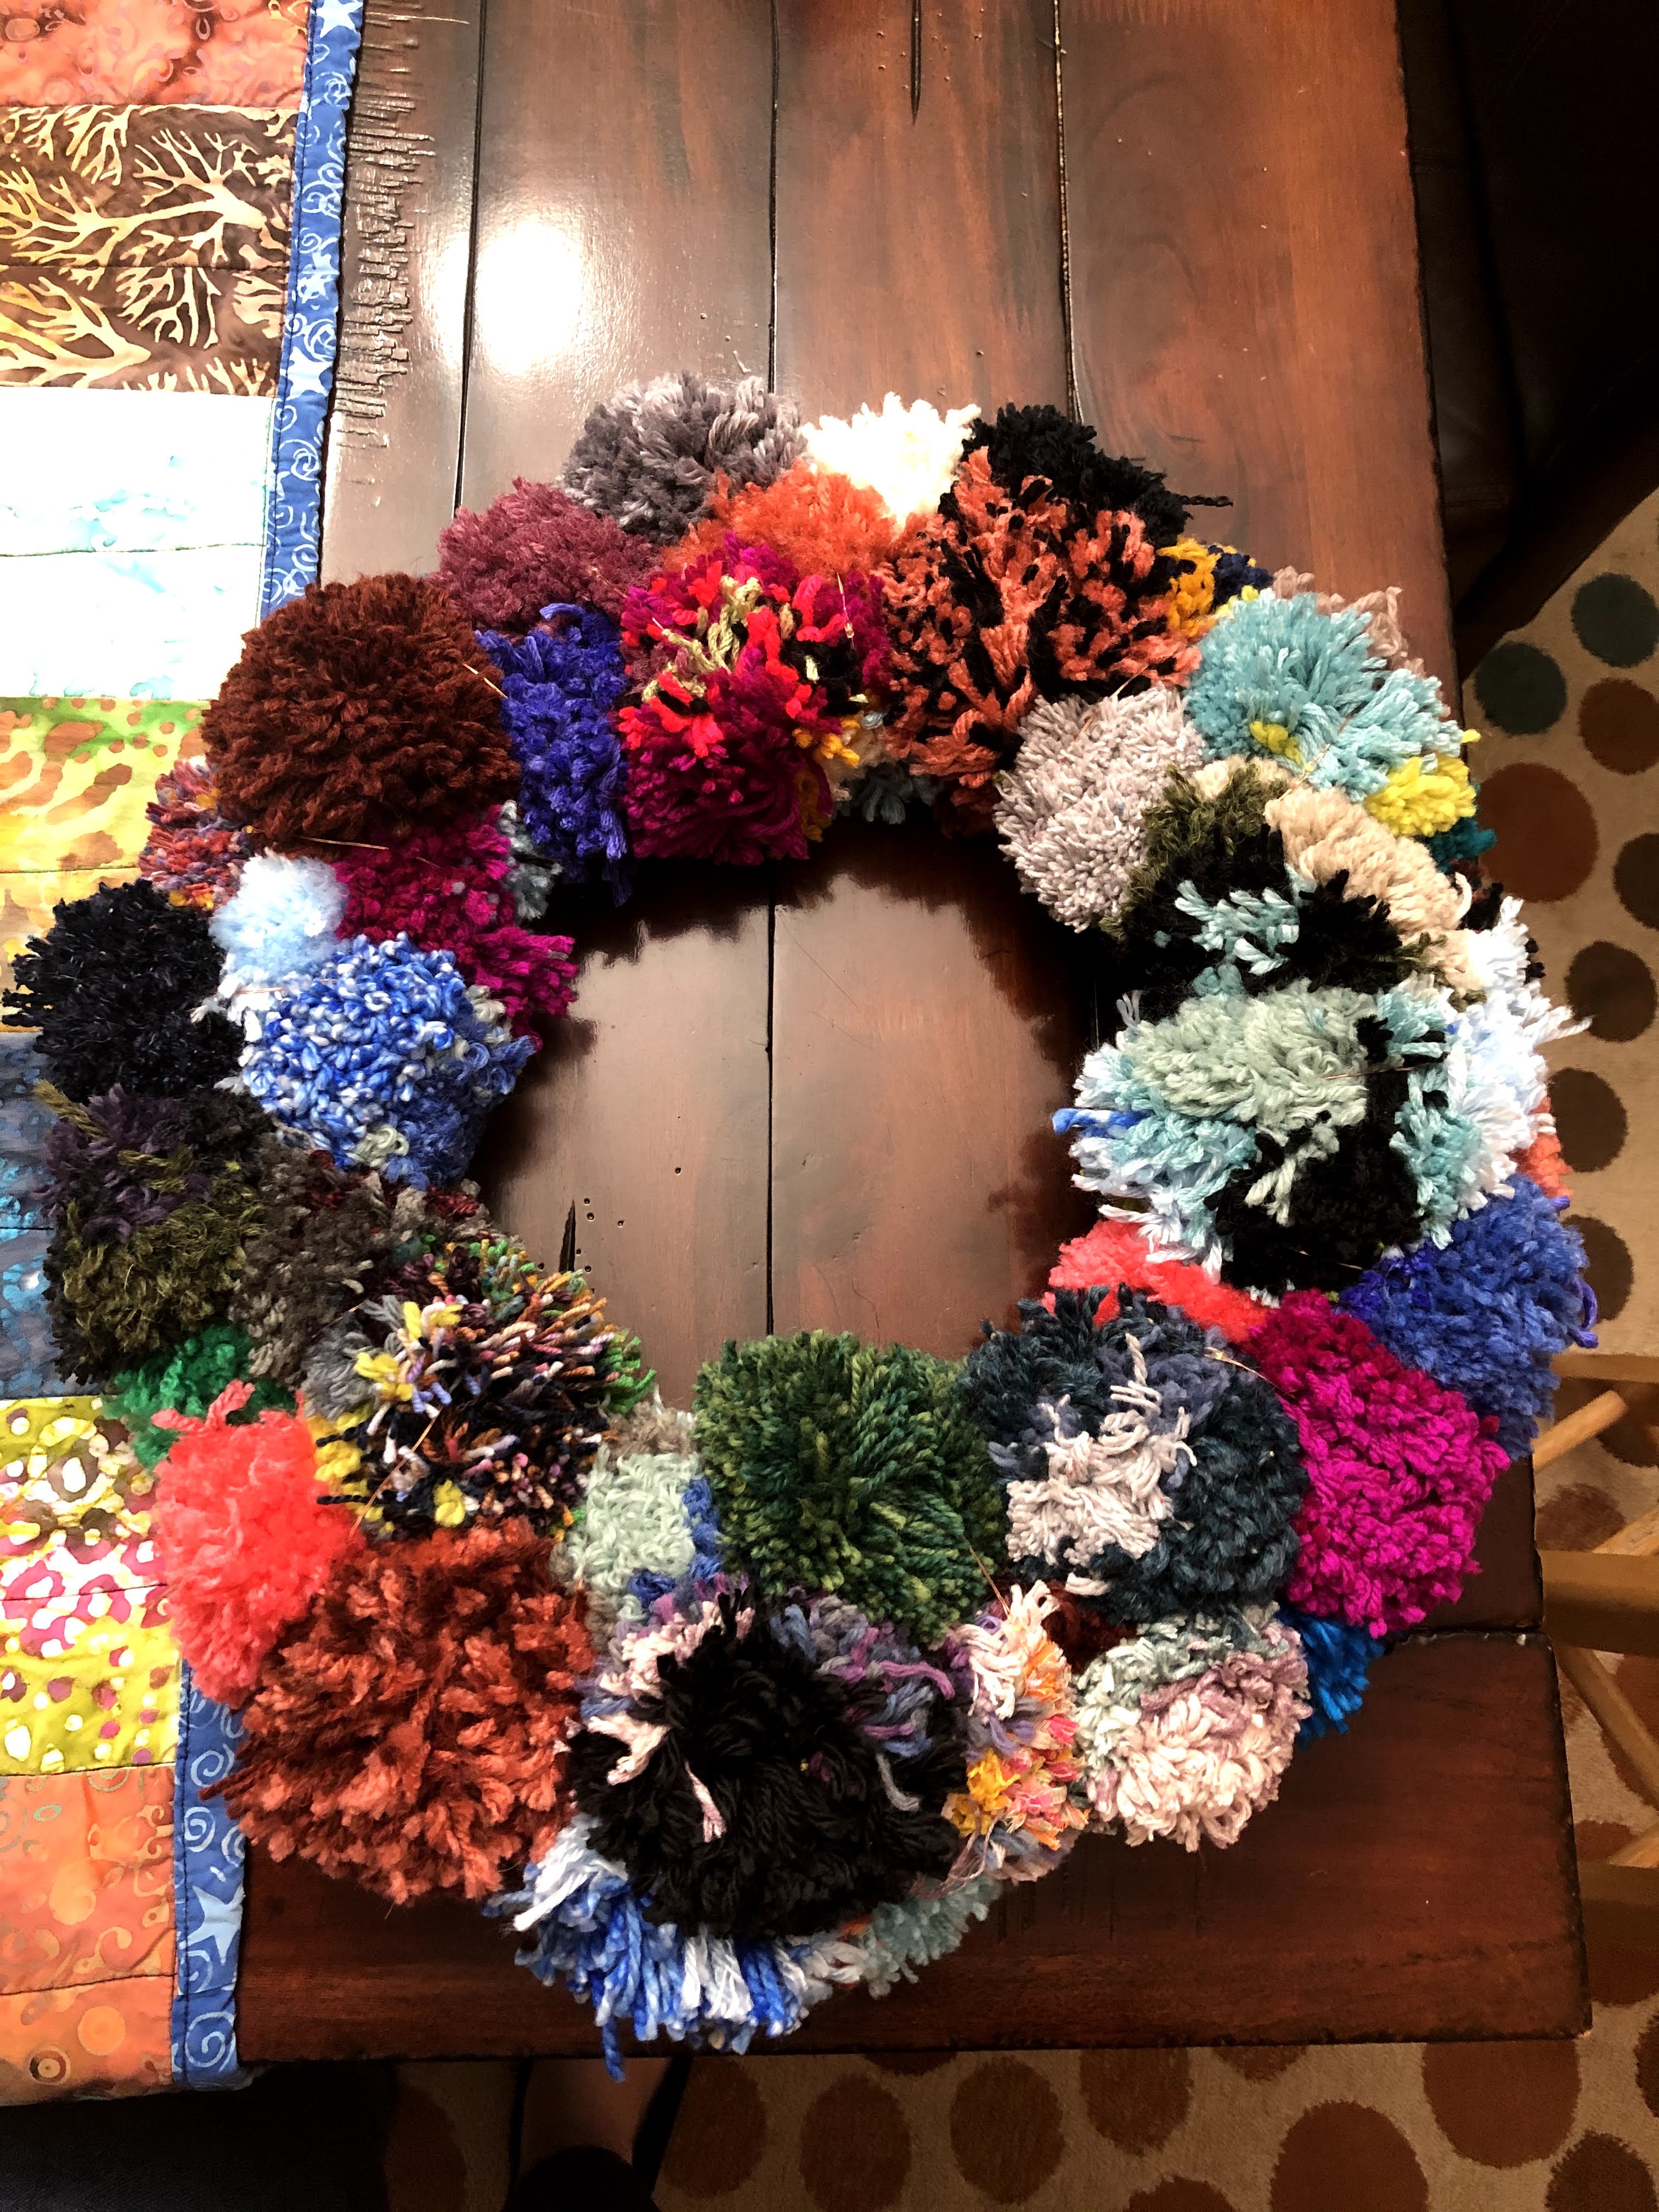
LED lights off 
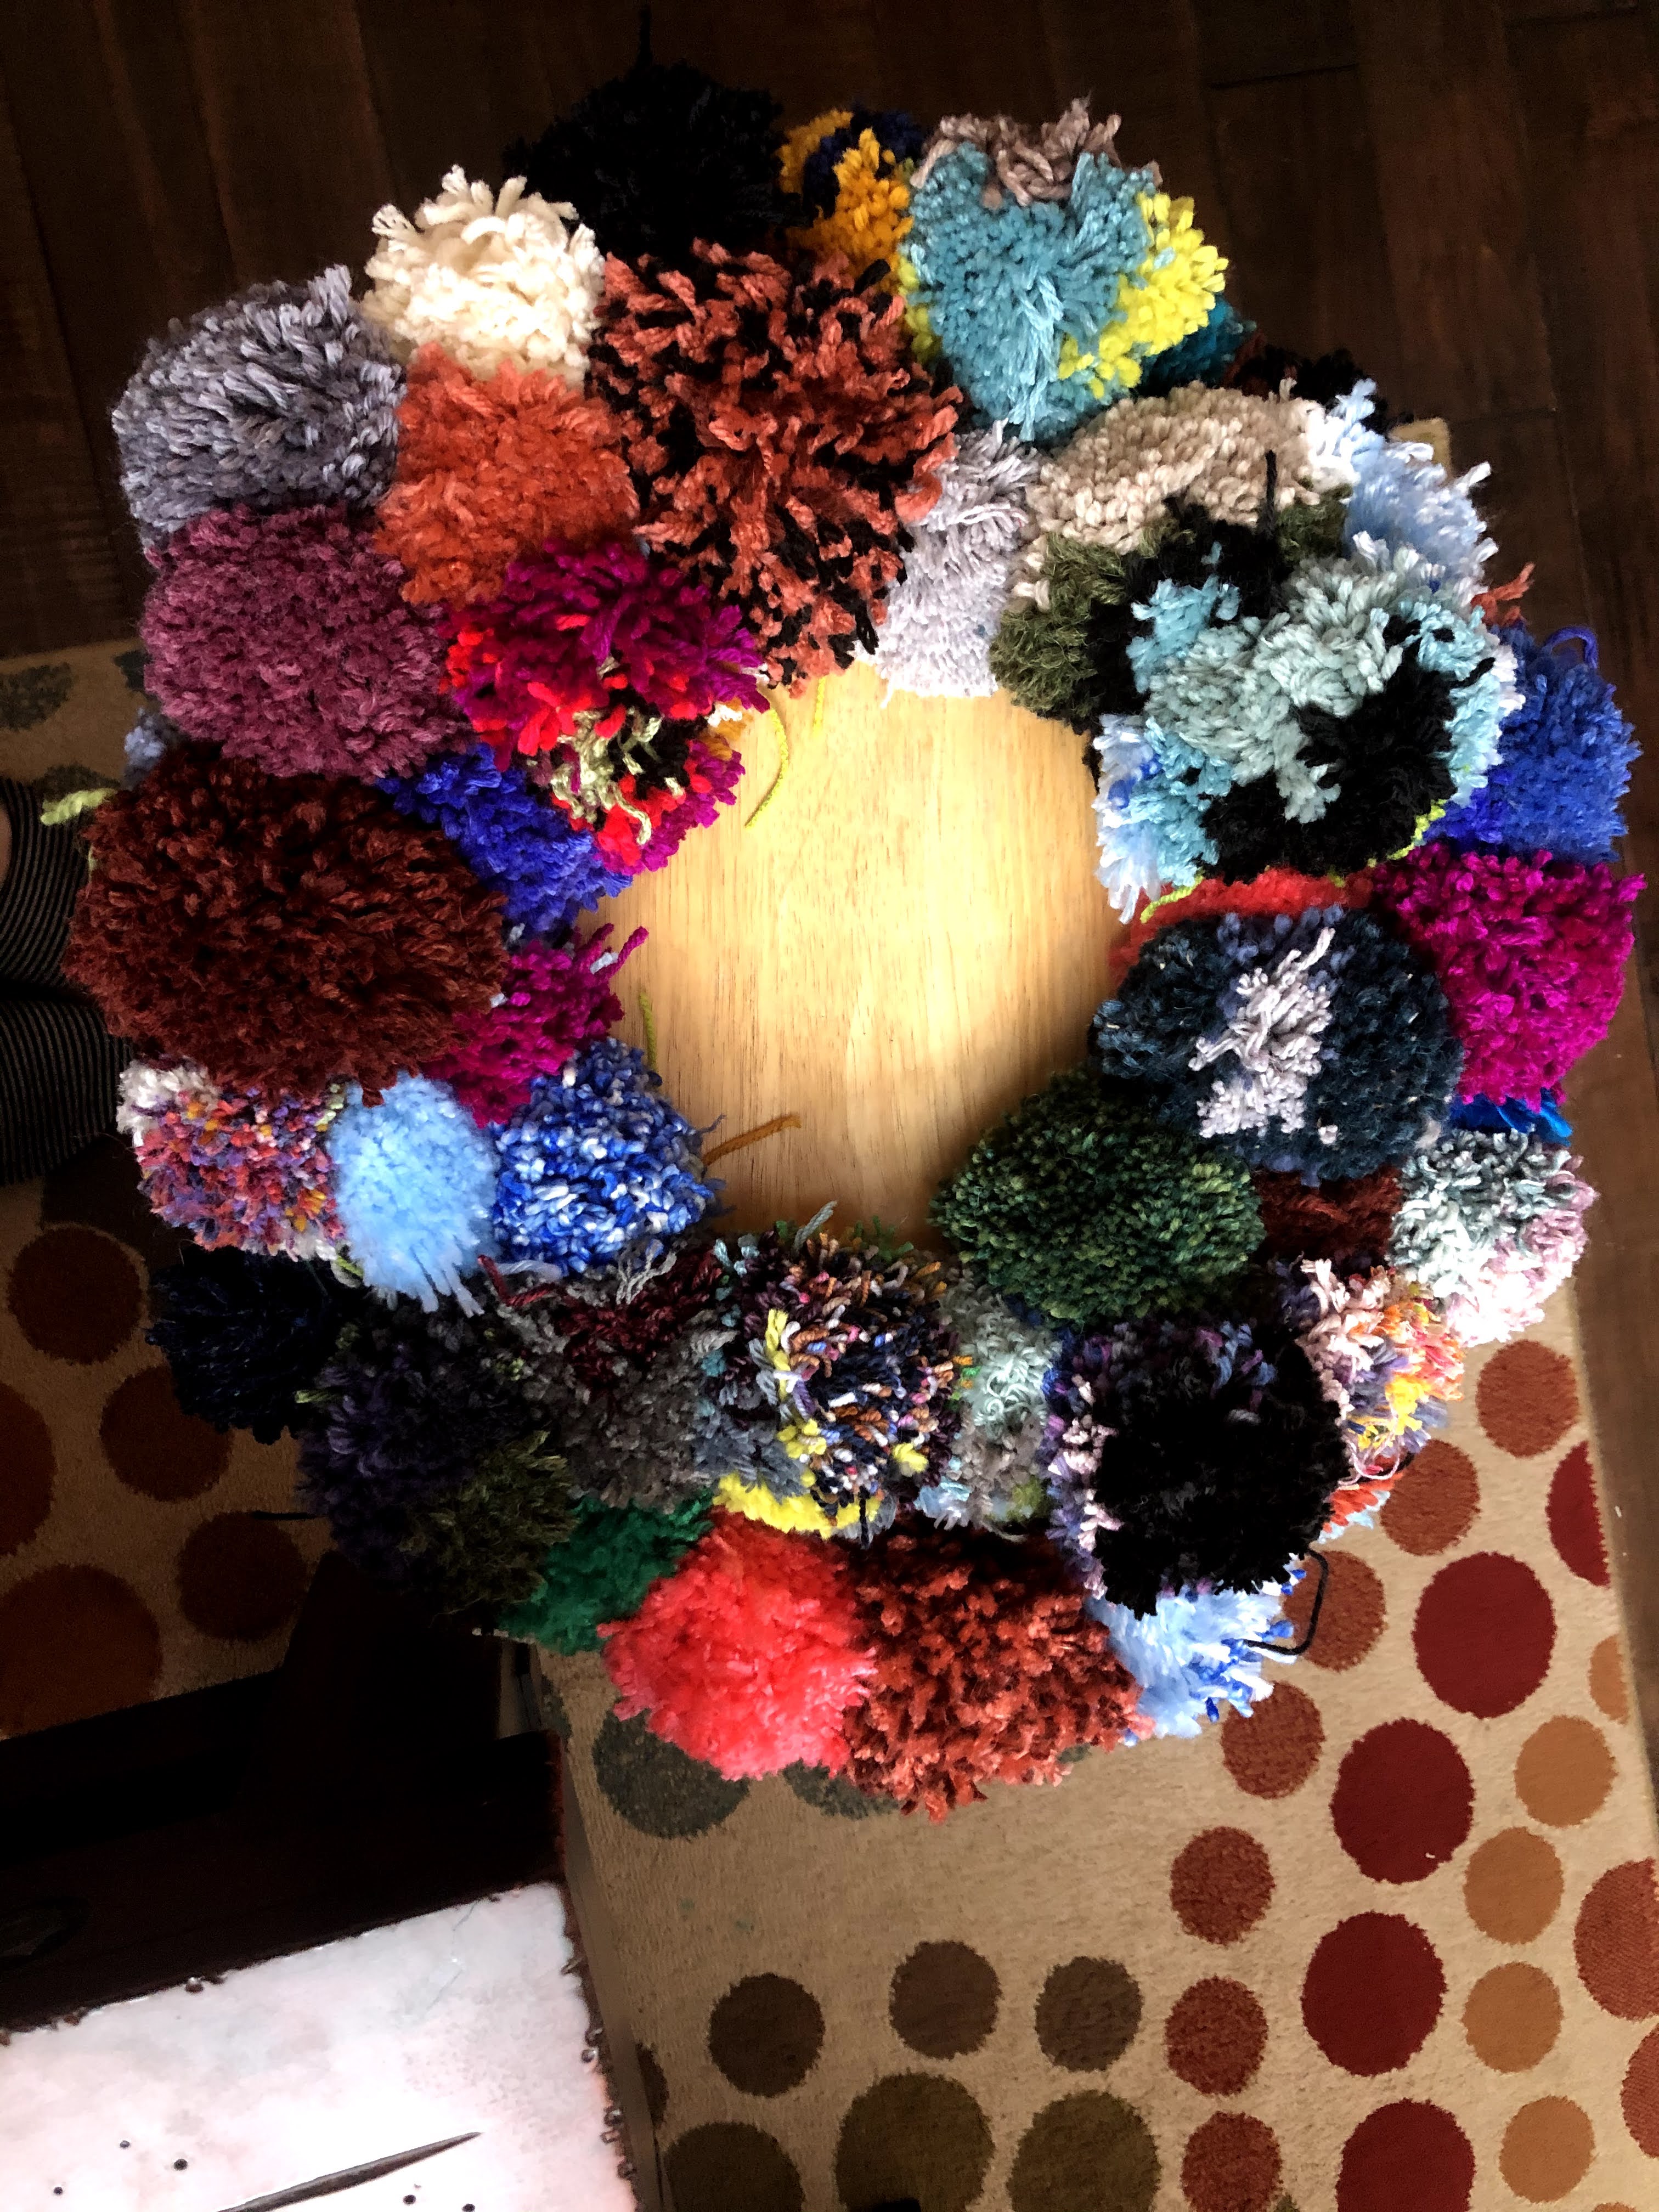
LED lights ON!!
We have no idea where in the house we are going to put this yet. Before I can call this DONE, I want to get some wide ribbon to make a majestic bow. But I couldn’t wait to share my stash-busting project with you! With the holidays and vacation time and chilly days ahead, this is the perfect project. You could construct it in a weekend (with very tired hands) or over the course of a couple weeks. The pom-poms are somewhat more labor intensive than you would first assume.
As an aside: You can use any method of making your pom-poms. I decided to use the Clover set because they stay together well during the construction process, making it VERY kid-friendly!

One response to “Pom-Pom Wreath”
[…] My daughter and I put together an epic pom-pom wreath. I still need to get some wired ribbon before I hang it up, here’s the post. […]
LikeLike